
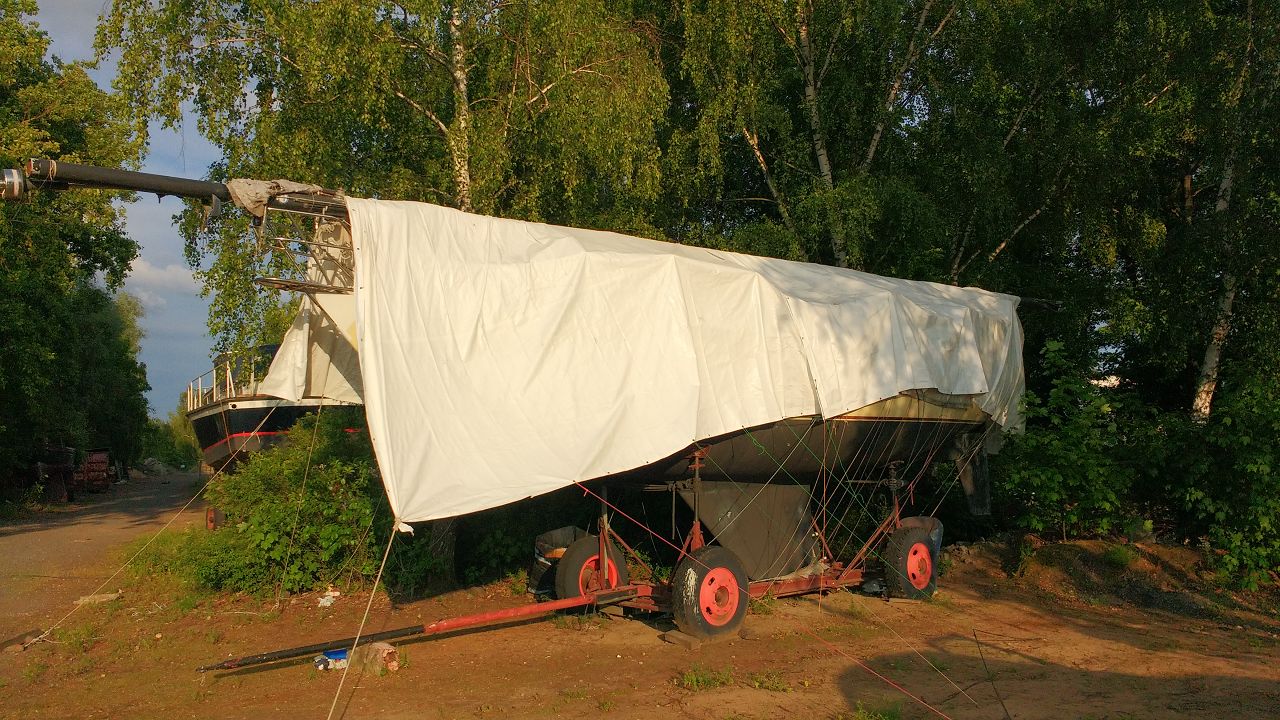
Foredeck Finished – Finally
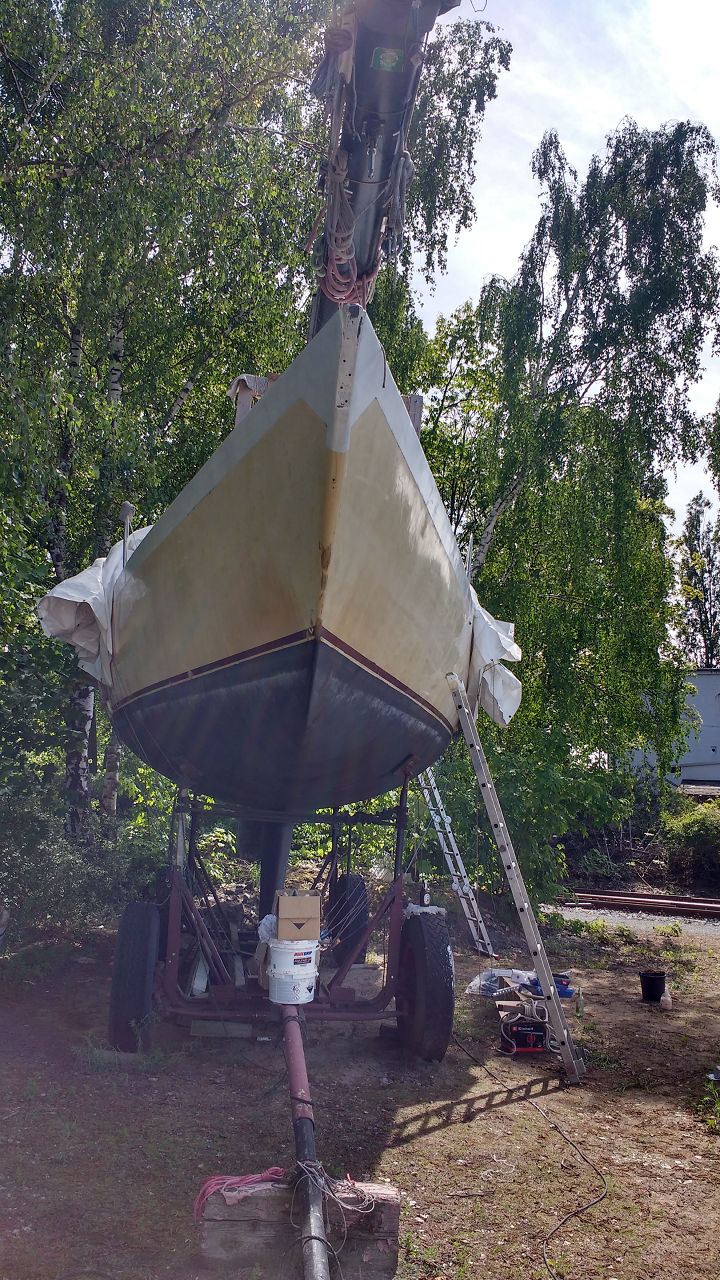
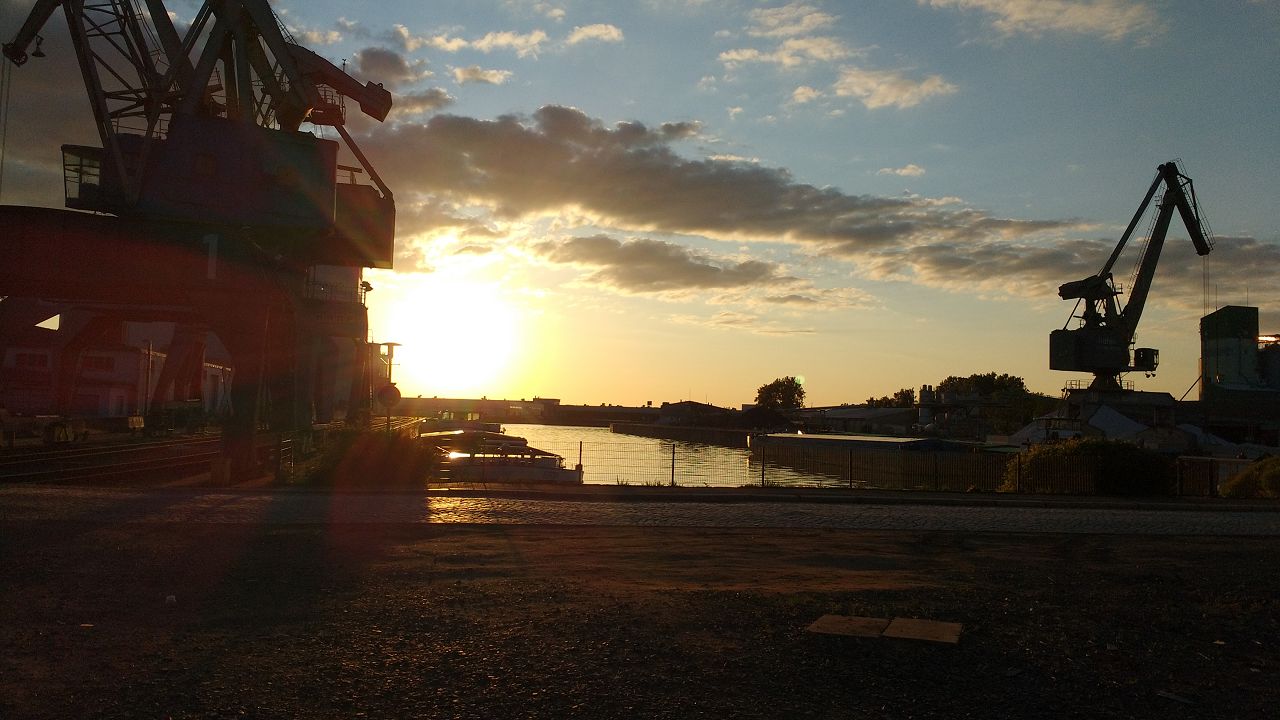
Although the Corona pandemic was omnipresent Frank and I were confident to finish the foredeck project and to go back into the water and finally enjoy sailing on-board Rolling Stone with a brand new deck – Yeah! But once again the weather turned out to be challenging because a weather phenomen called „Die Eisheiligen“ occured. It’s characterized by night frost and in general very low temperatures. No comment….
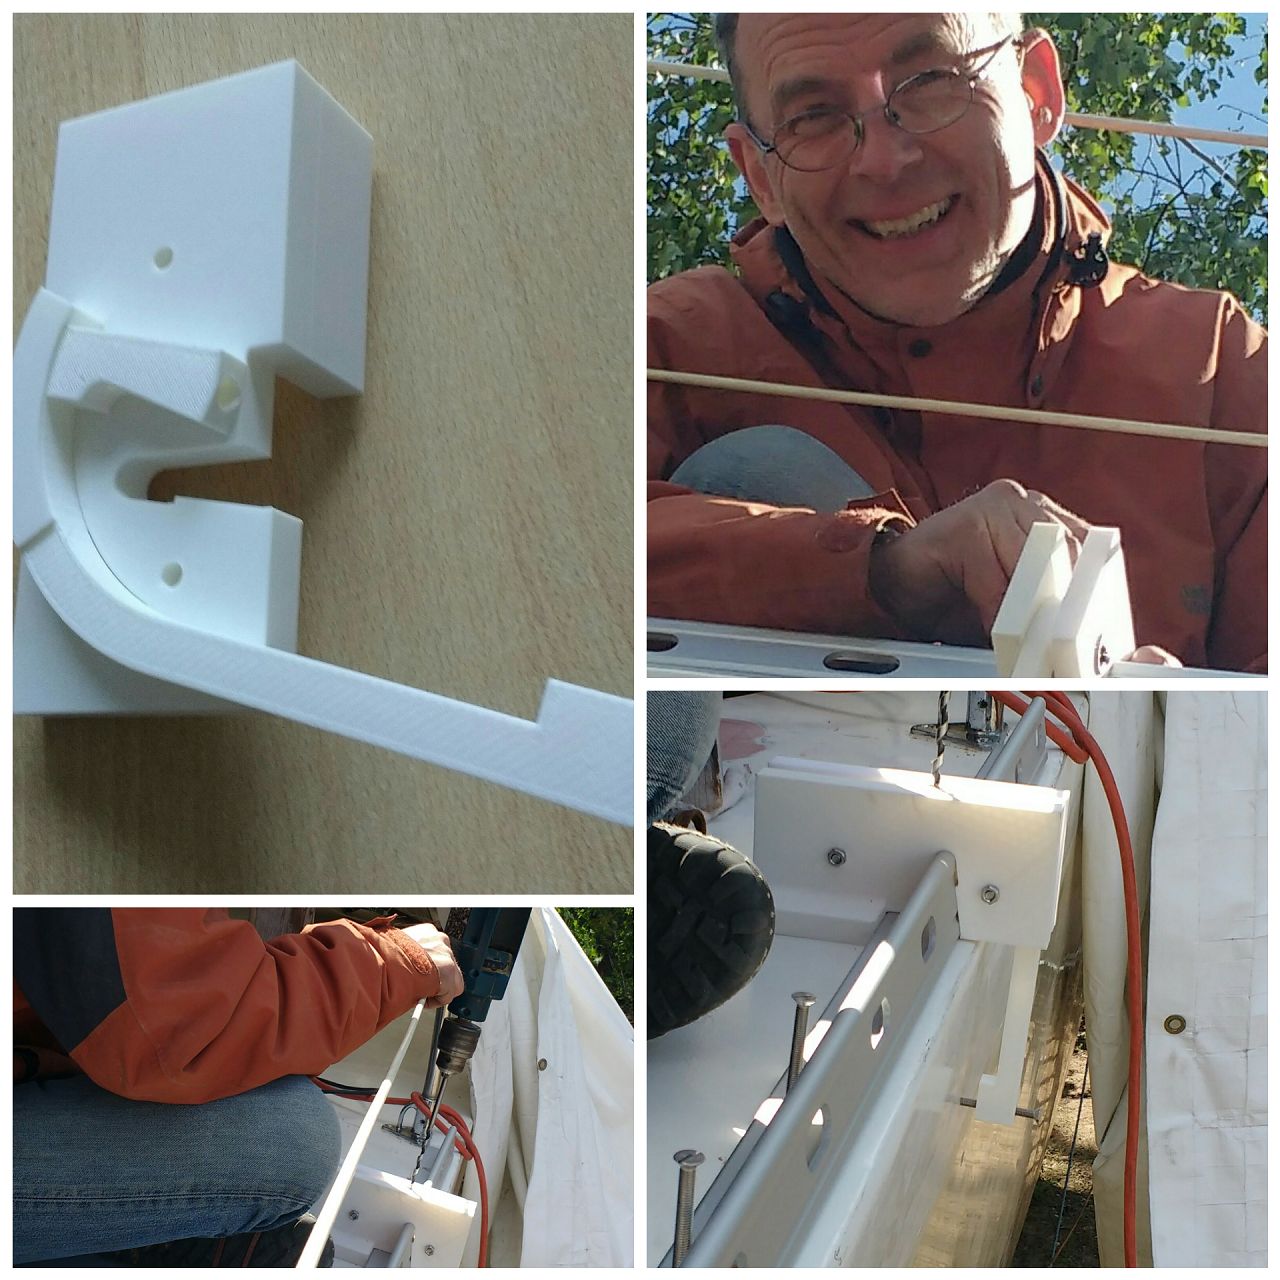
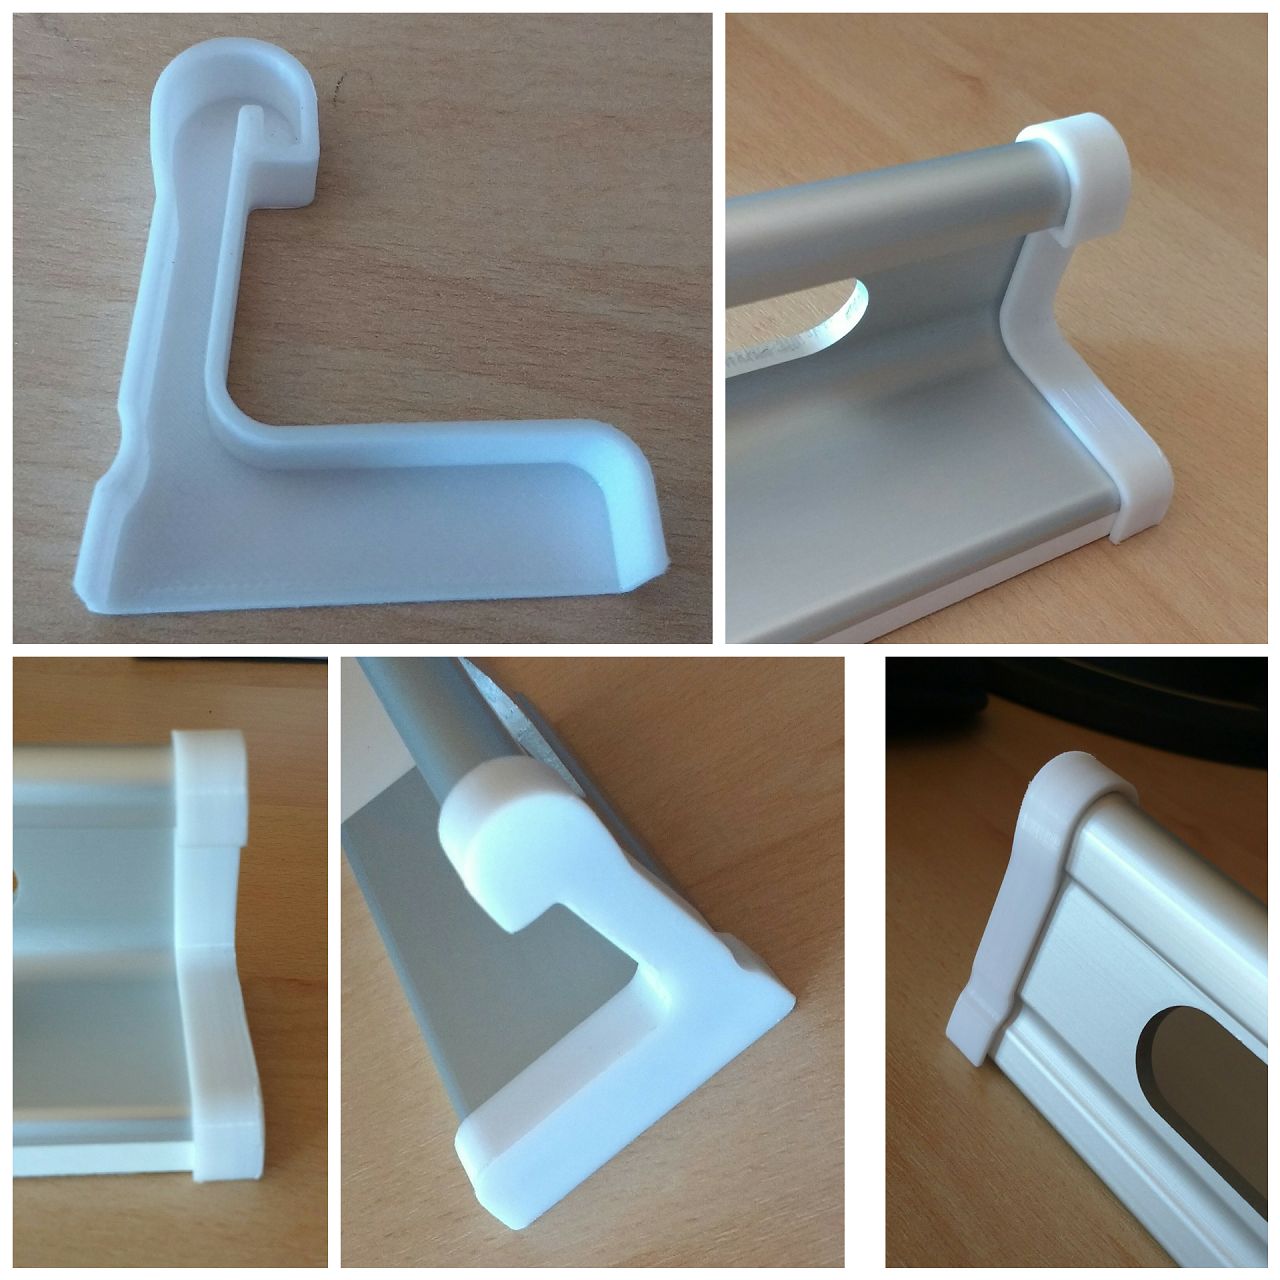
Before we start working on the boat I bought a 3d-printer which enormously enhanced our engineering capabilities and it turned out, that this machine was really essential for us. But we also used the printer to design and manufacture some tailored-made caps, hoods and other stuff.
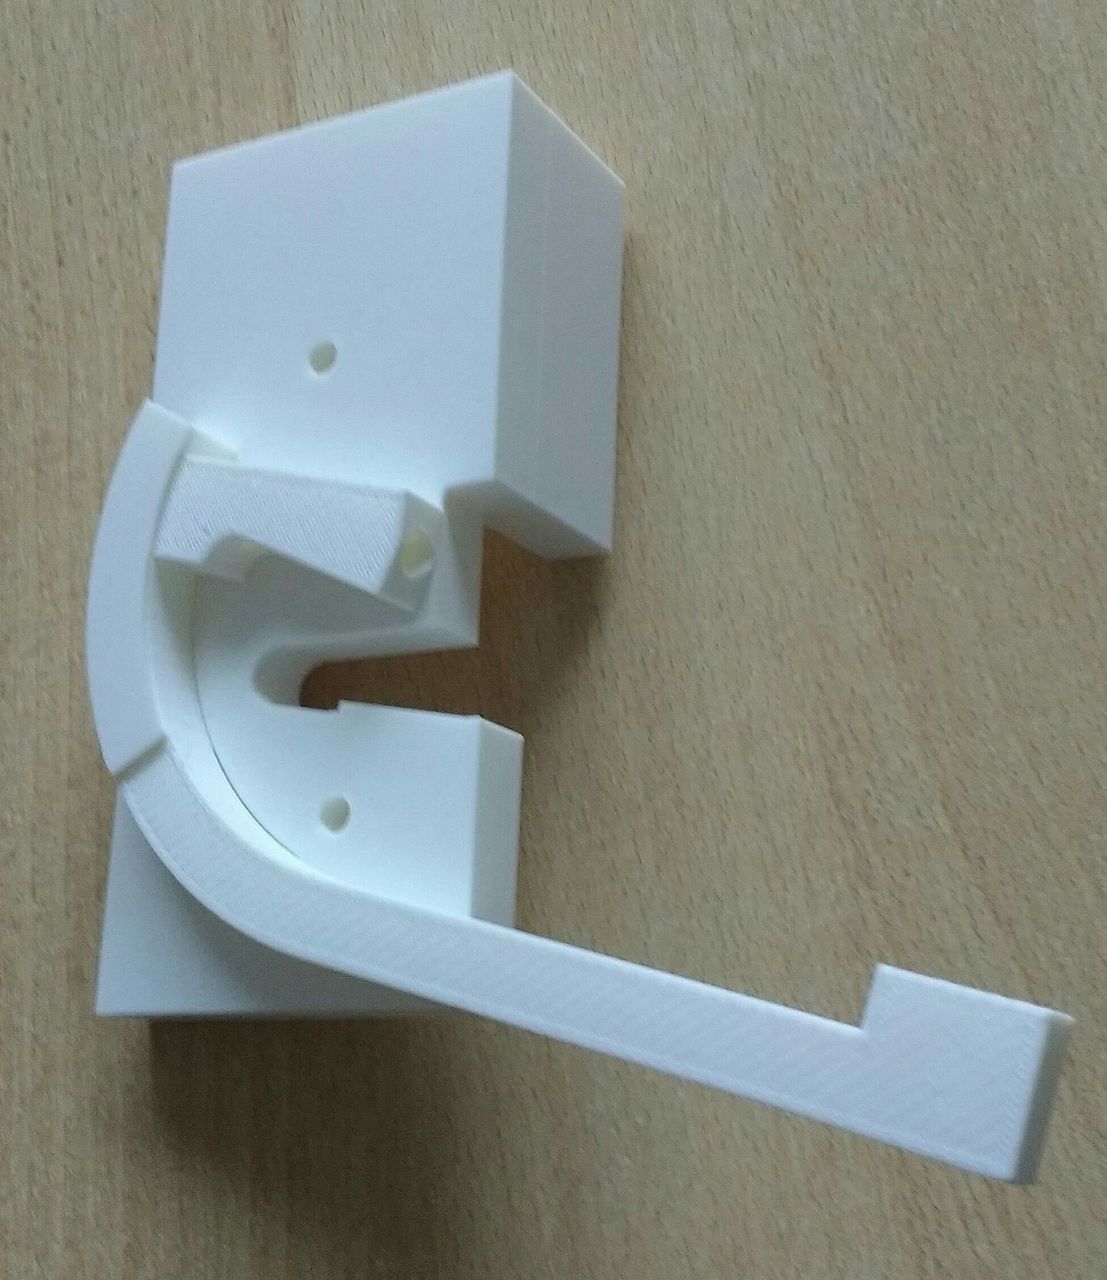
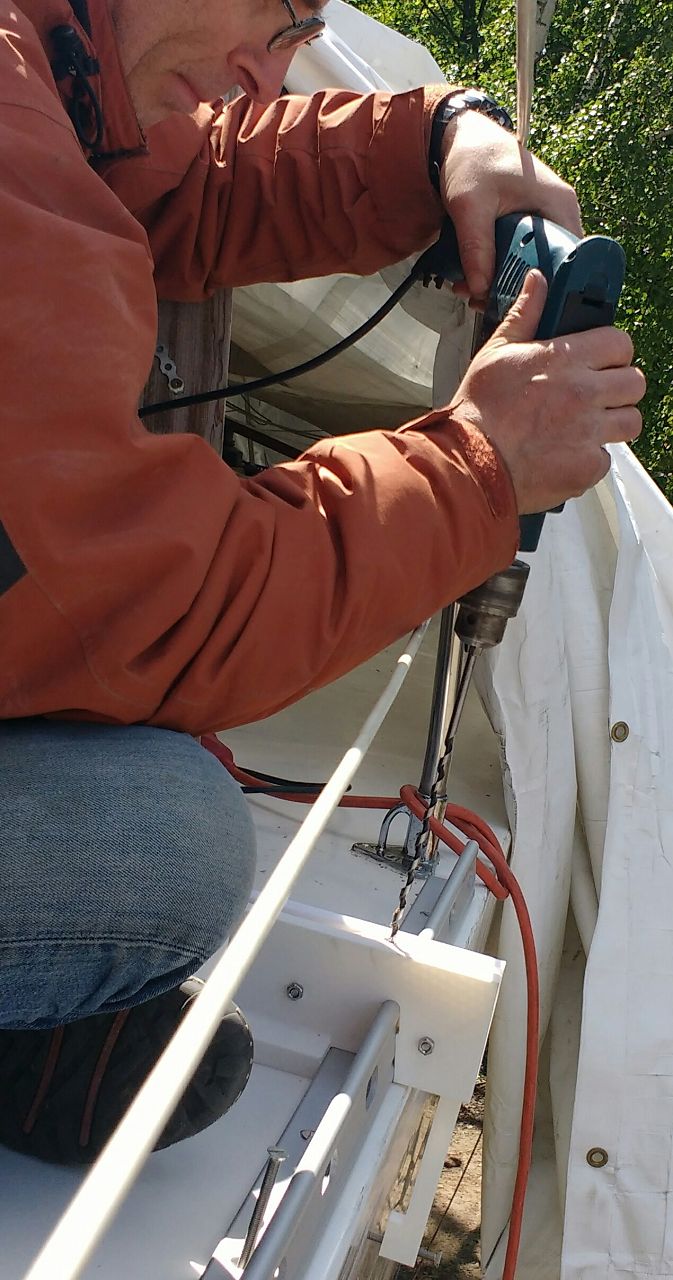
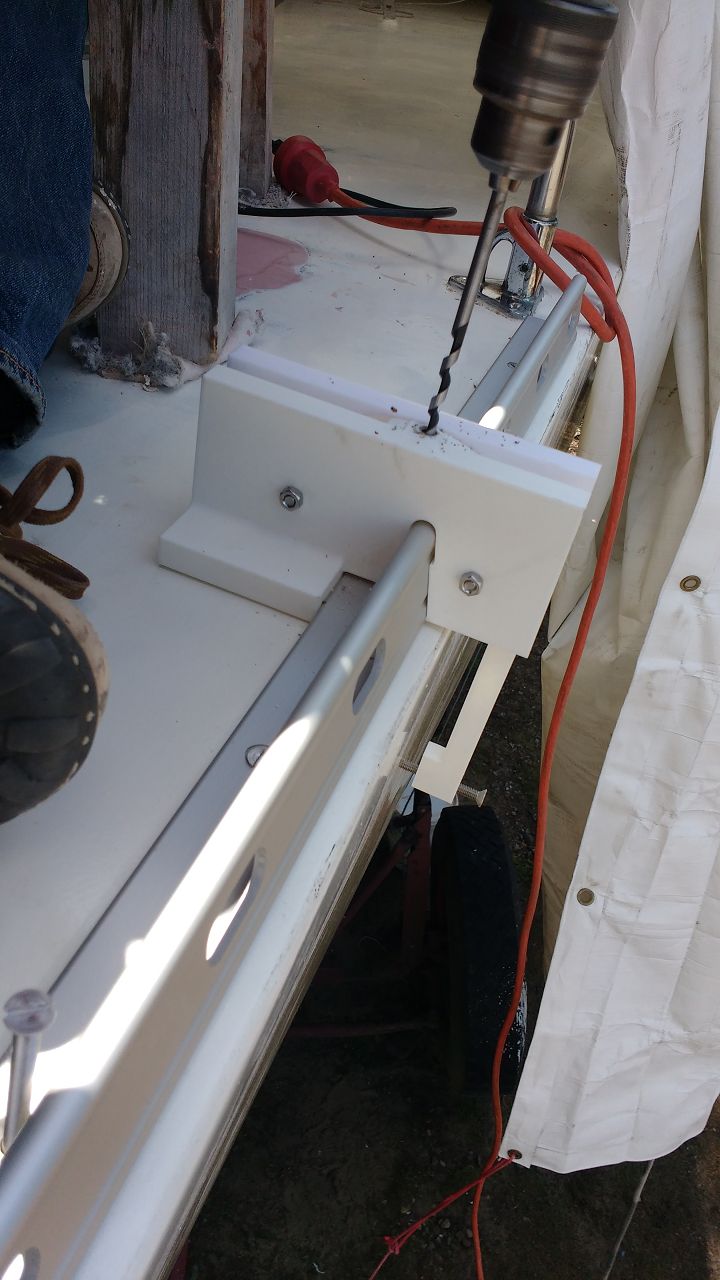
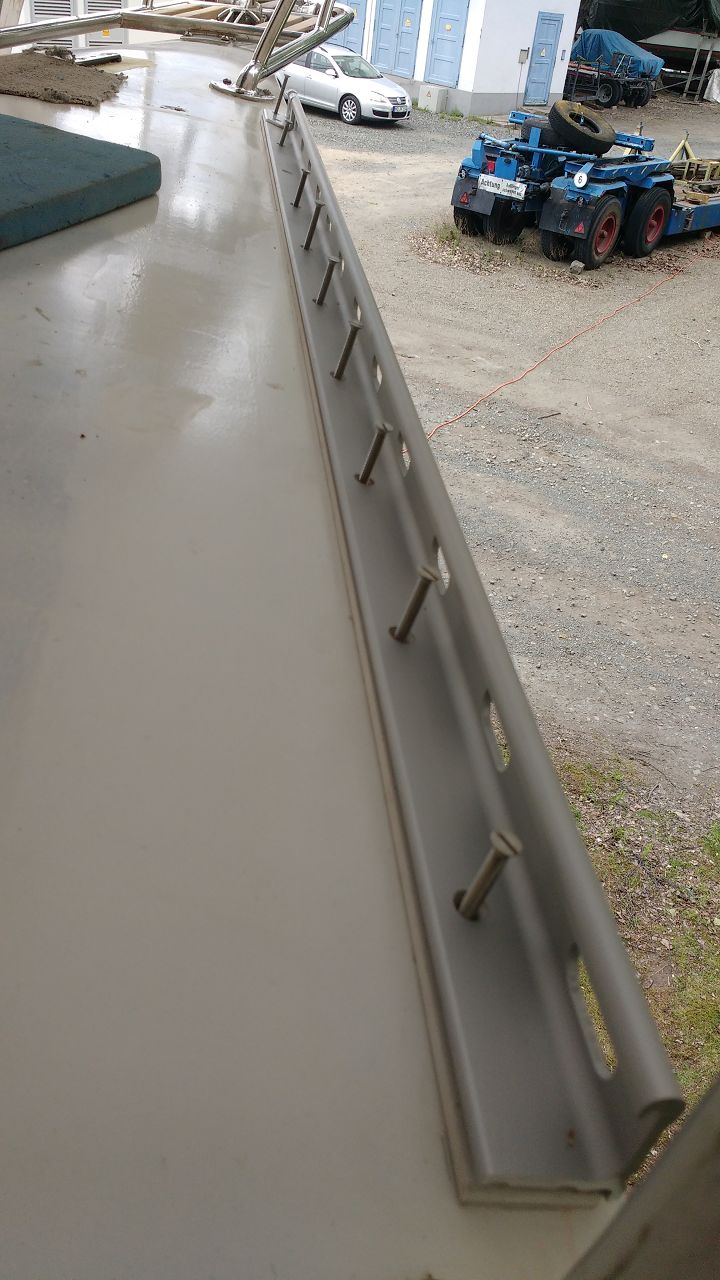
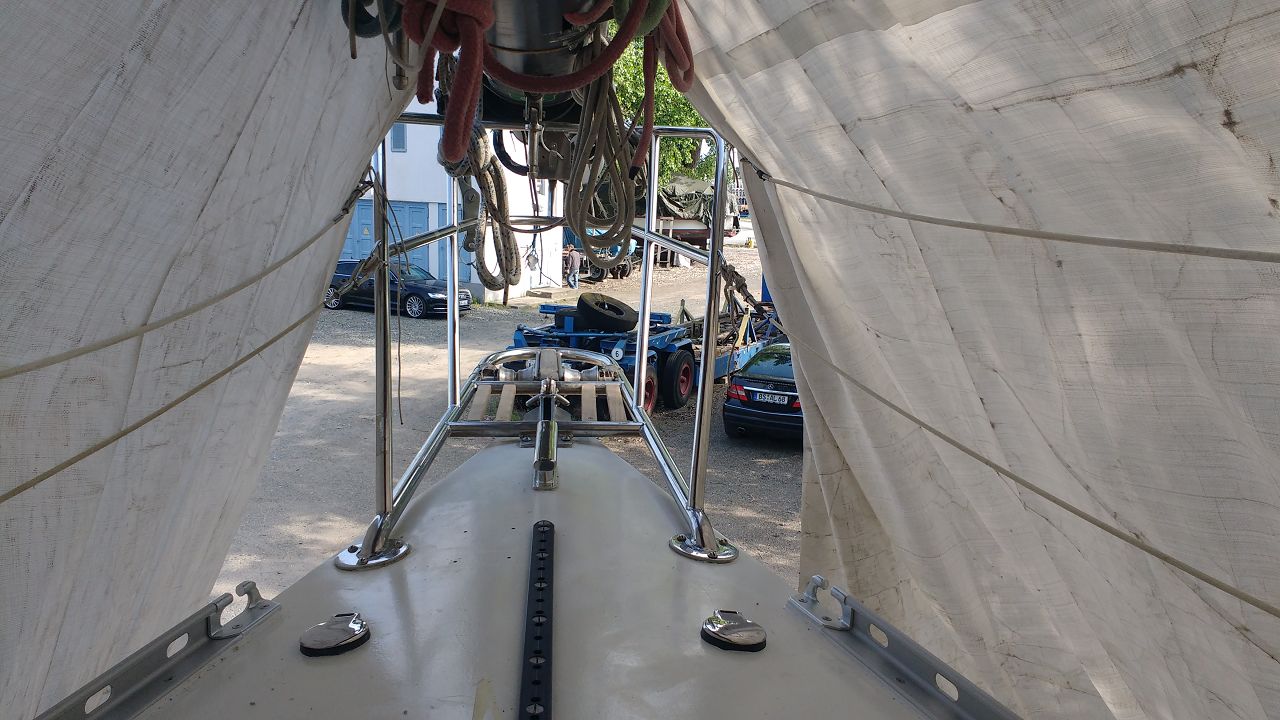
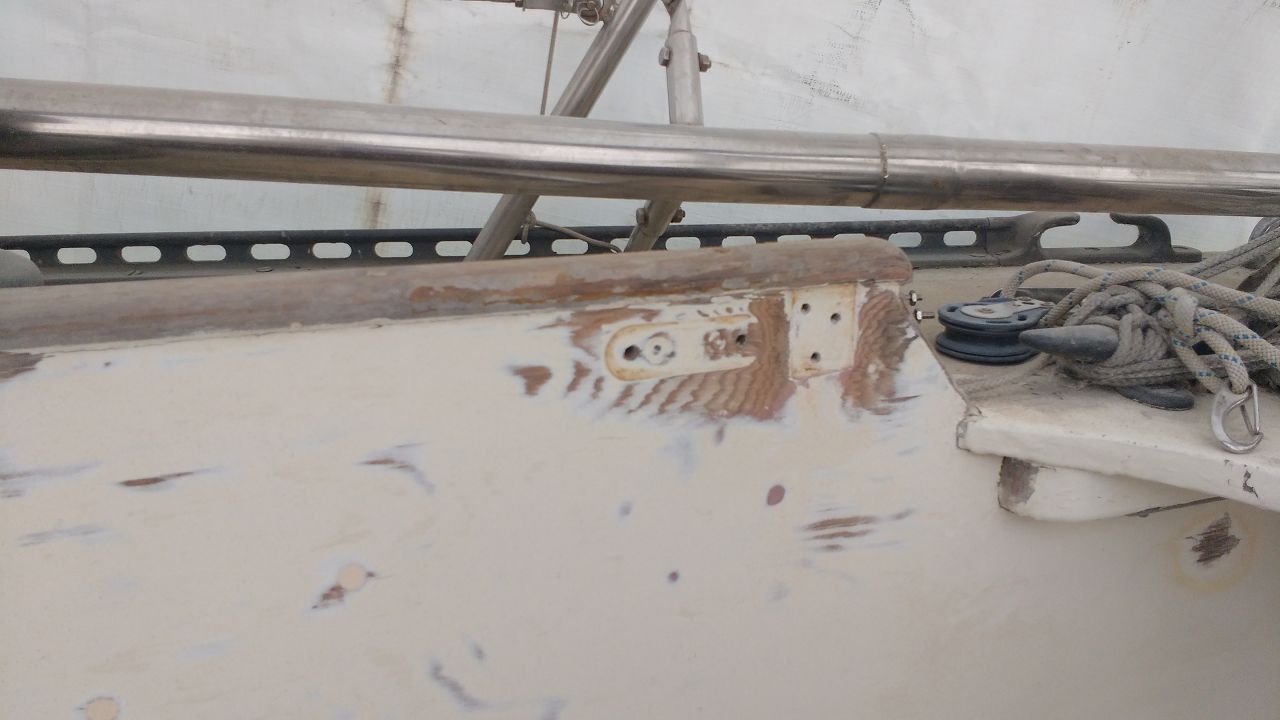
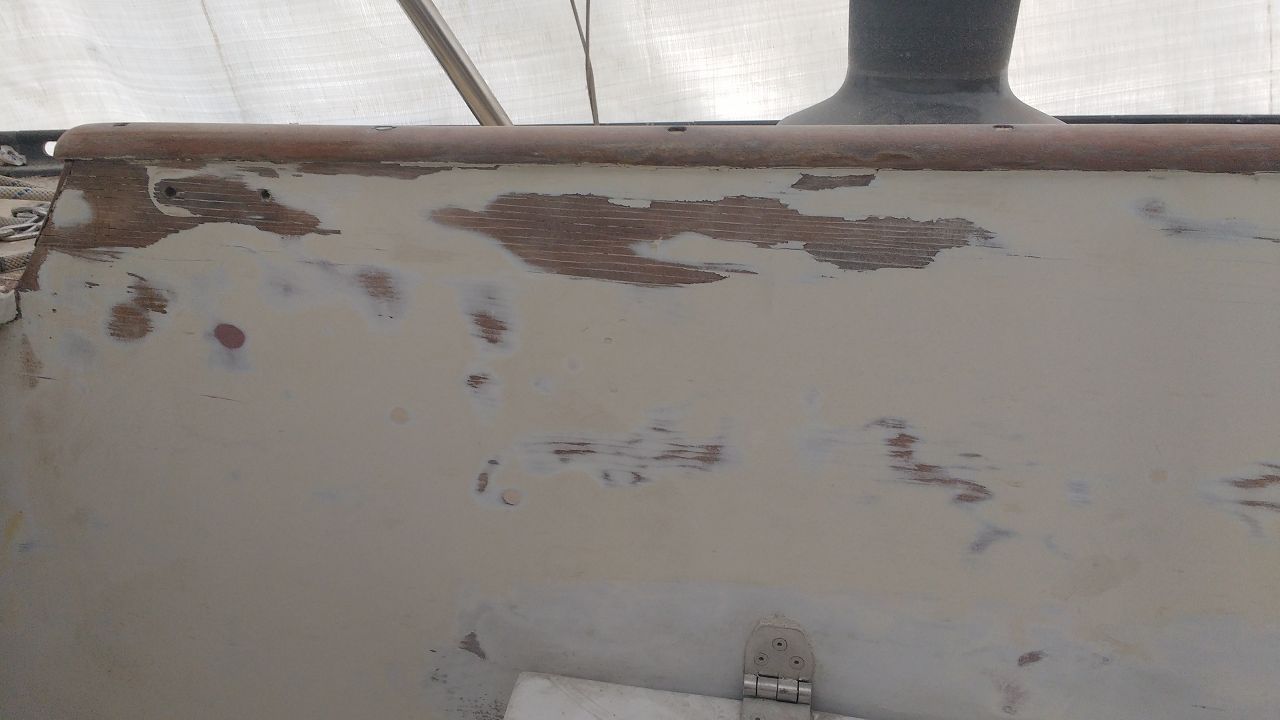
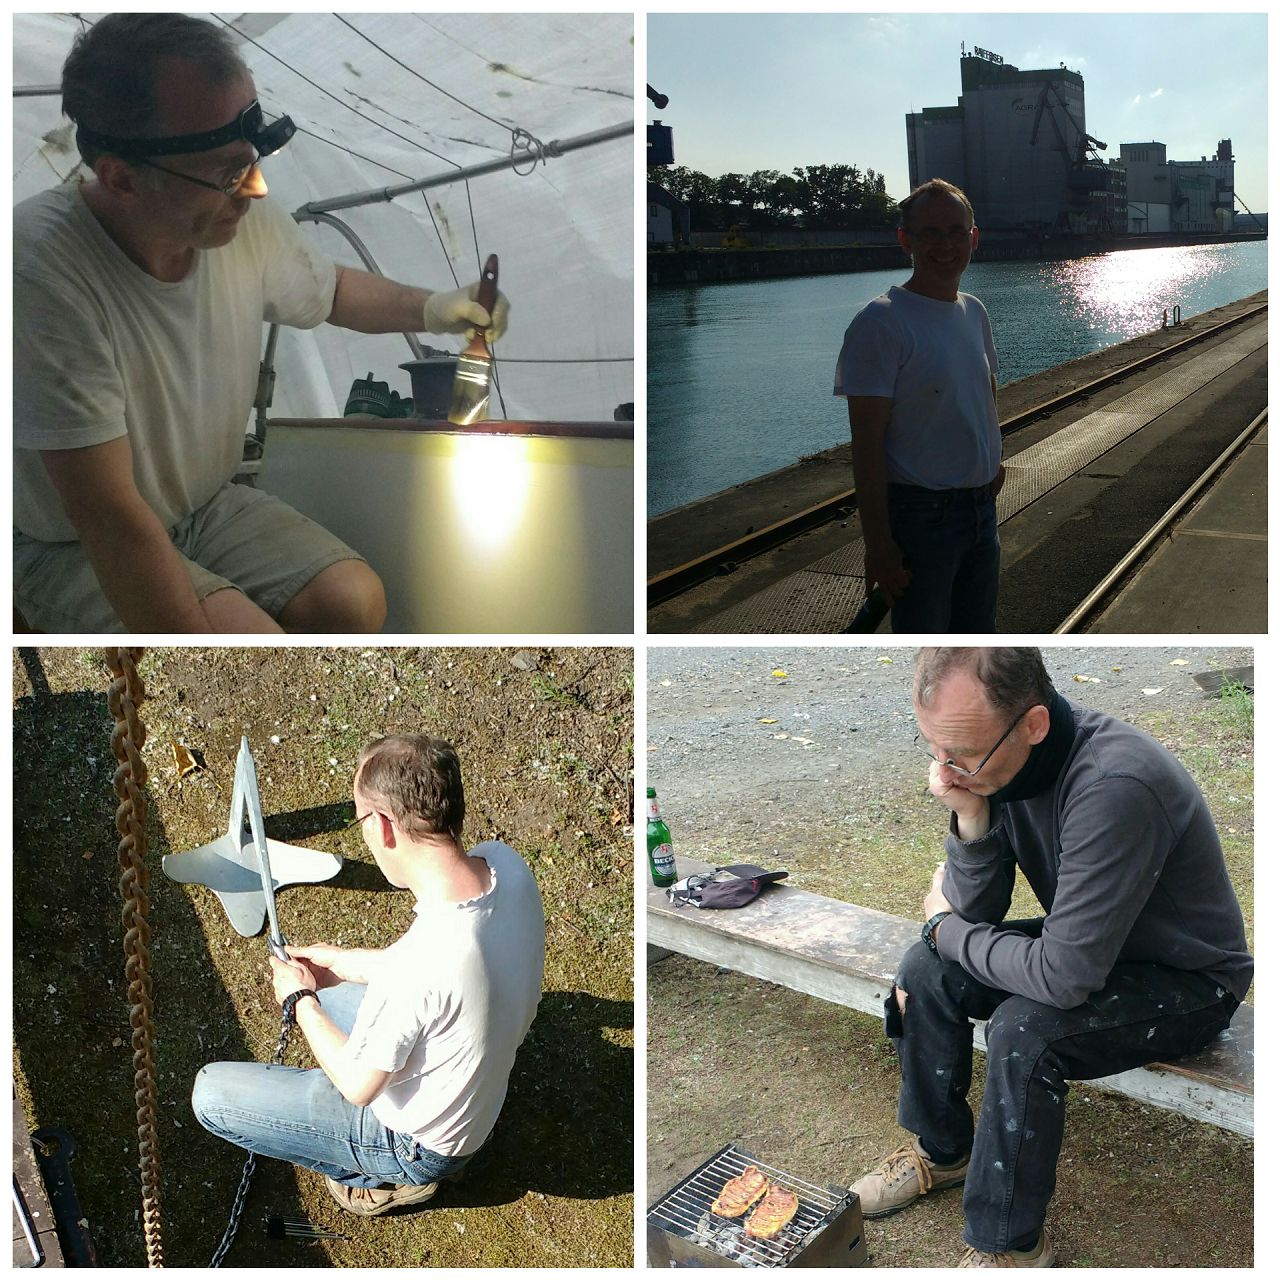
The whole work 2020 was split in 2 one week sessions in May and June. 2019 we left the boat with 2-3 coats of deck paint, so our first goal was to mount existing deck hardware but also drilling all the holes for the brand new toe rail. For this purpose Frank designed a drilling jig – otherwise it would have been almost impossible to drill vertical holes through the 110 mm thick beam structure under deck. At this stage the 3d-printer came into play, because without it we wouldn’t have been able to manufacture the jig. The idea behind the design: the jig would always „follow“ the hull curvature and the beam, so every bore hole would “land” exactly at the centre-line of the beam structure below deck. As we later saw, the jig worked fantastically. With two persons It was very easy to handle and one bore hole didn’t take us more than one minute.
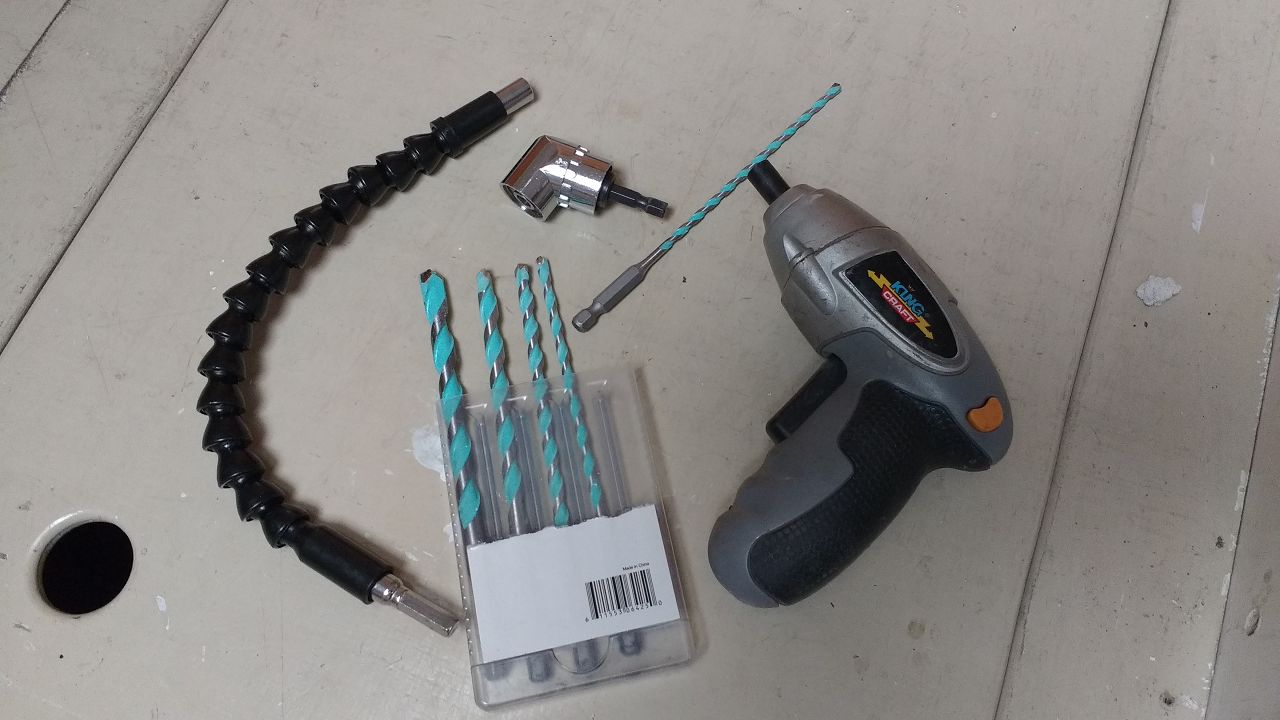
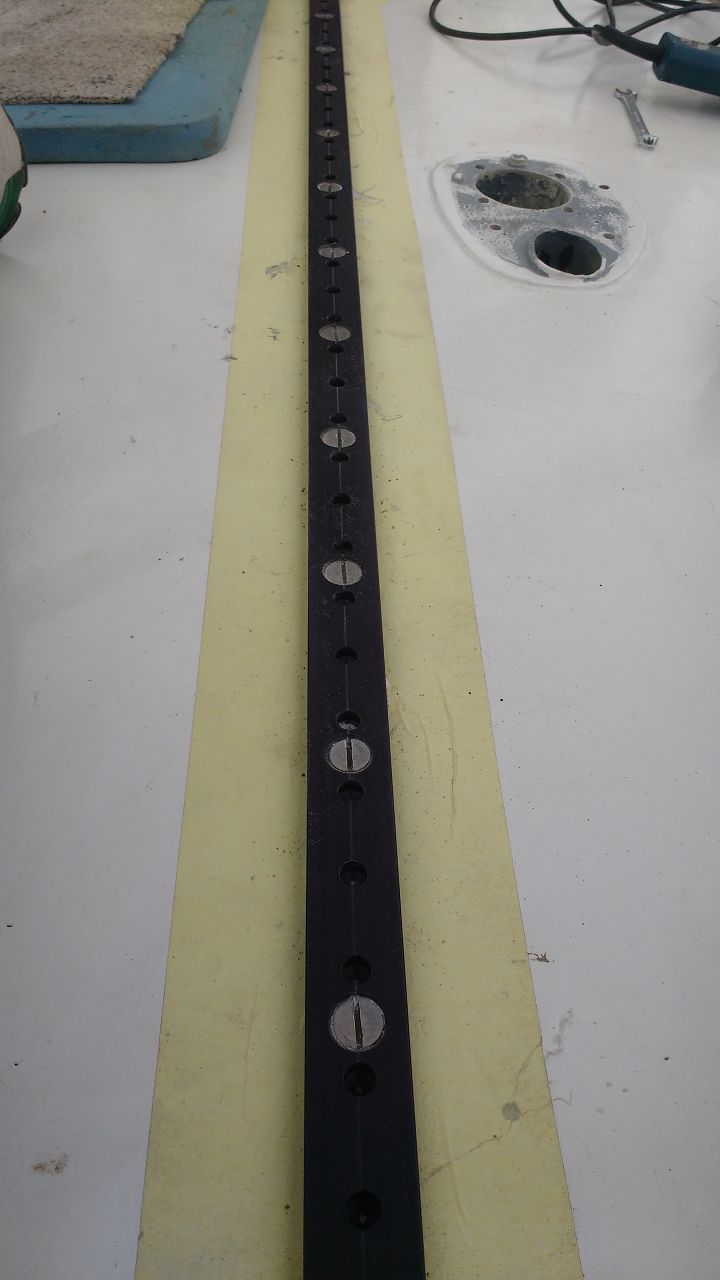
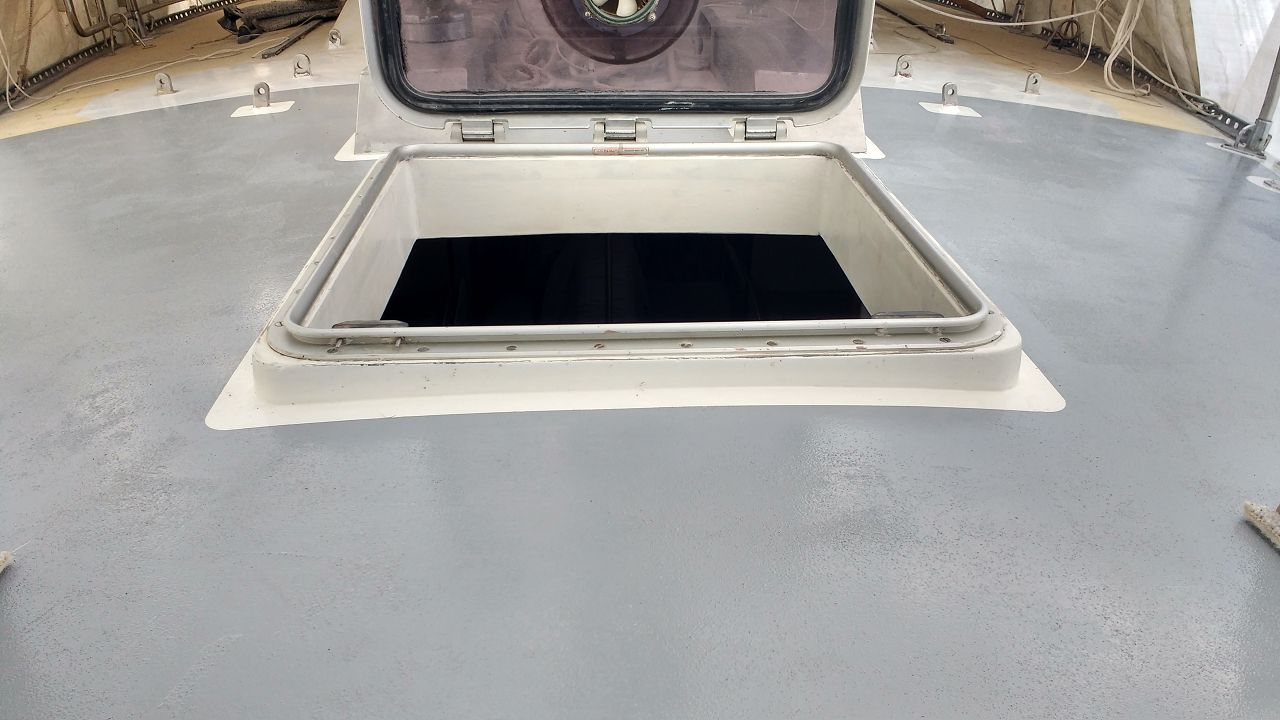
The existing holes of the old rail were closed with epoxy putty from the bottom – which acted as a plug – and filled-up with epoxy resin from the top by a syringe. To achieve this, we first had to drill them through the new deck coat from the inside, which was quite tricky due to space restrictions. The solution was a 90° angle gear and the corresponding drills with hexagonal tool mounting.
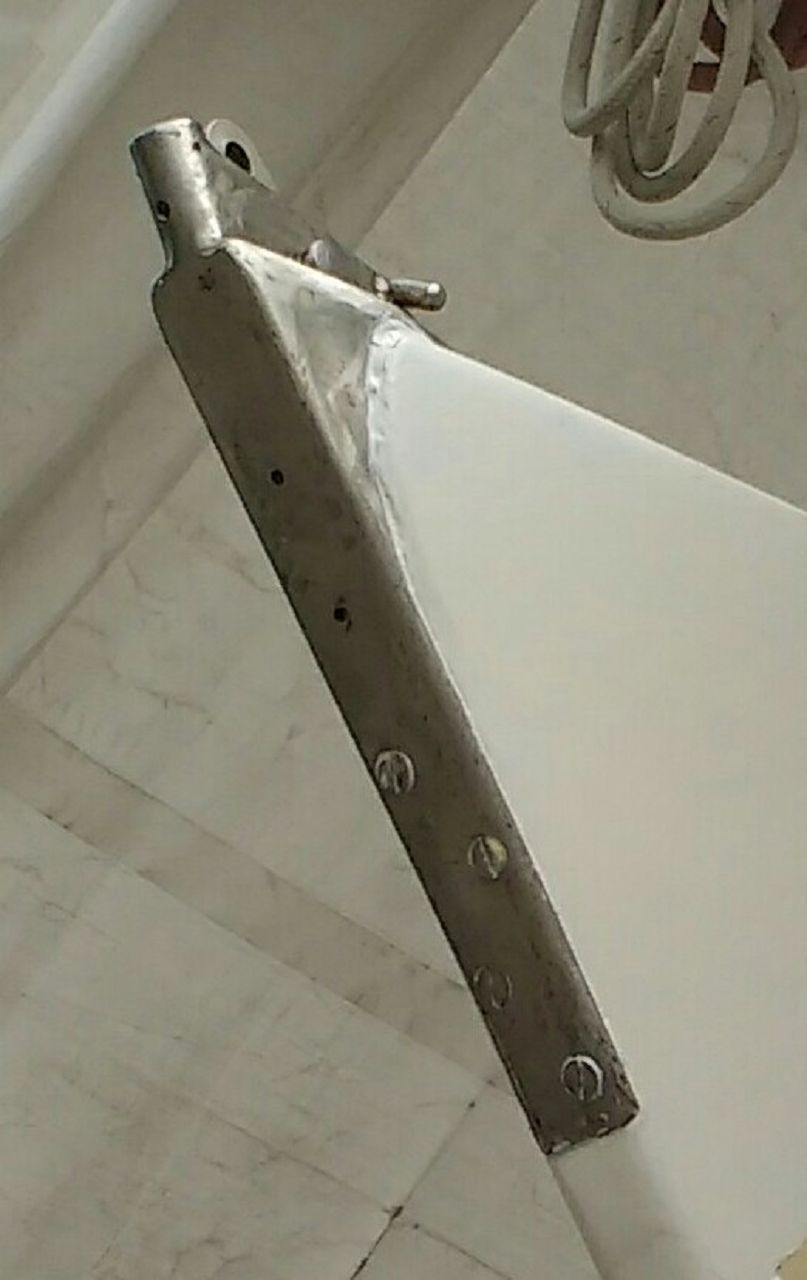
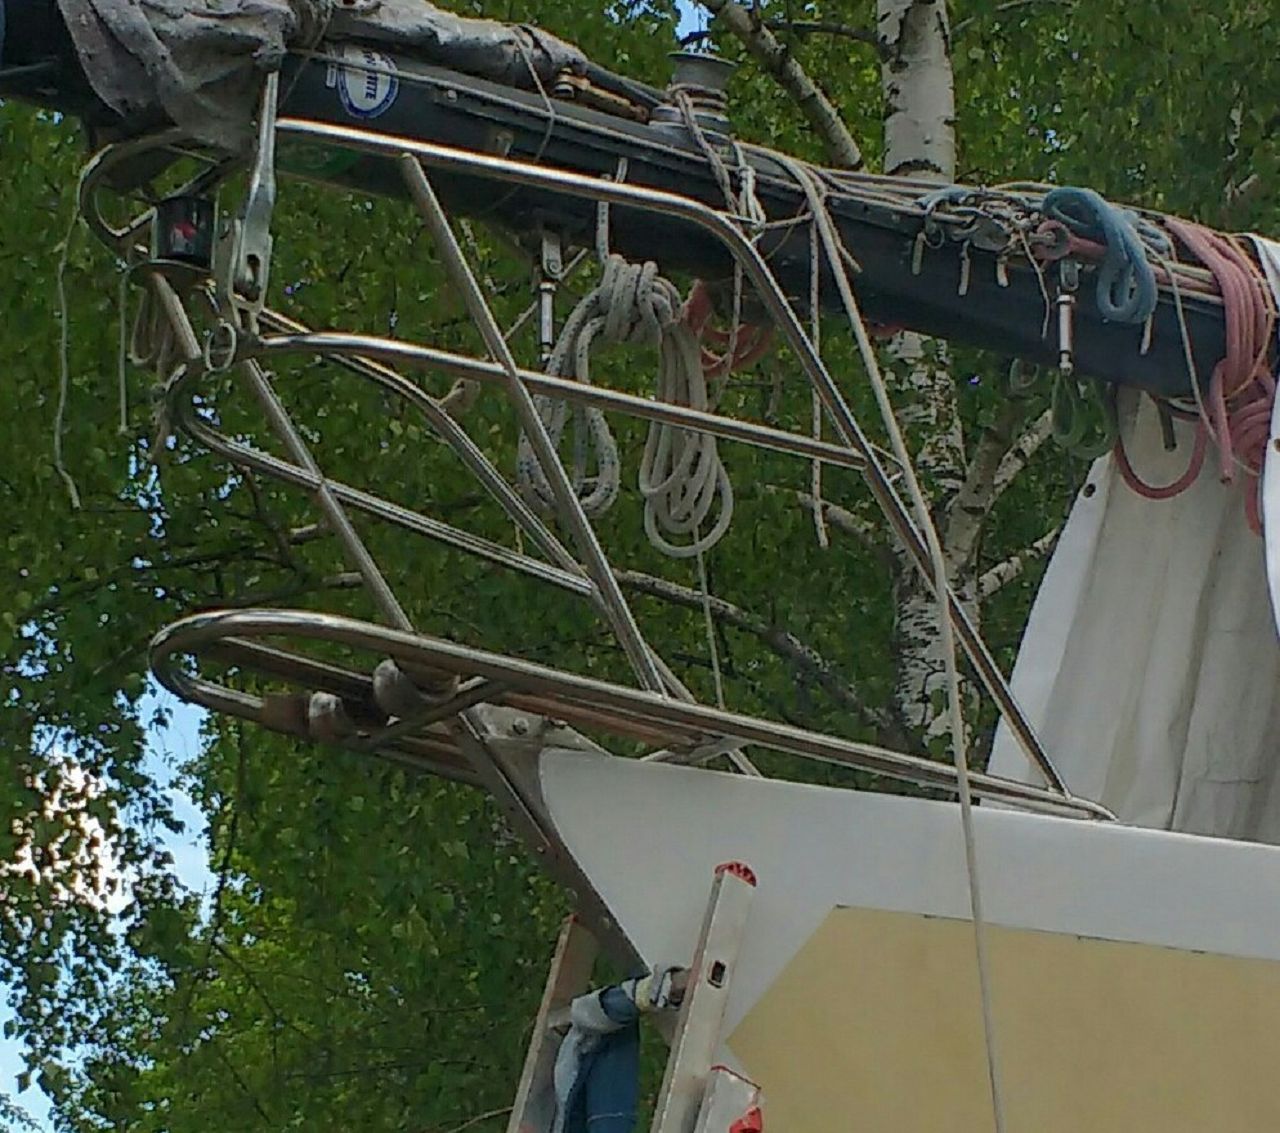
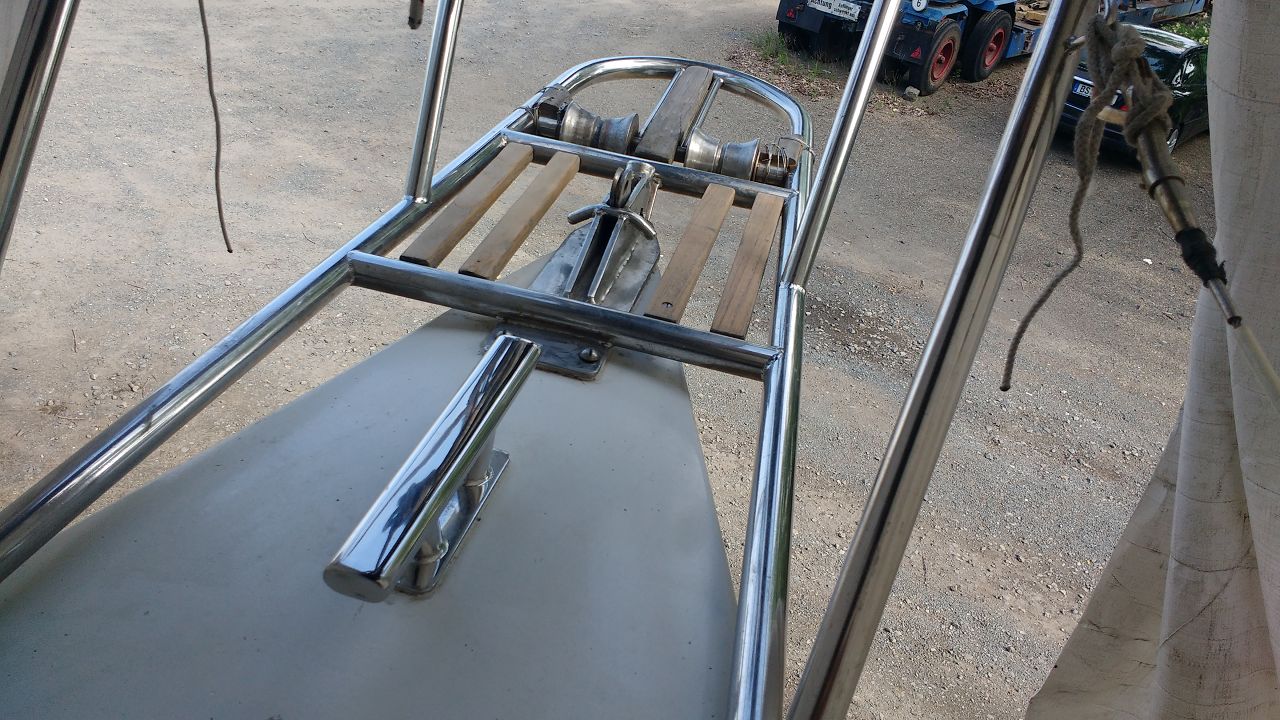
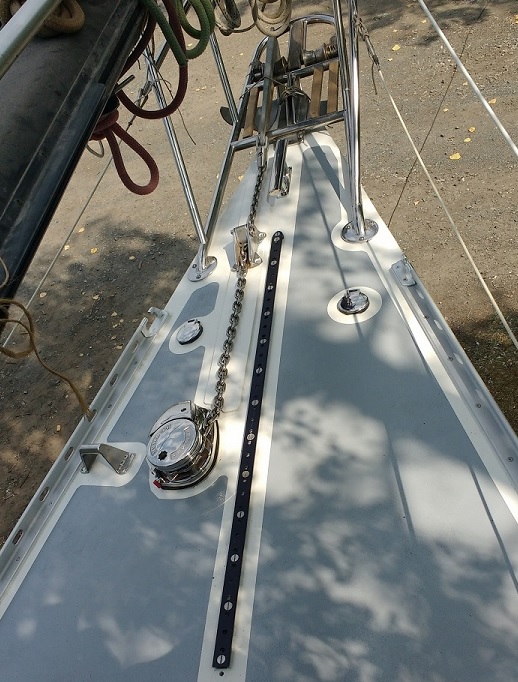
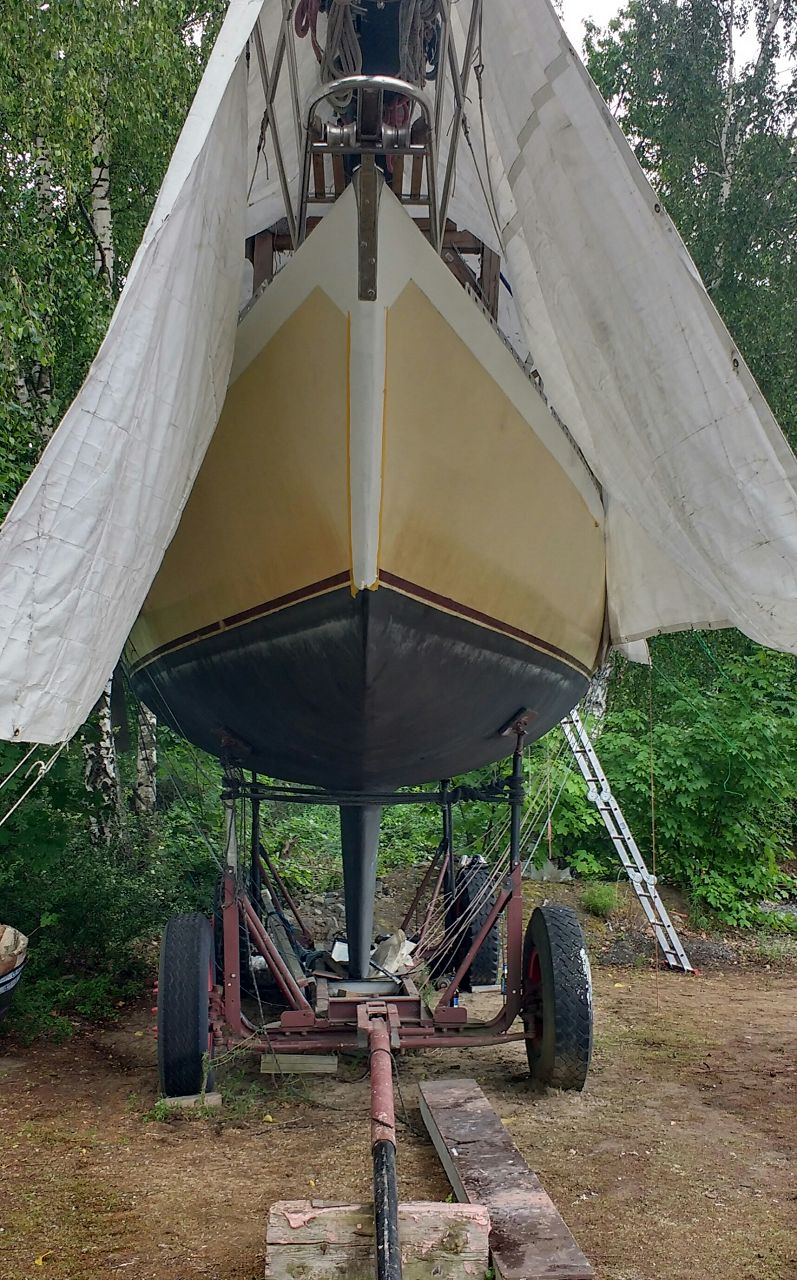
The mounting of the stem head fitting together with the bow rail (they are connected and share the same hinge bracket) was quite a challenge too and took us some time, so the first week was soon over. After the first week, bow rail and stem head fitting were firmly in place and the new rail (besides the existing hardware) was ready to be mounted during the 2nd session.


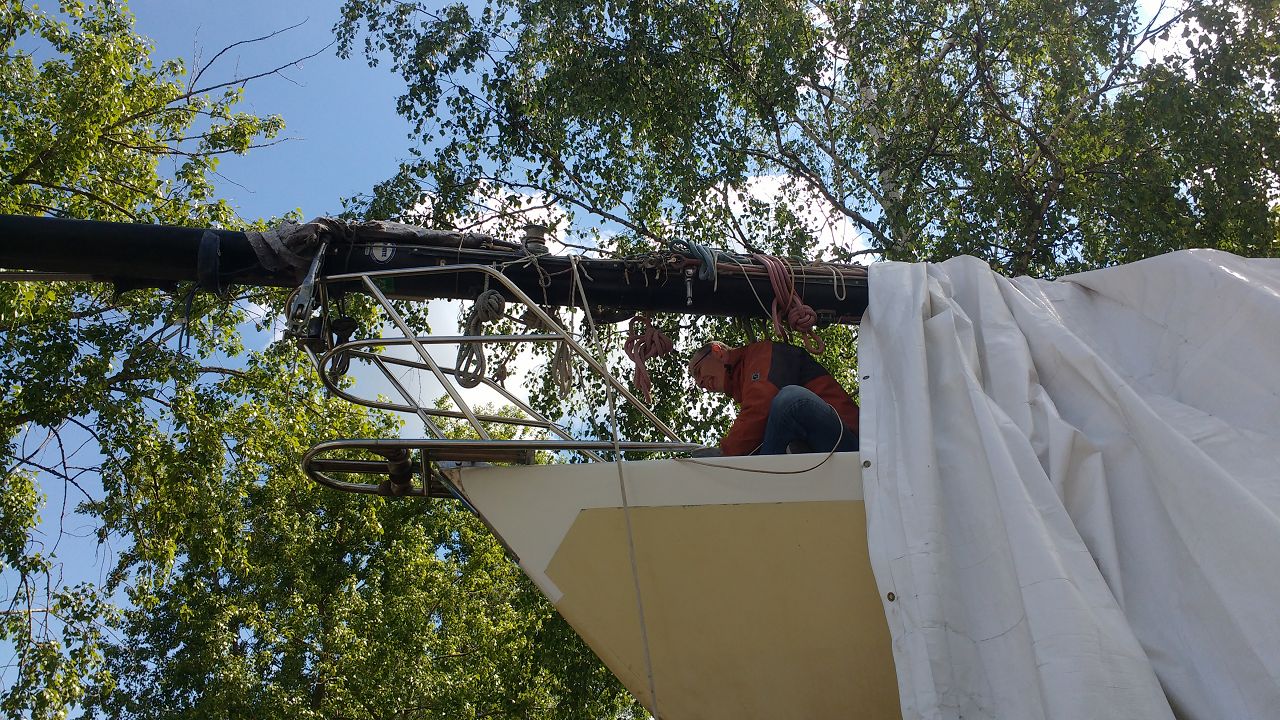

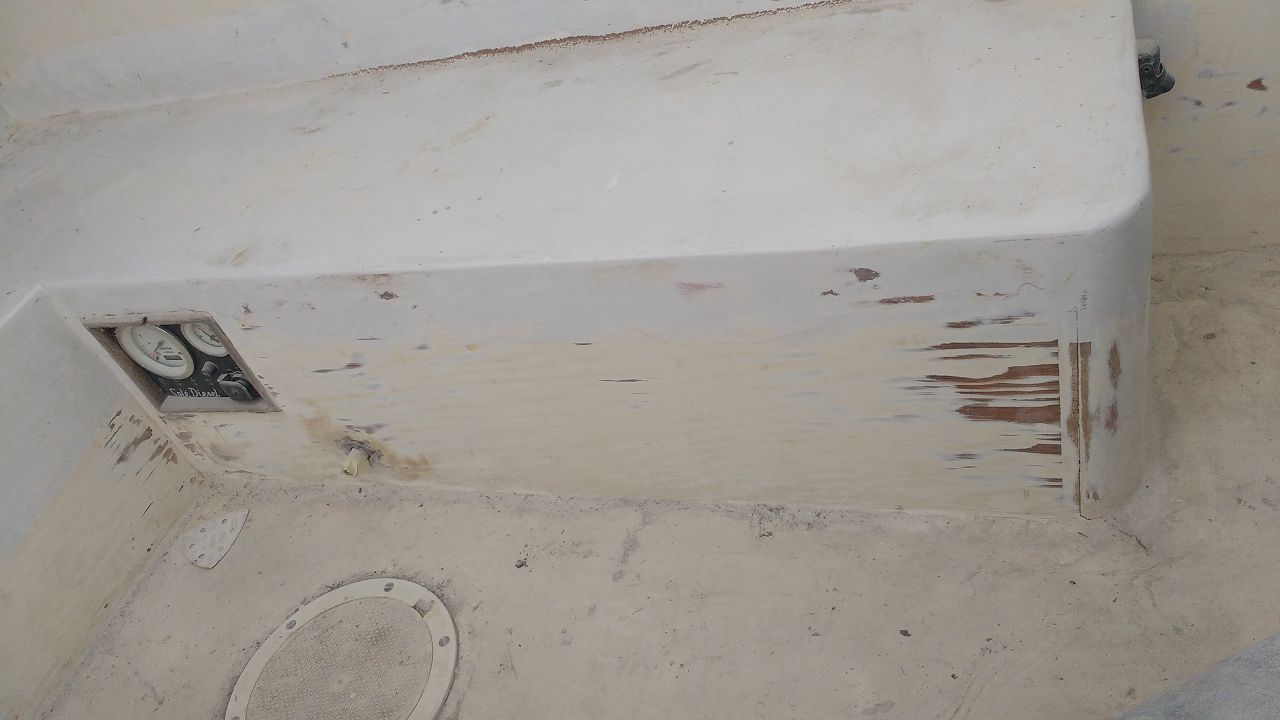
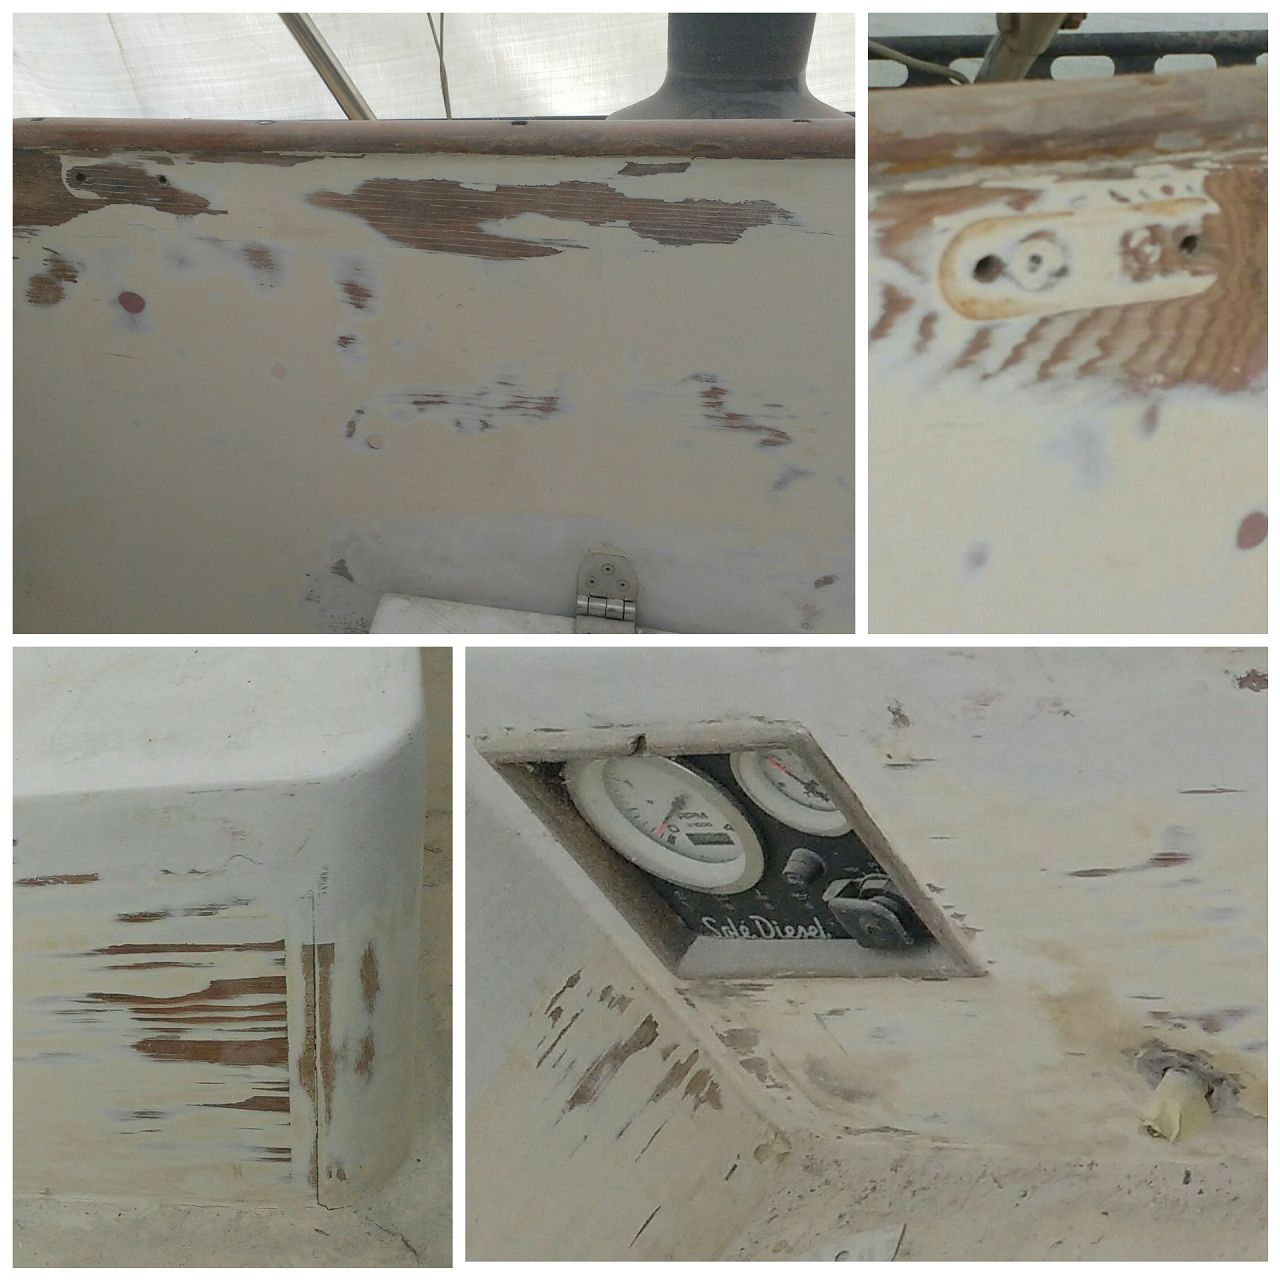
The 2nd session in June was characterized by nice and warm weather as one would expect. Very rarely a shower came down and most of the time it was sunny but breezy. Our work was filled with:
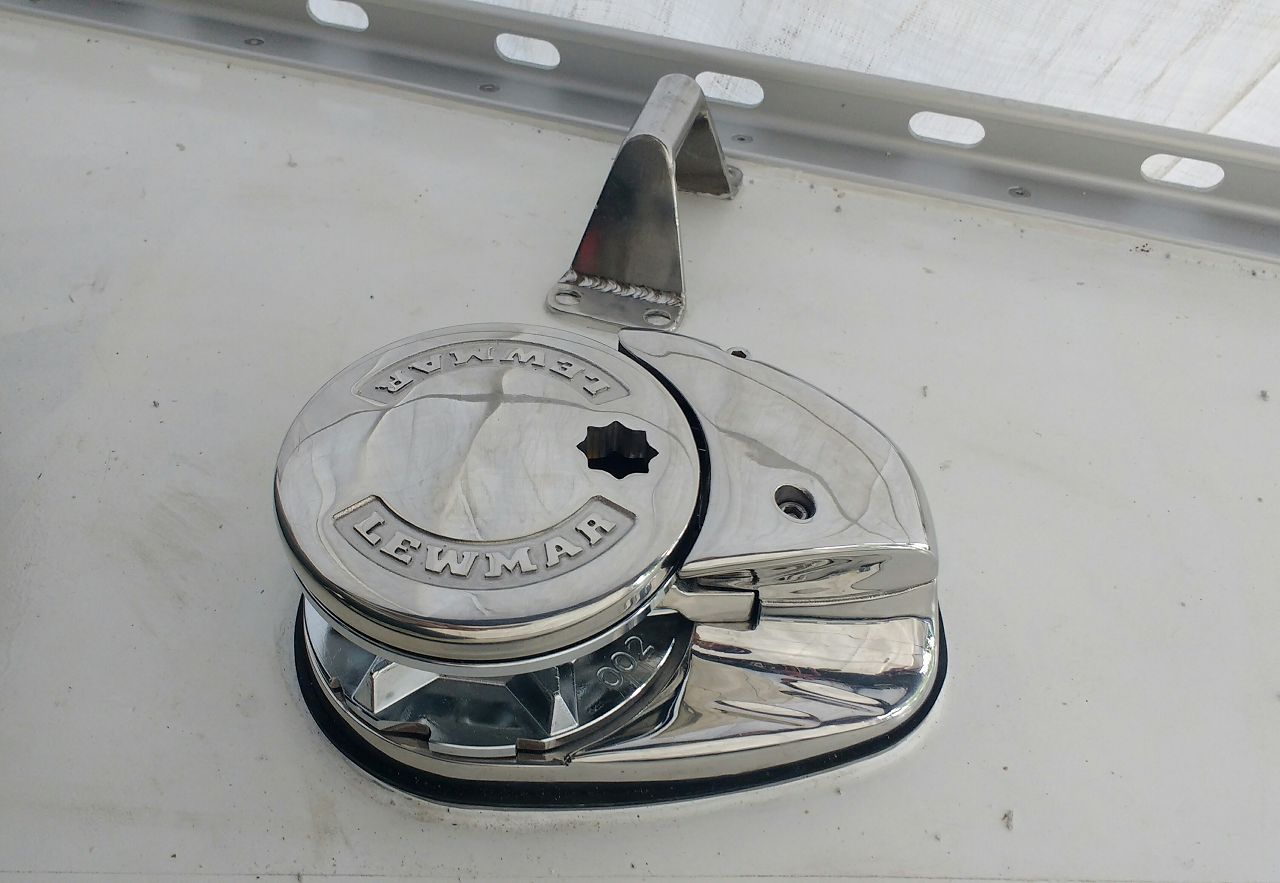
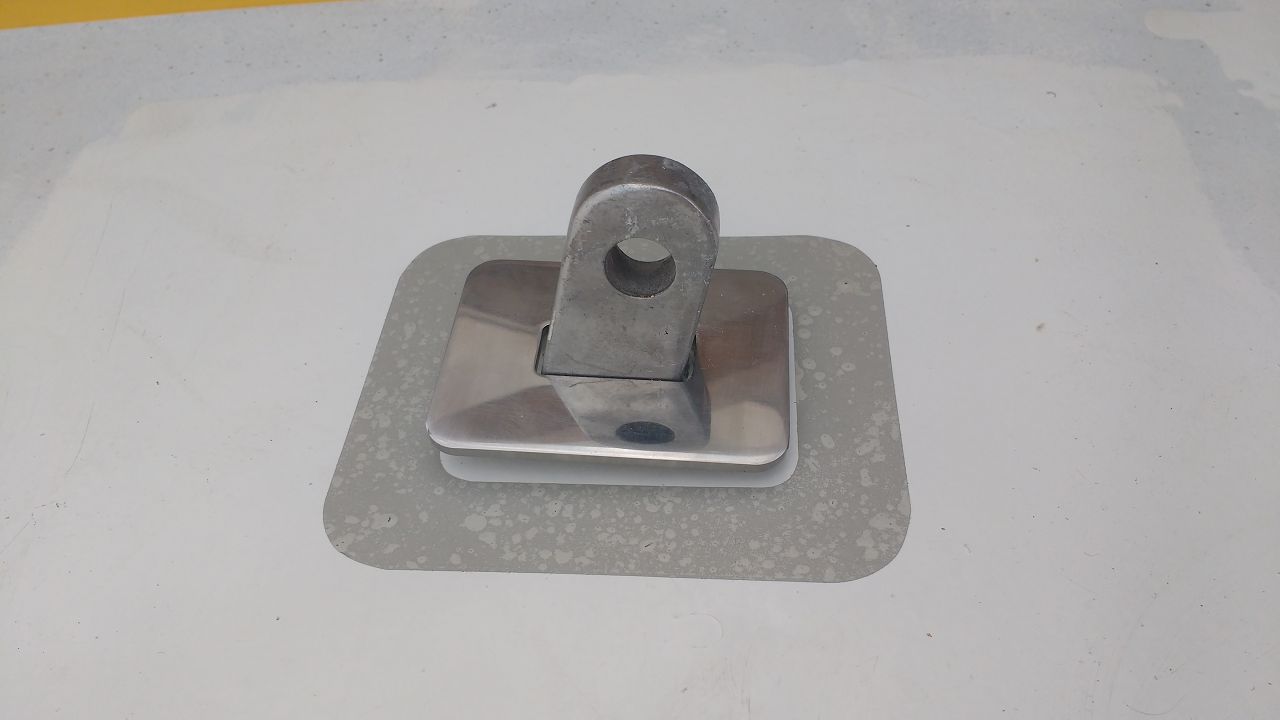
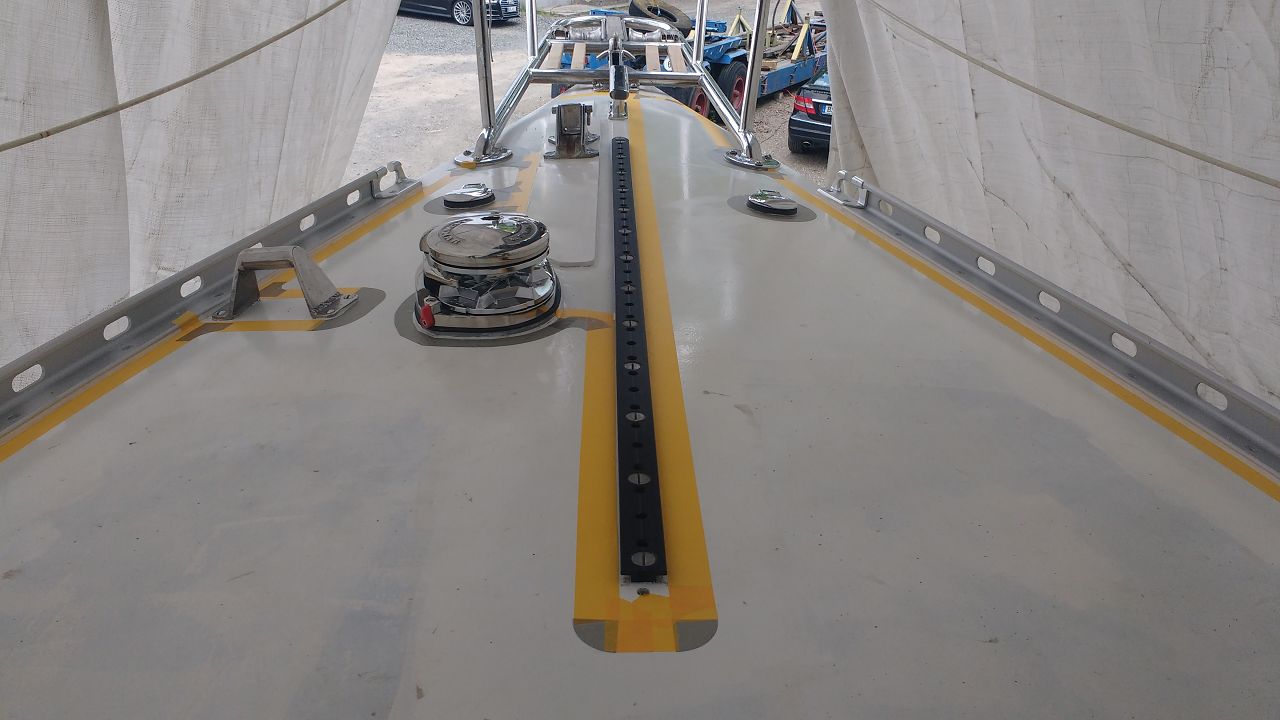
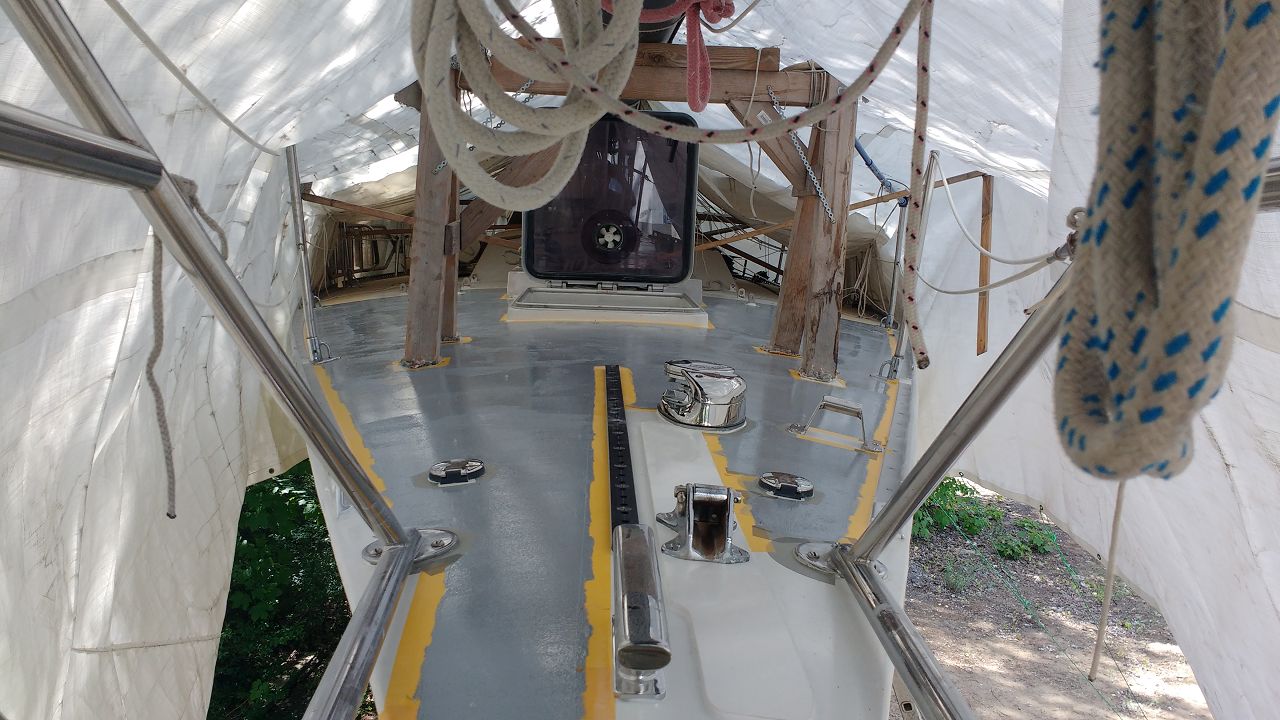
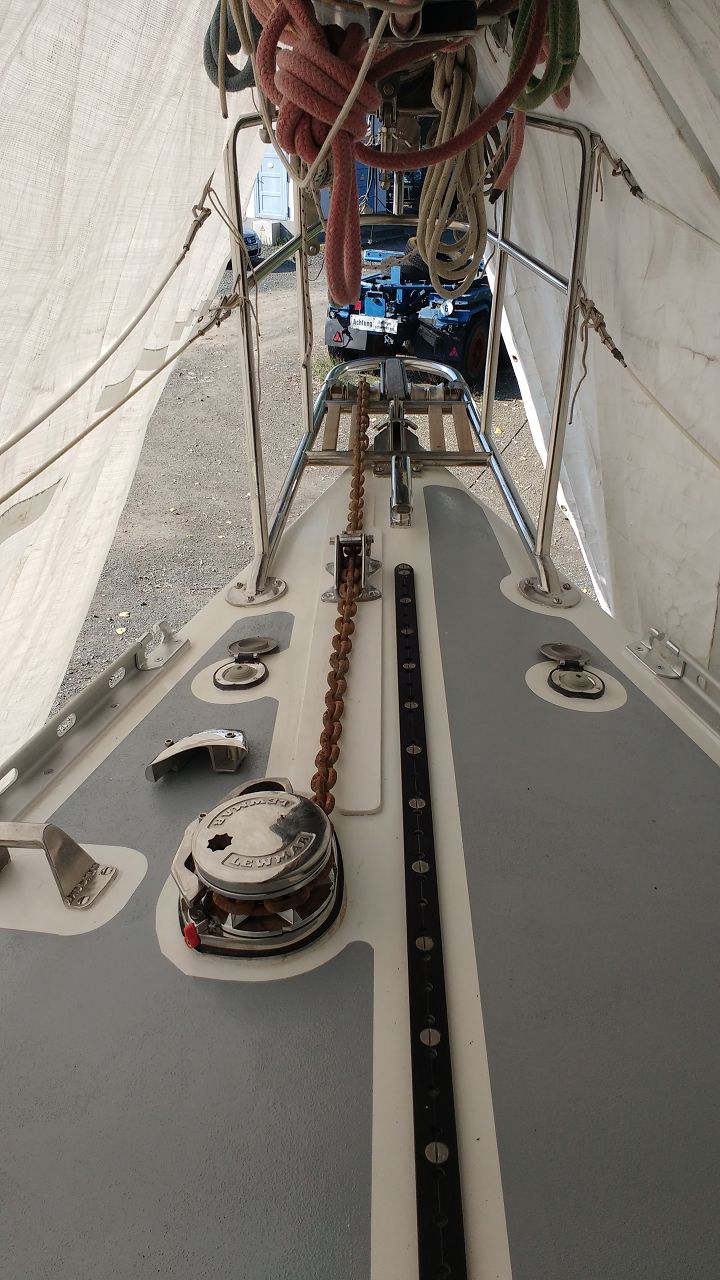
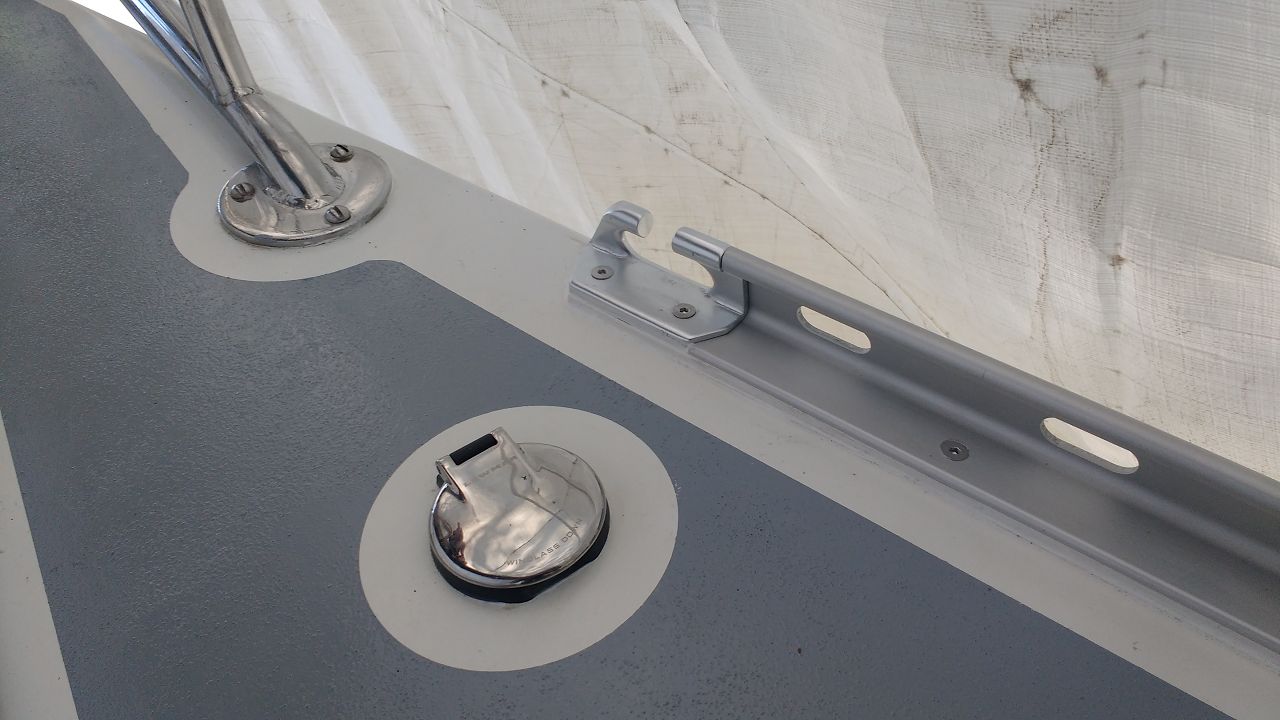
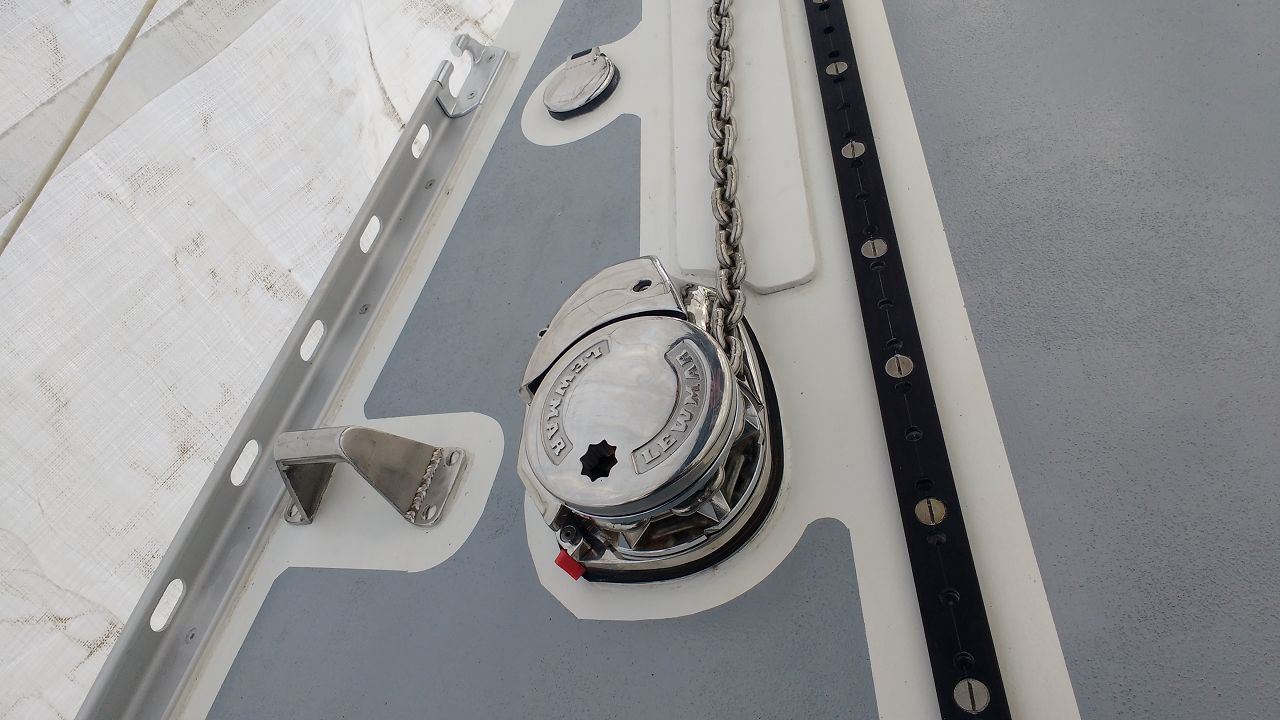
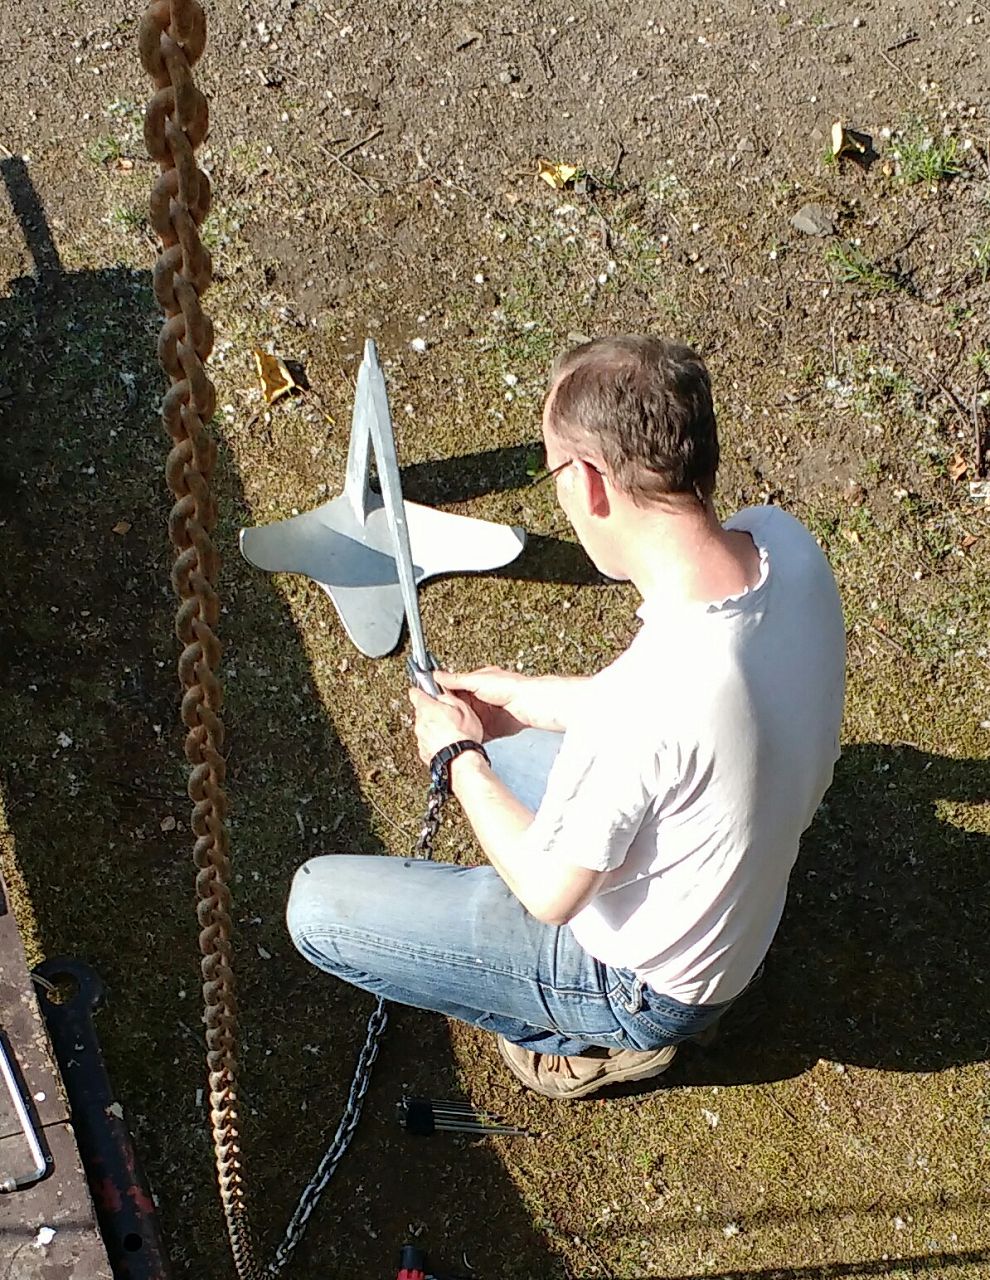
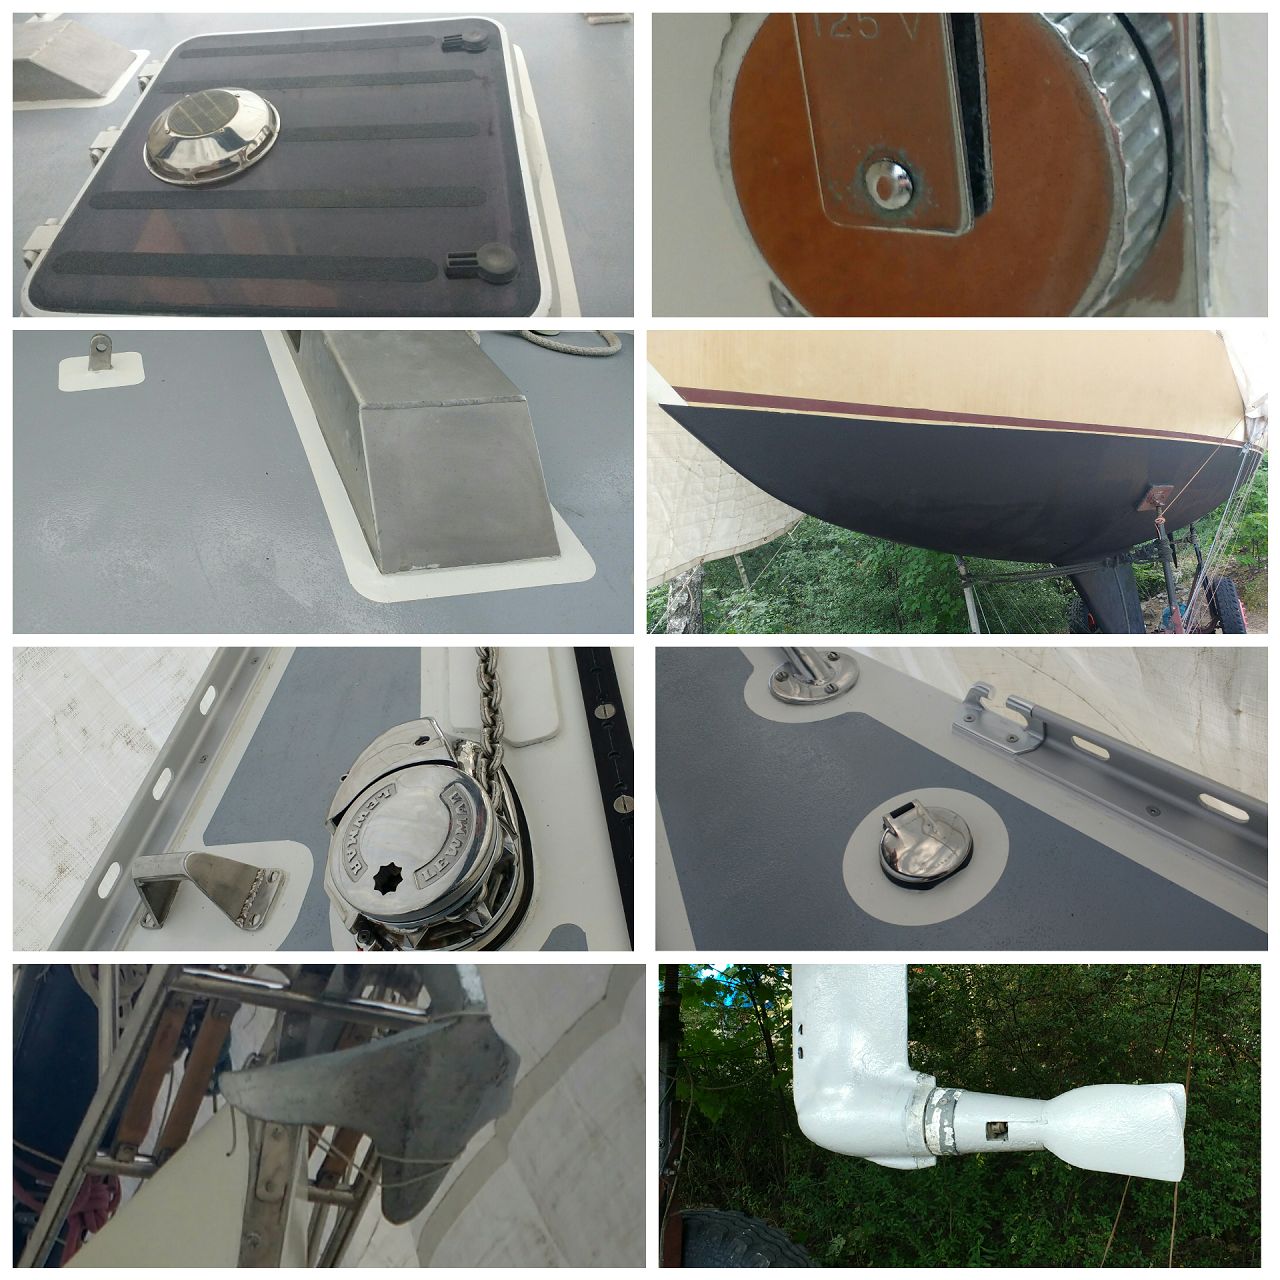
– mounting of toe rail, windlass & associated deck switches
– building and mounting of new anchor chain protection „board“ made of UV-resistant white PVC
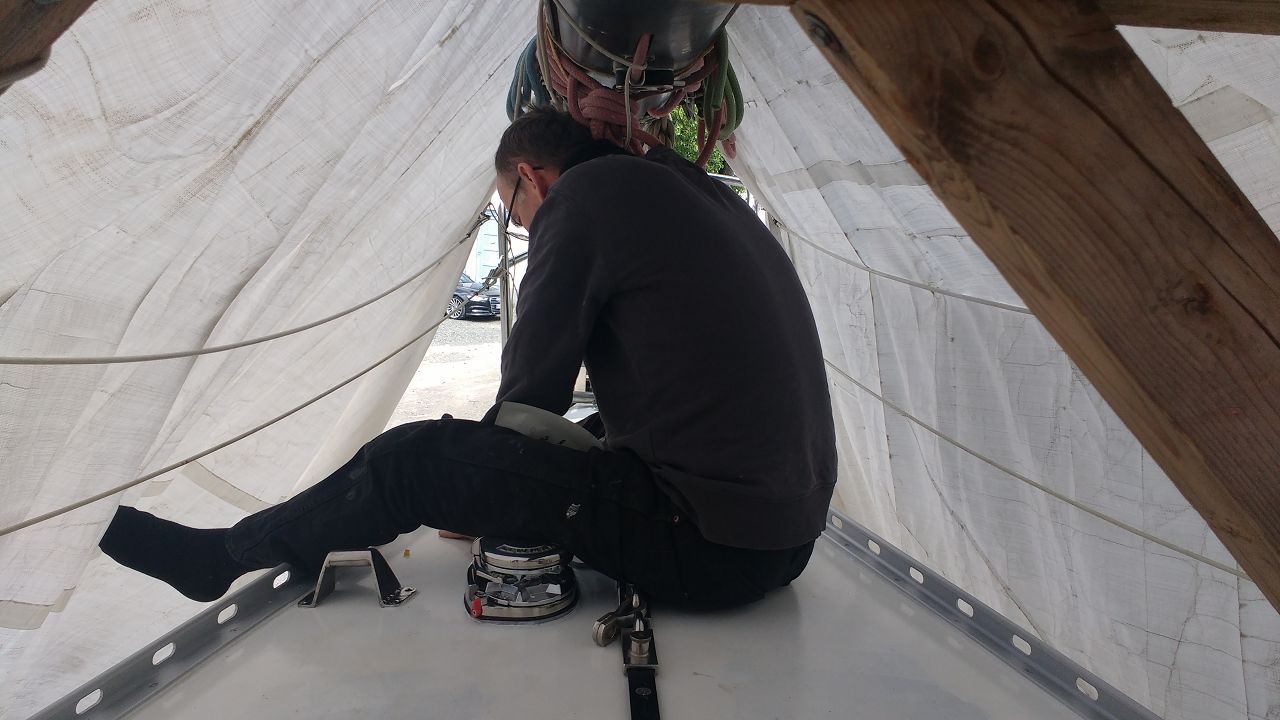
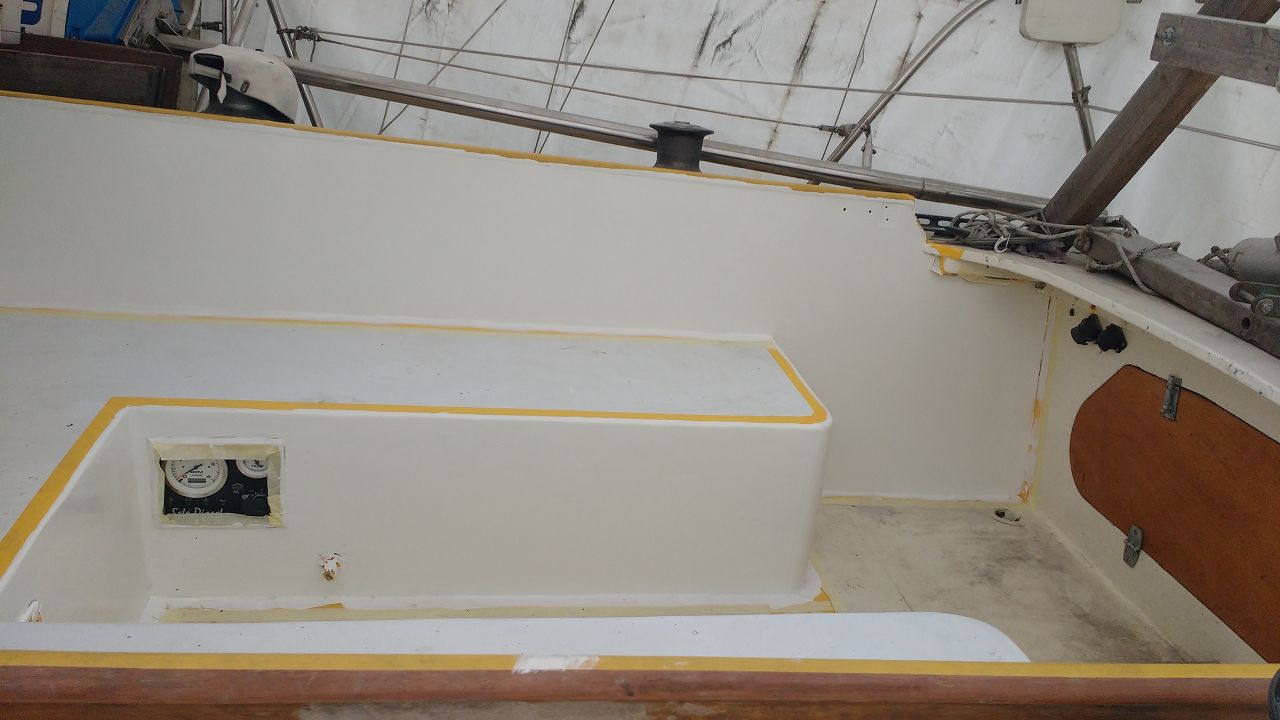
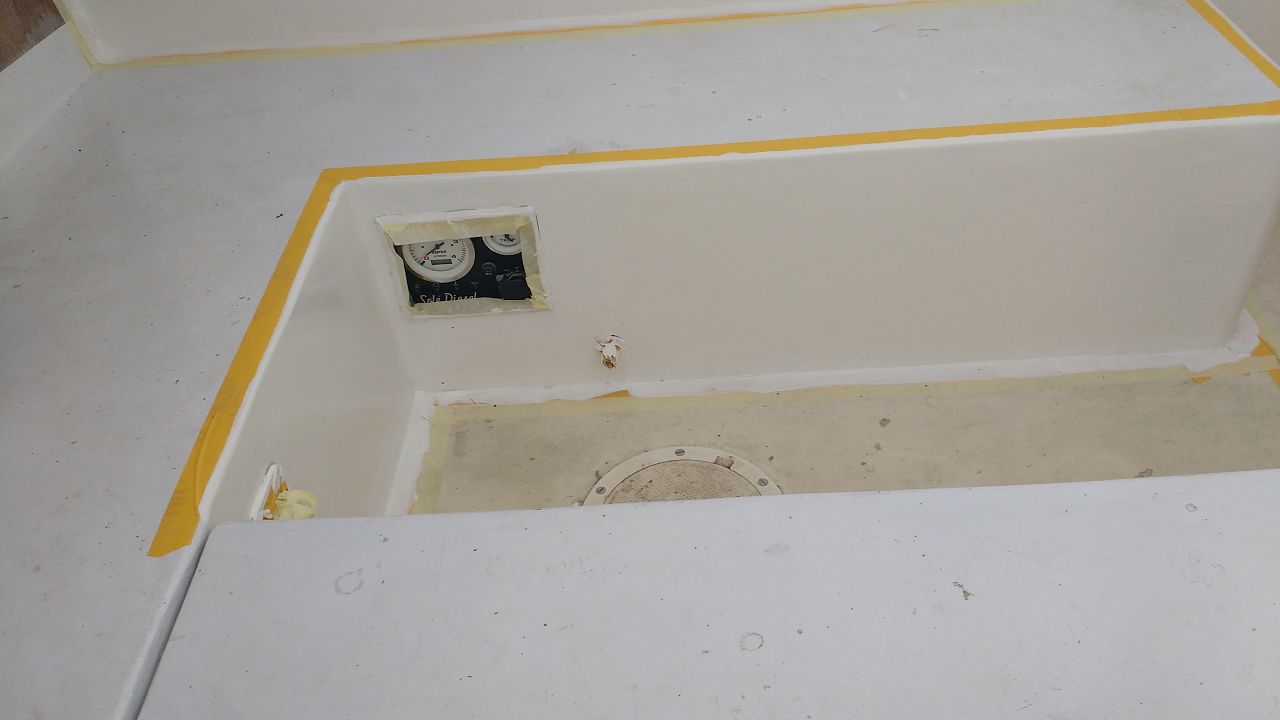
– light grinding and cleaning of anti-slip surfaces
– masking around deck fittings
– final deck paint job of anti-slip surfaces which is now a light grey (RAL7040)
– cockpit grinding & re-painting
– wiring of windlass and deck switches + other electric jobs
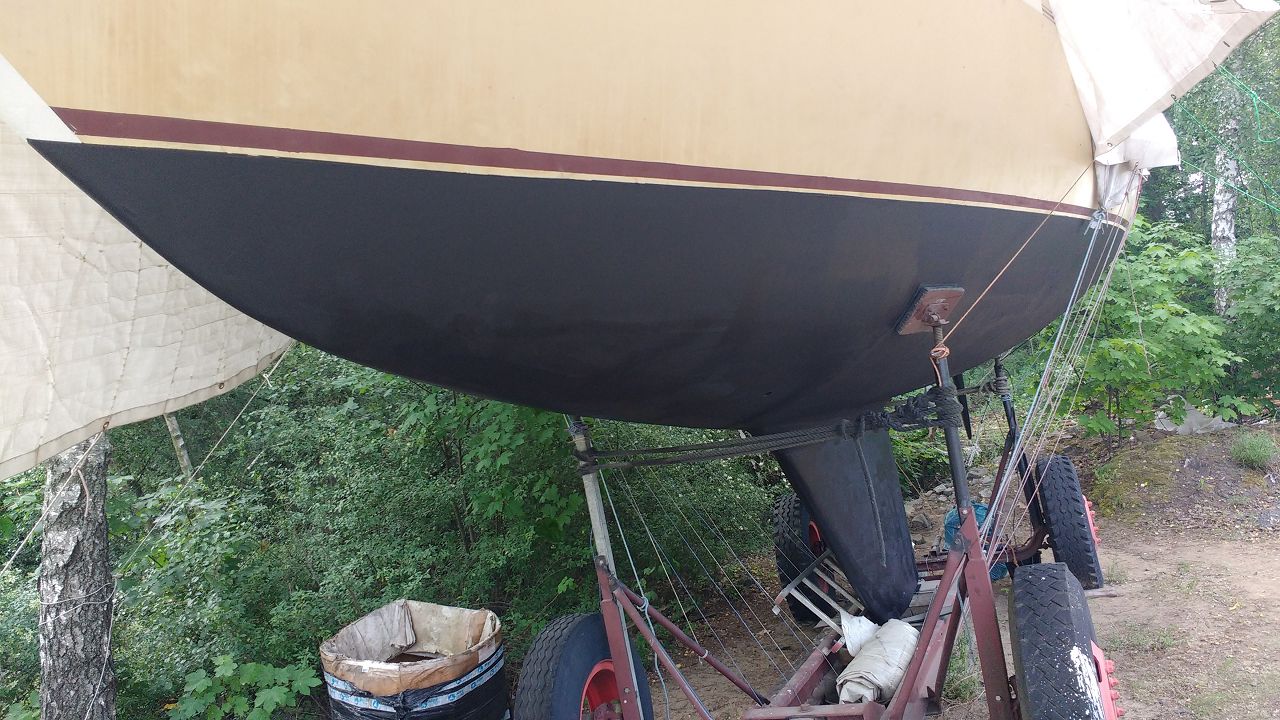
– new coat of antifouling
The toe rail mounting included another challenge which sounded simple at the very beginning. PFEIFER Marine, the manufacturer of the rail, recommended M6 flat head screws to fasten the rail to the deck. Our first measurements showed that we need bolts with a length of 120 mm, which is already very long. Consequently we bought a whole box containing 100 bolts. What we didn’t know: the deck beam is thicker the more you go astern, so 120 mm were suddenly not sufficient any more, we needed at least 130 mm. Fortunately we discovered that issue at the end of the first week, so we had enough time to react. But even then, our preferred and trusted bolt supplier JÄGER informed us, that 130 mm is the absolute maximum length world-wide available for this kind of stainless steel bolts.


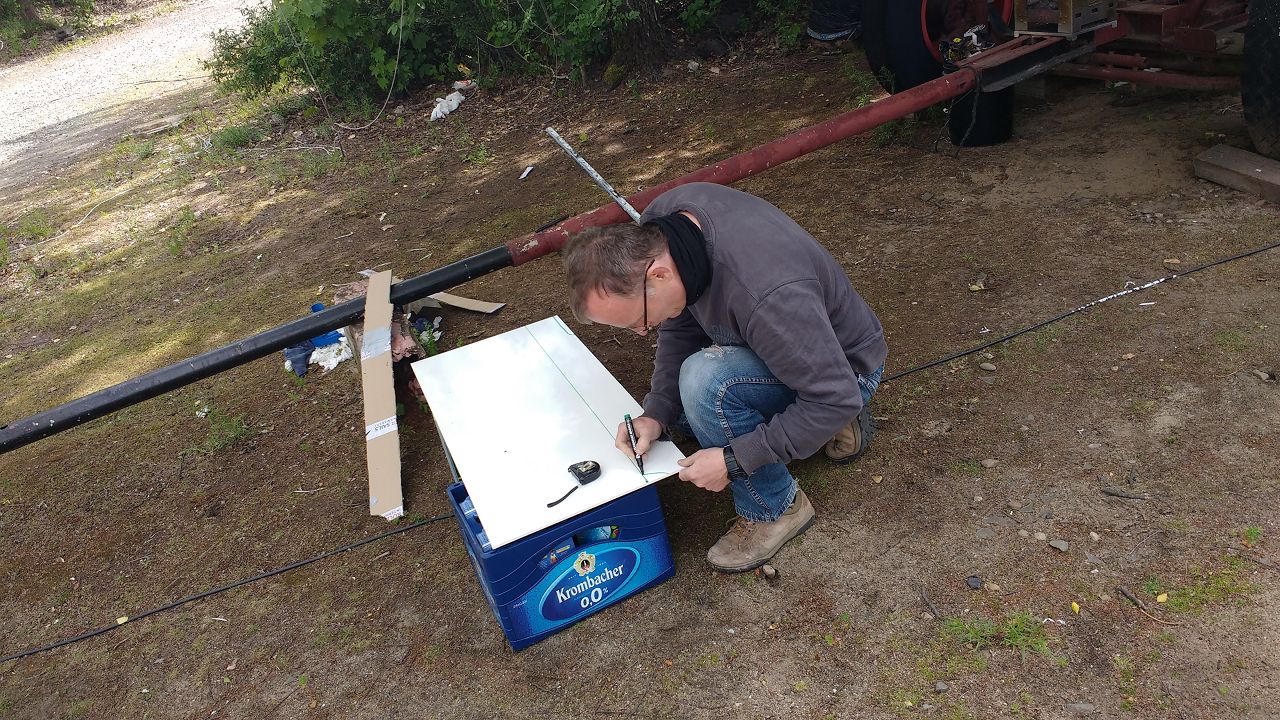
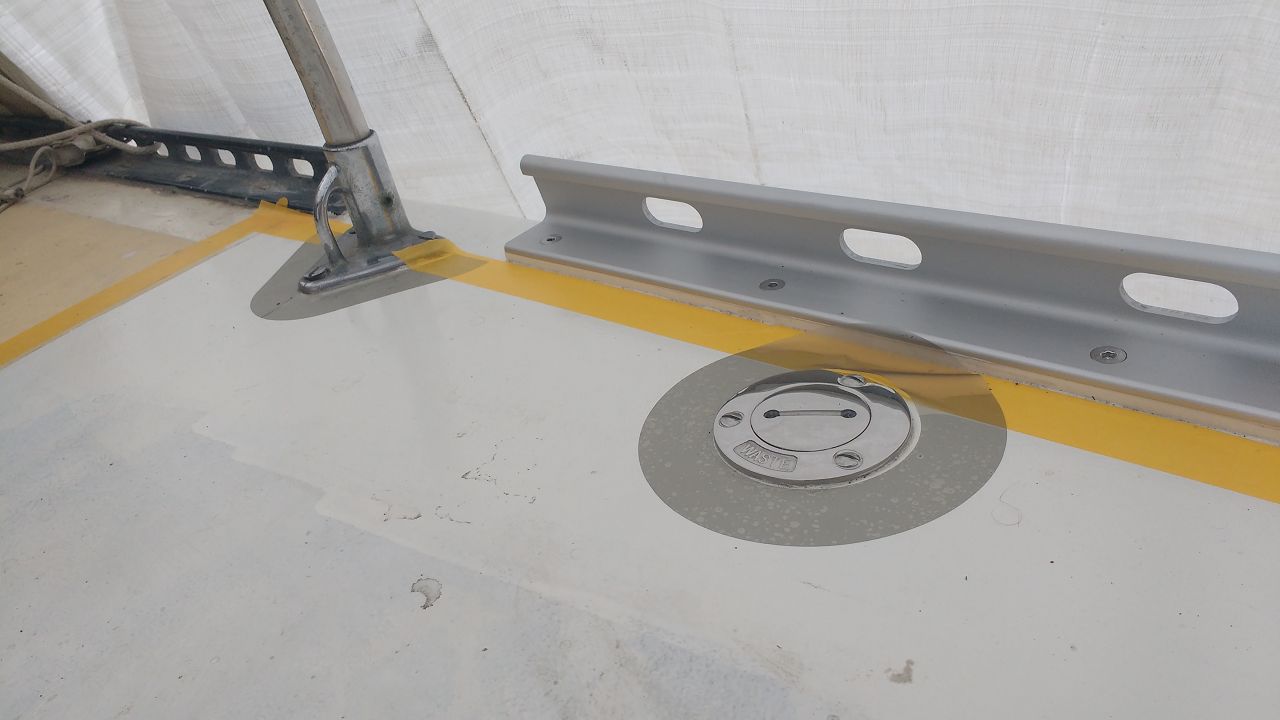

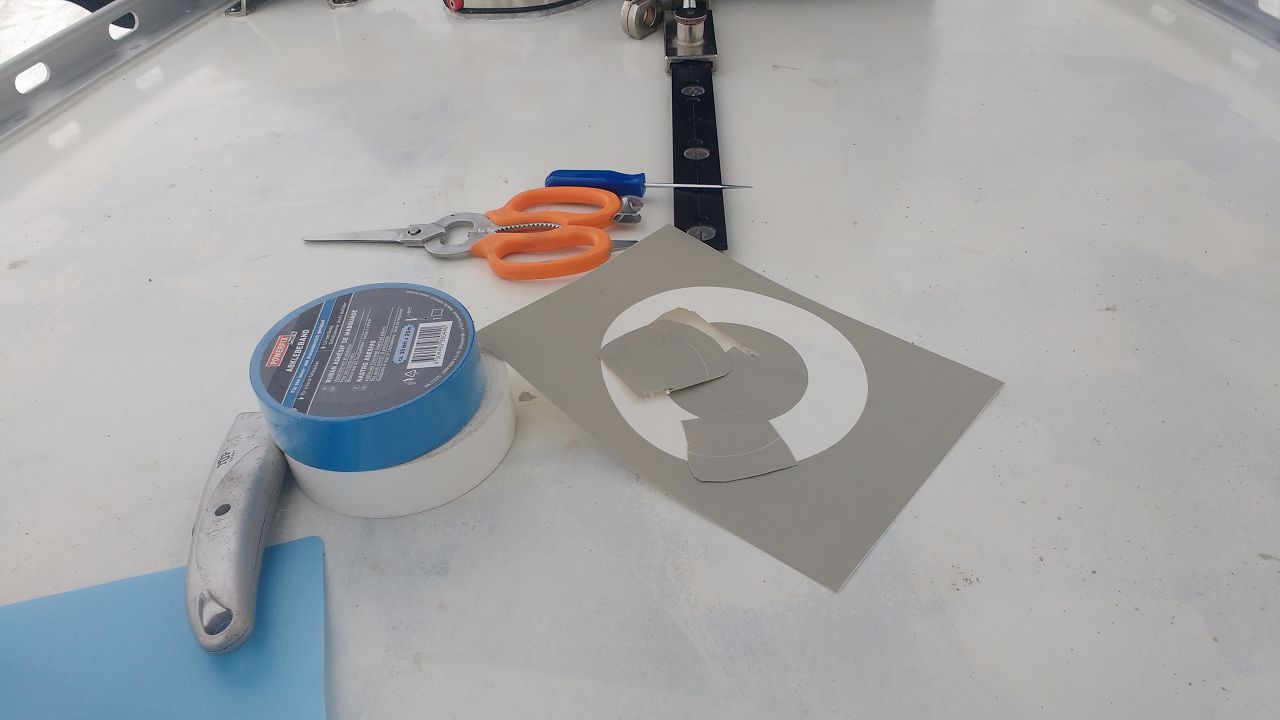
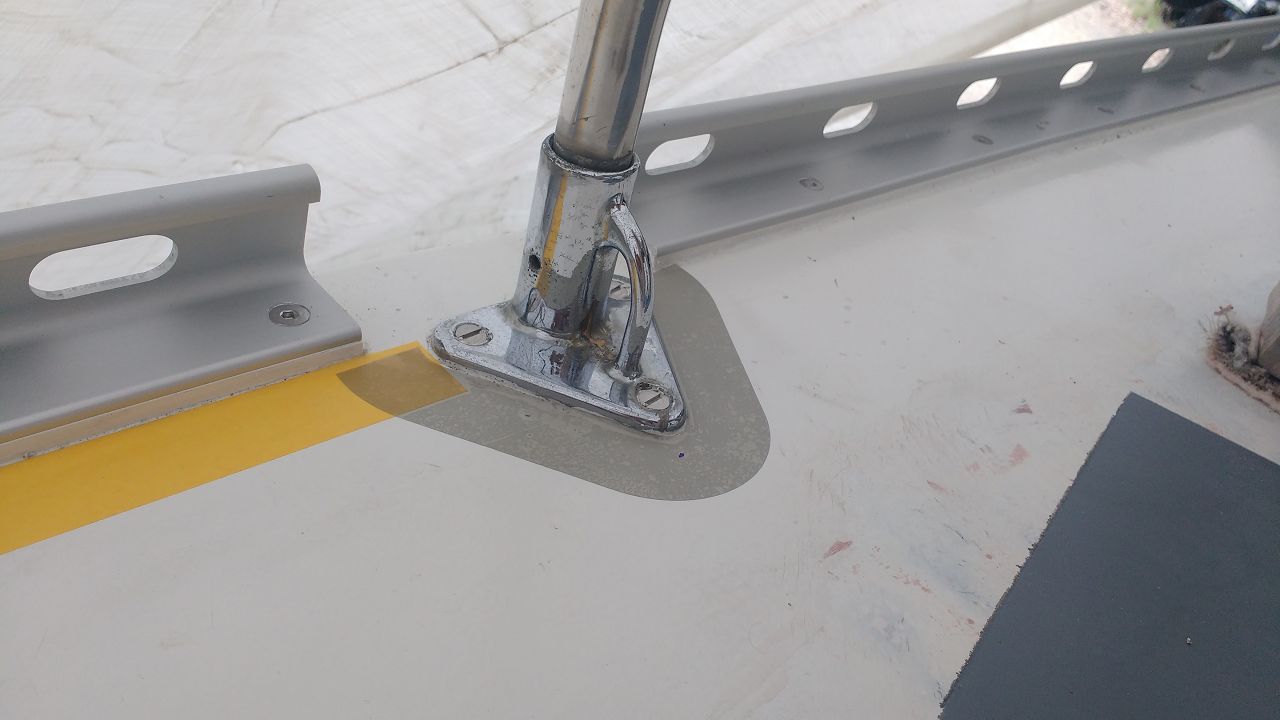
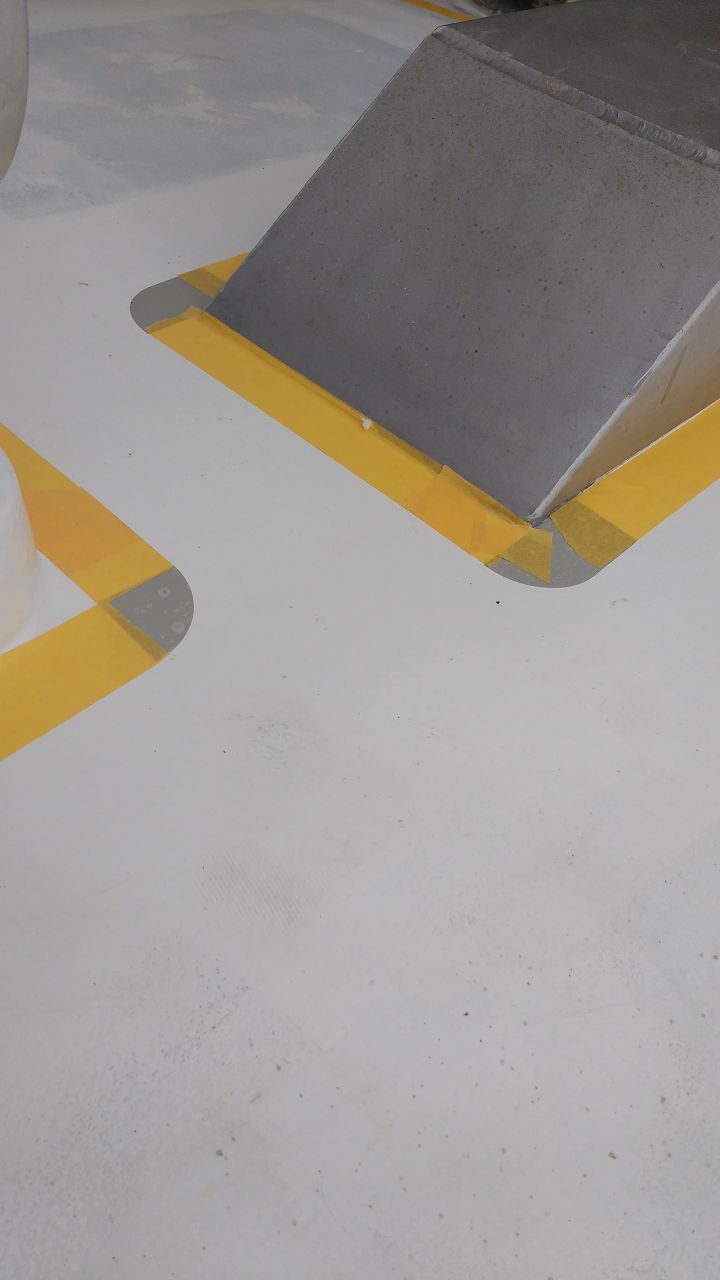
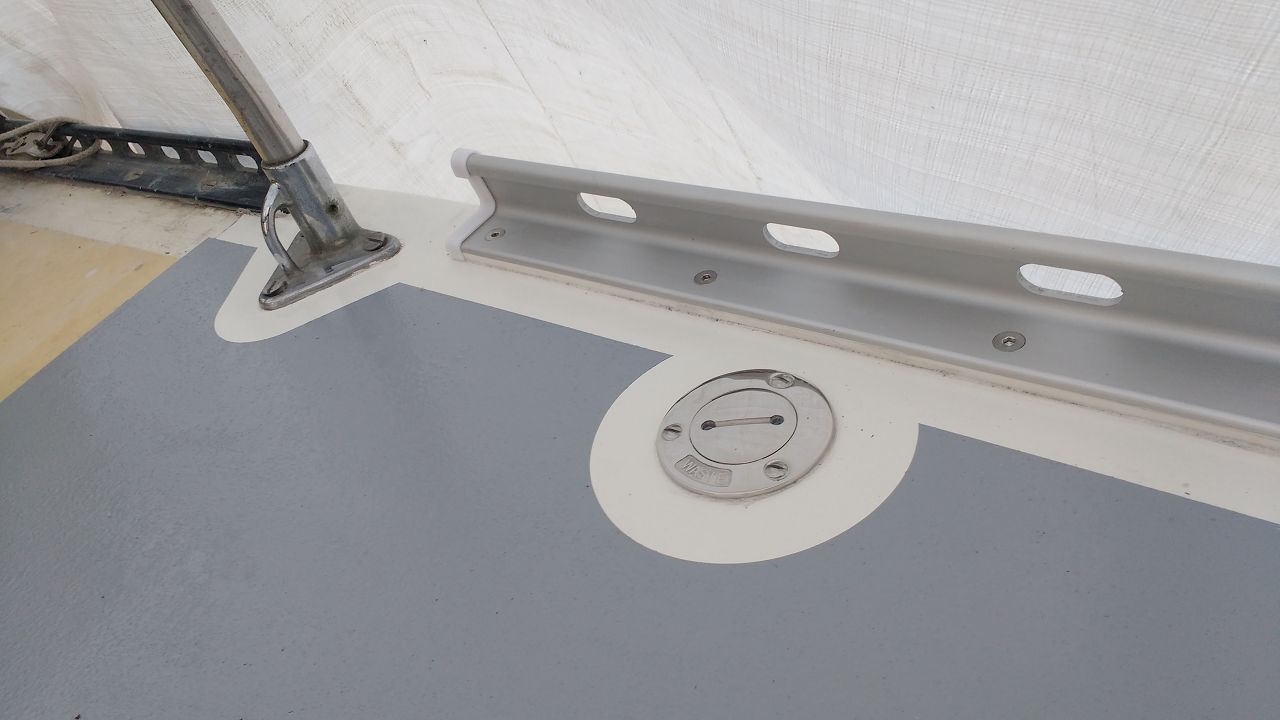

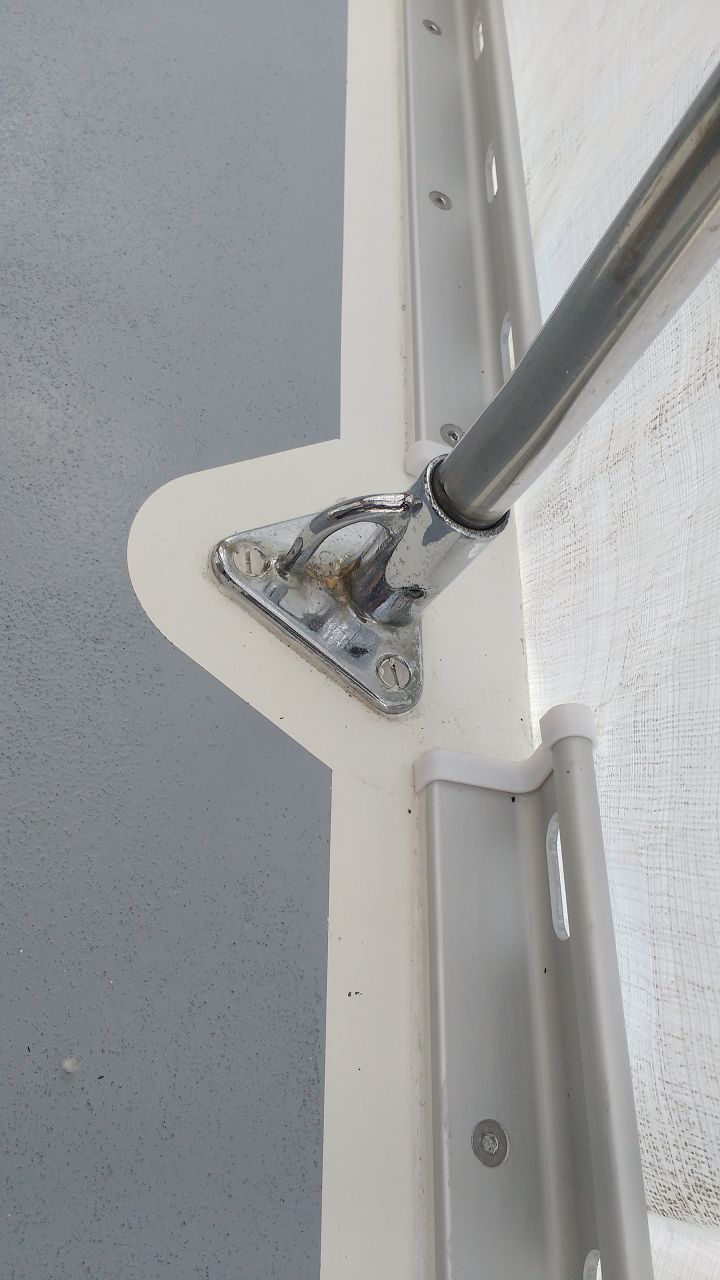
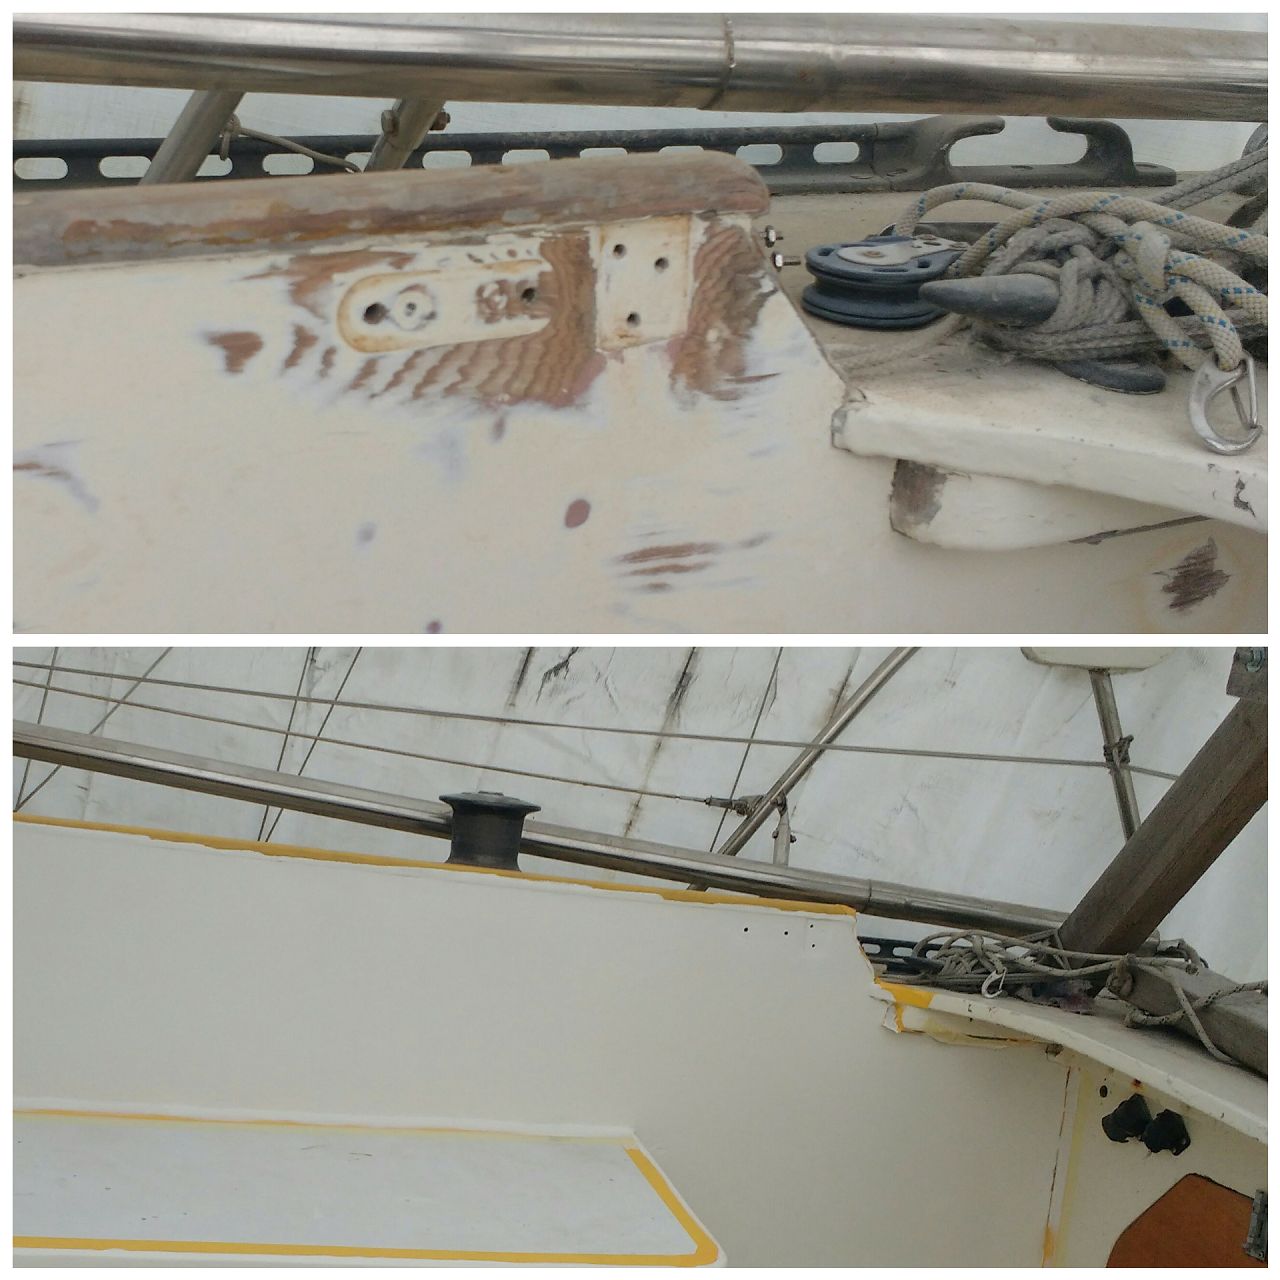
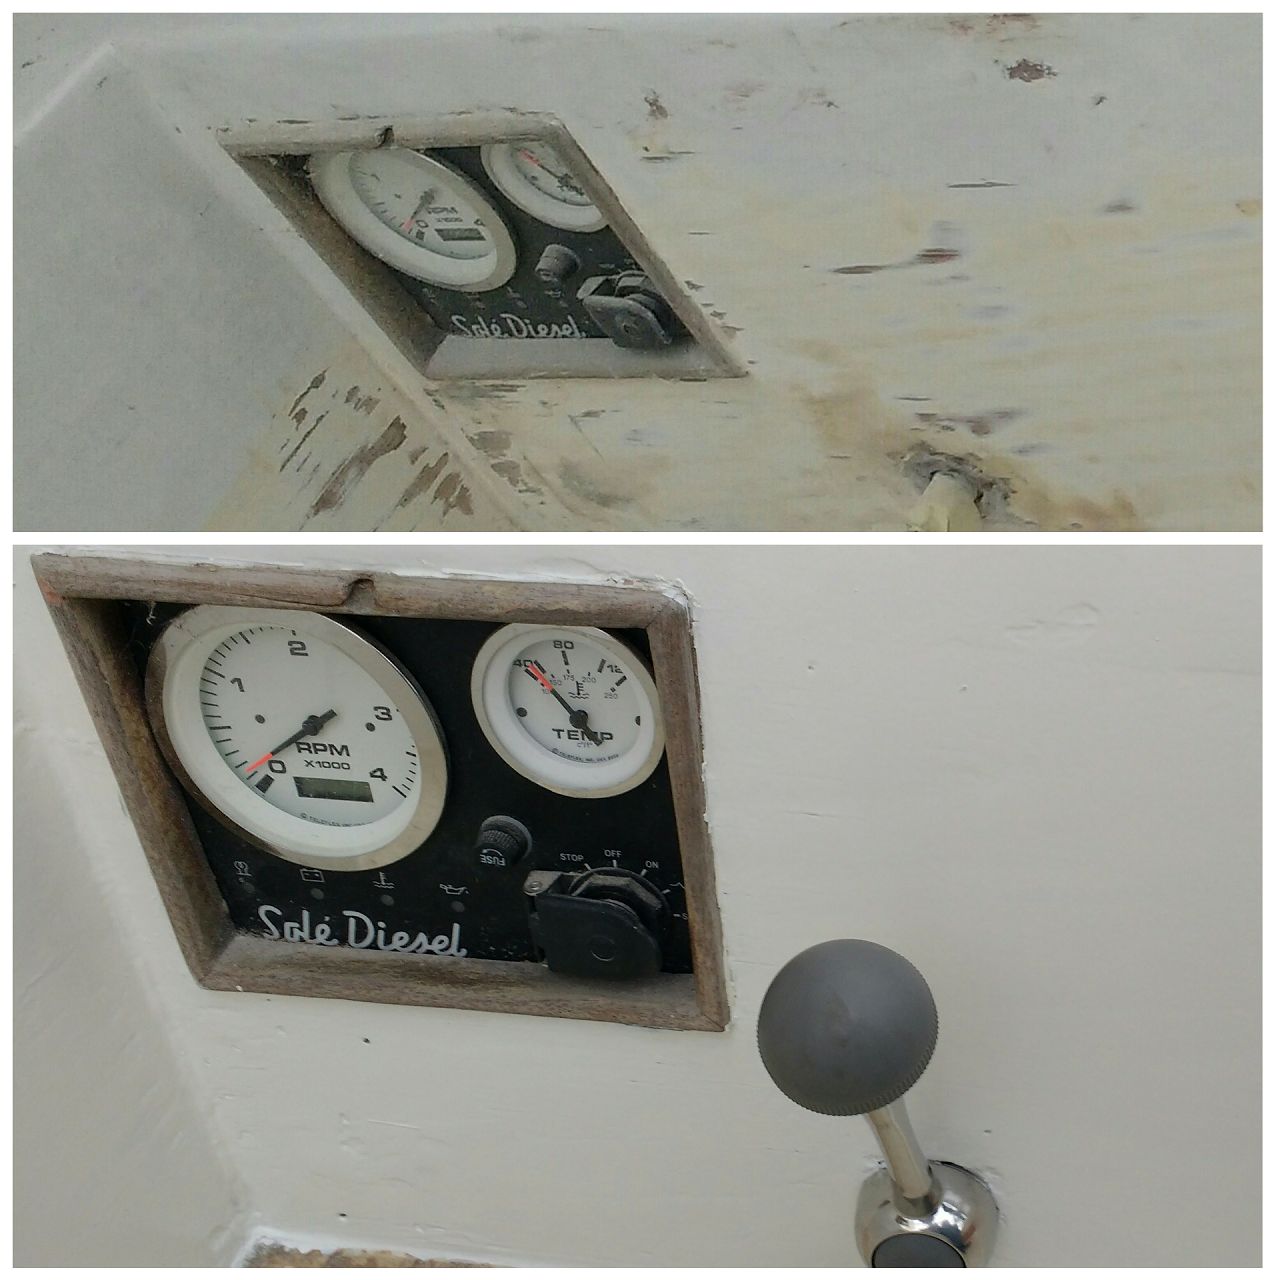
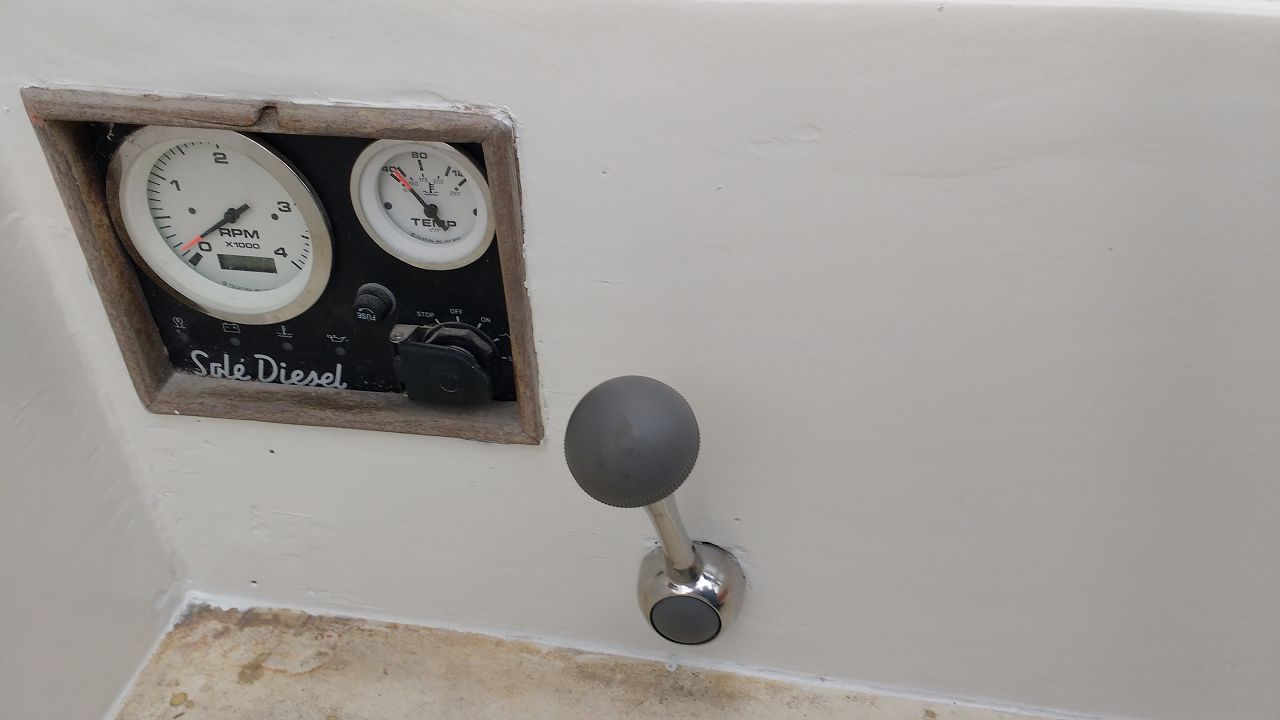
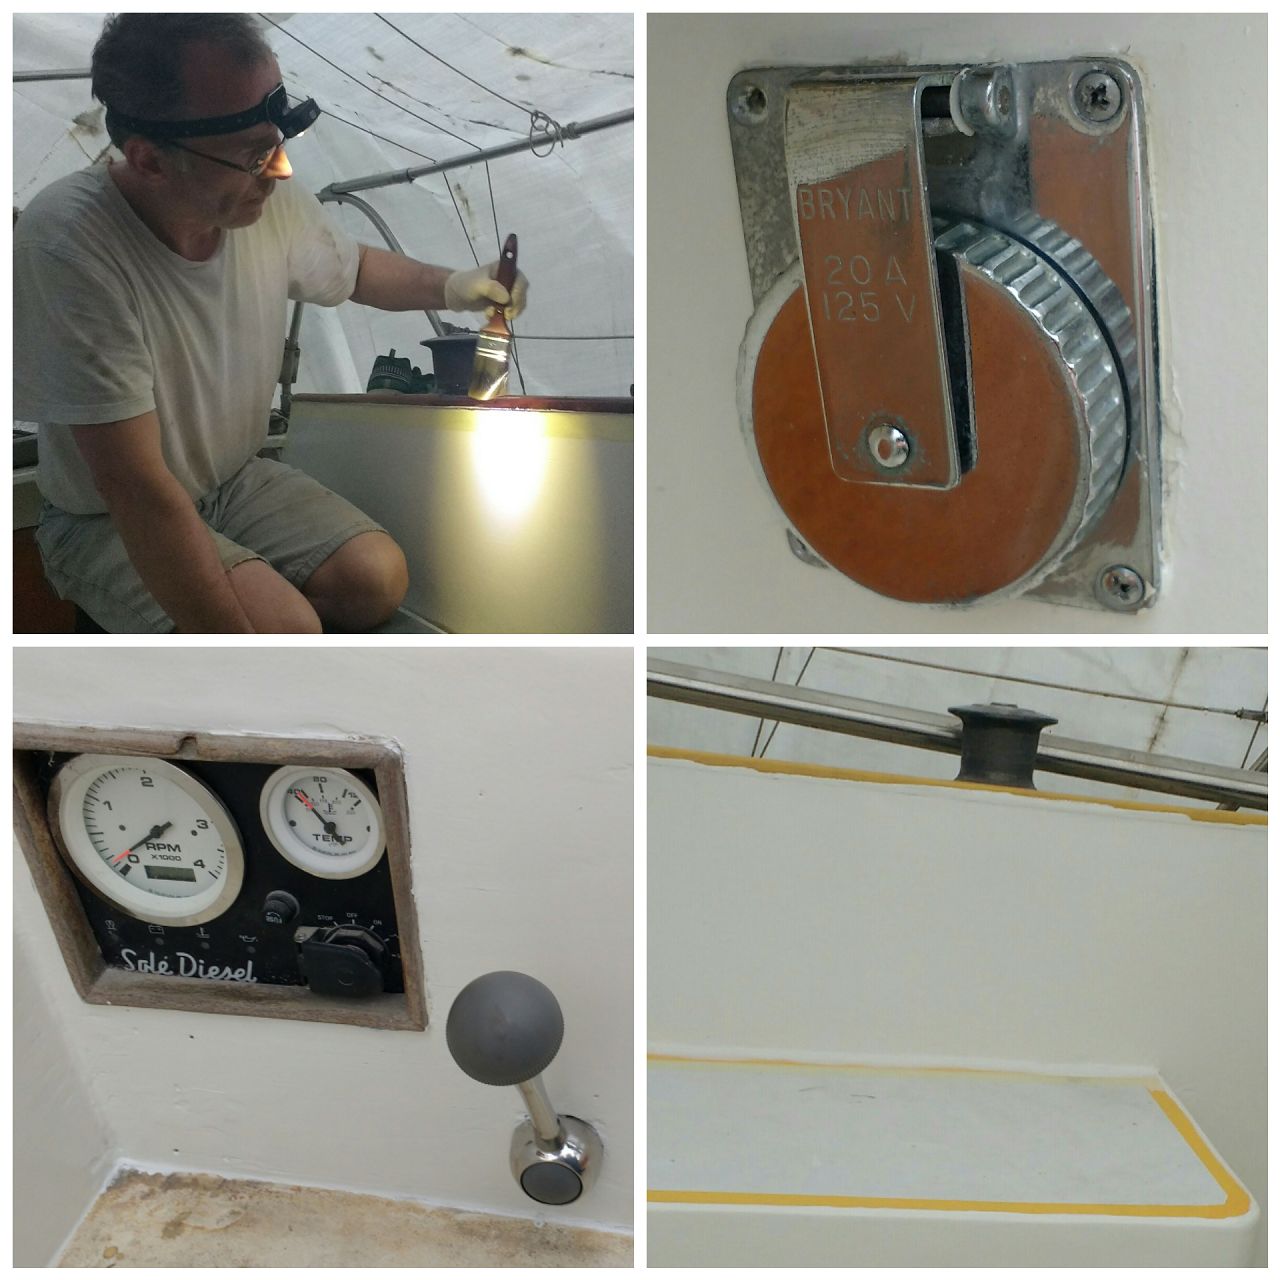


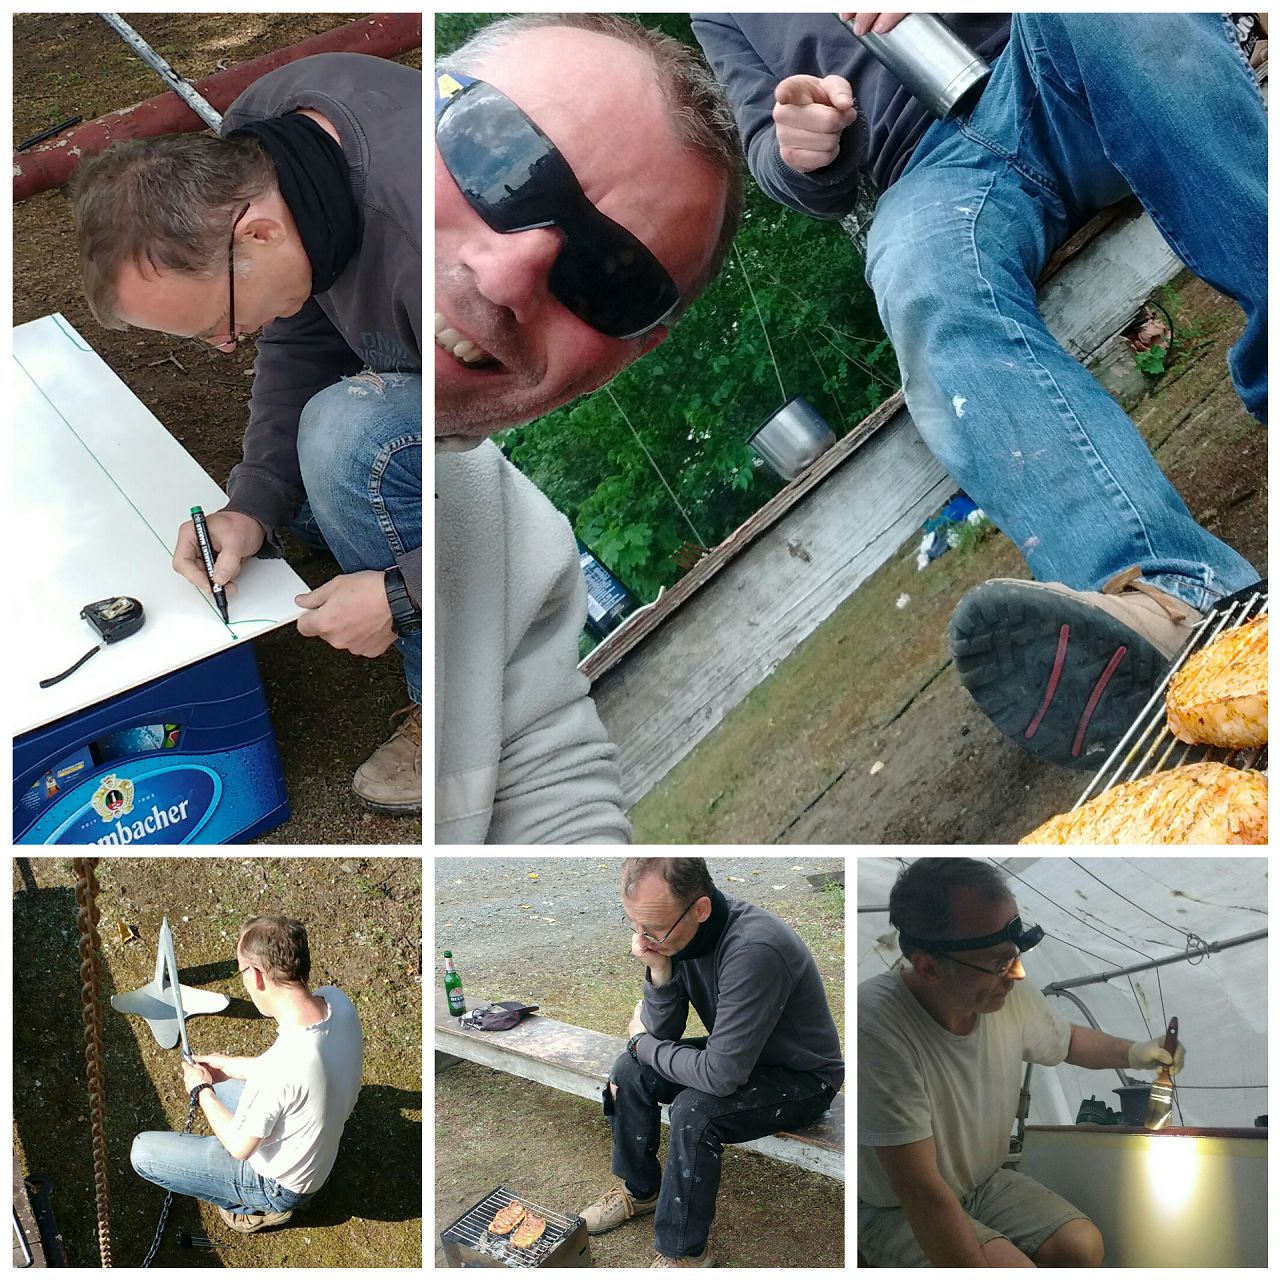
For the masking we produced professional stencils with a cutting machine which I bought in 2019, The main dimensions of rail supports, anchor switches, windlass and other hardware were measured, transferred and processed via CAD and the stencils were cut-out by the machine with “our standard” offset of 20 mm. Additionally we manufactured some standard forms like quadrants. Another advantage: once you have everything “inside your computer” you can reproduce stencils as needed, i.e. for repainting purposes (hopefully not in near future :-)). We used professional ORAMASK masking film, which is relatively inexpensive bulk stock. All sealing was done with UV-resistant SIKAFLEX 521 UV. Especially the 2nd week was very fruitful and effective, that we even had time left to carry out some additional jobs. Last but not least we did a last technical check-up, especially with regard to the engine.We can proudly declare:
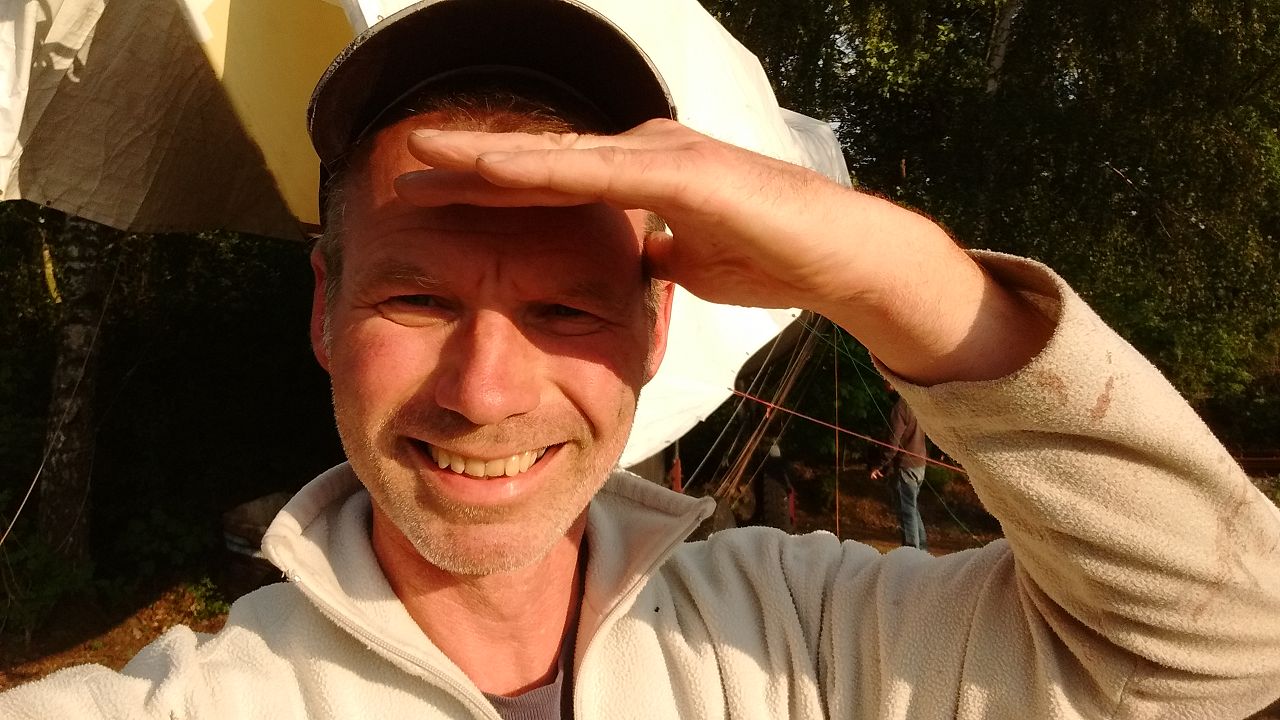
ROLLING STONE IS BACK AGAIN!