THE Foredeck — continued —
Winter 2018 / 2019 – Some Home Work
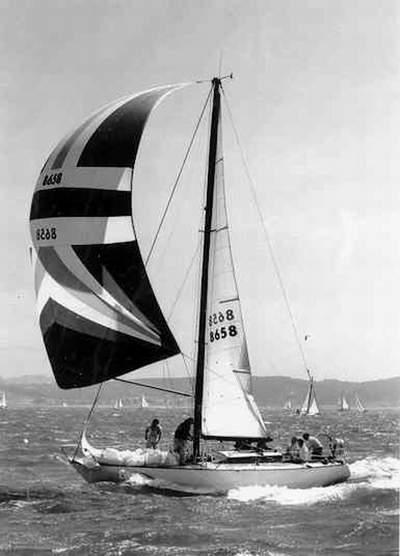
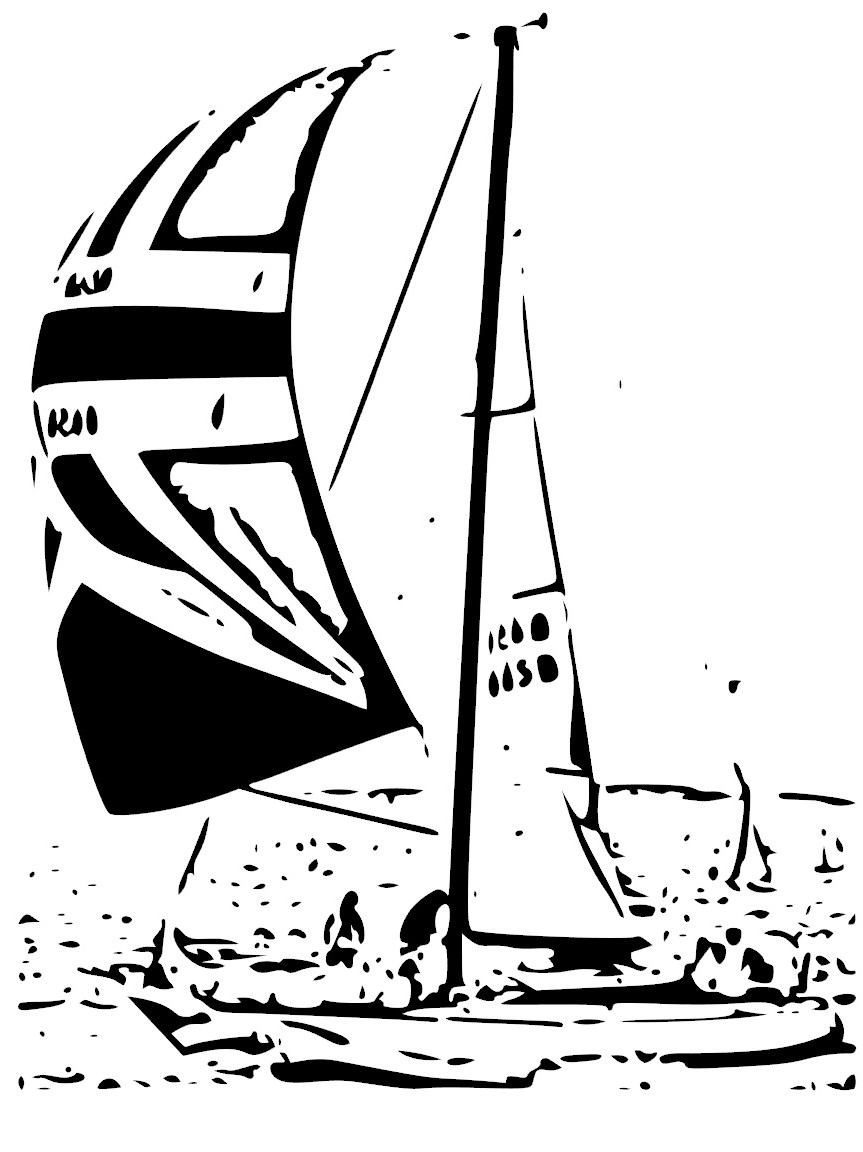
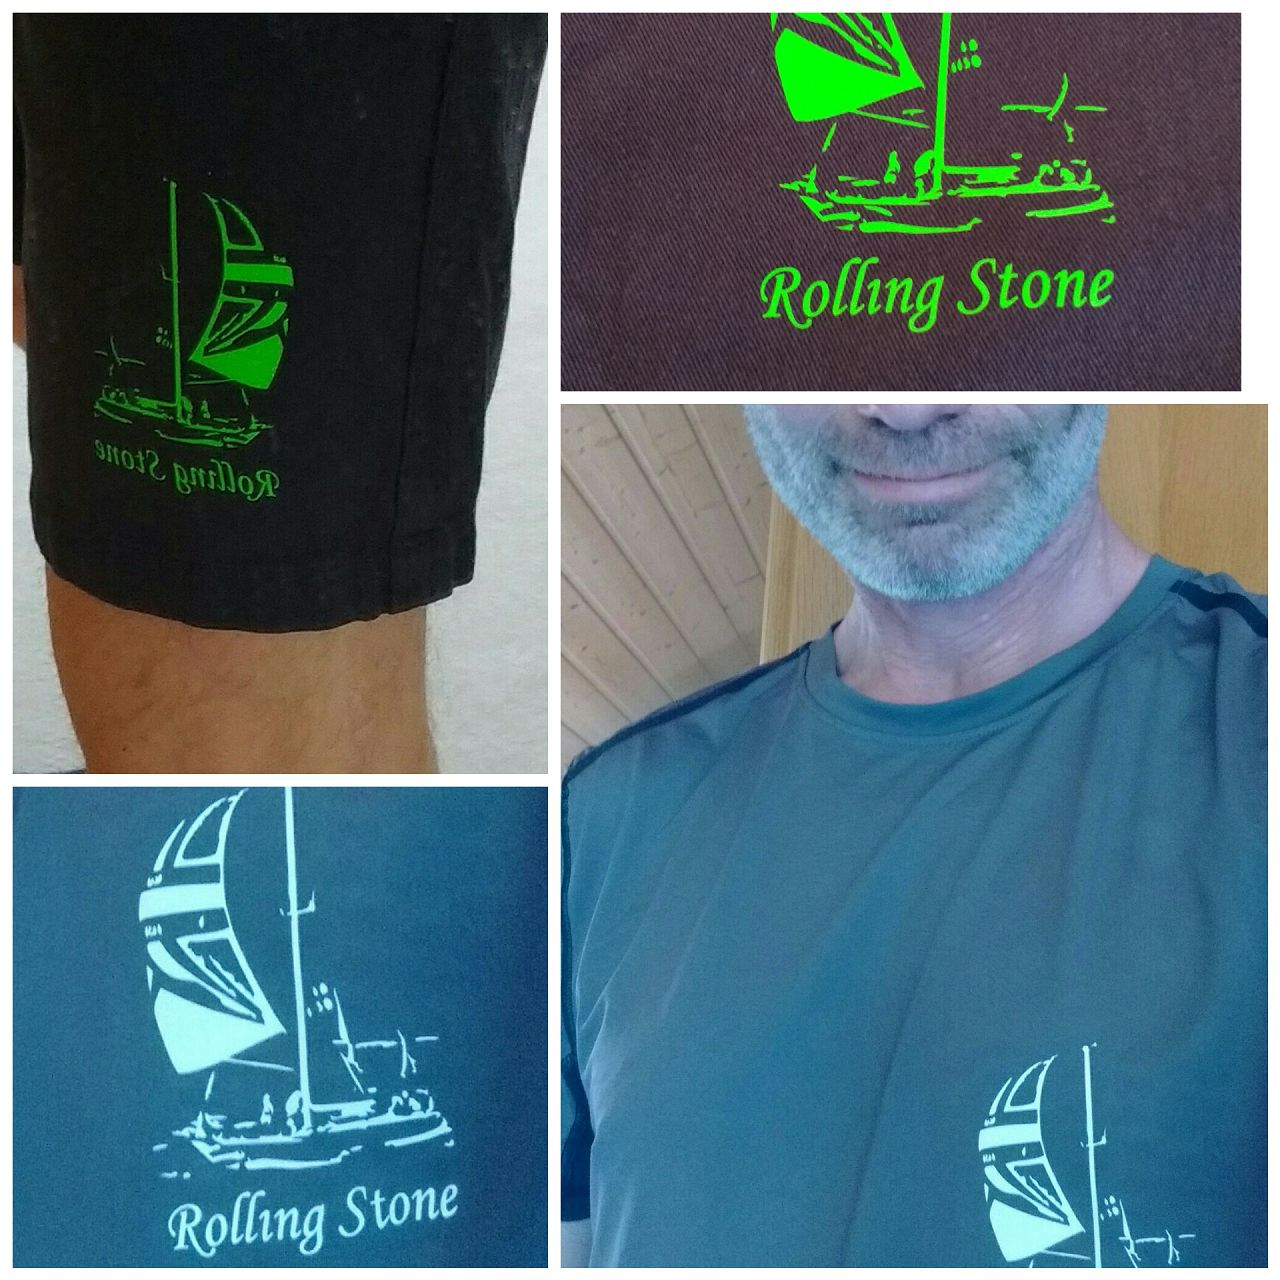
The winter months are ideal to do some home work and to prepare or support the upcoming jobs. I decided to buy a desktop cutting machine to produce high-quality stencils to do the final paint job on the foredeck in 2020. My choice was the Silhouette Portrait. However, as a test drive the first application was a textile project with transfer film. My template was the spi photo below, which was slightly abstracted and cut out of the transfer film and hot-pressed on the textile. It really worked great even on functional clothing with more than 90% ployester. and after more than 10 washings it still shows absolutely no abrasion or wear. We also used the plotter to produce a model made of cardboard for the adapter plate of the windlass before production release (see below). And if we someday need to apply the new “ROLLING STONE” name astern or somewhere else the plotter will be very helpful too.
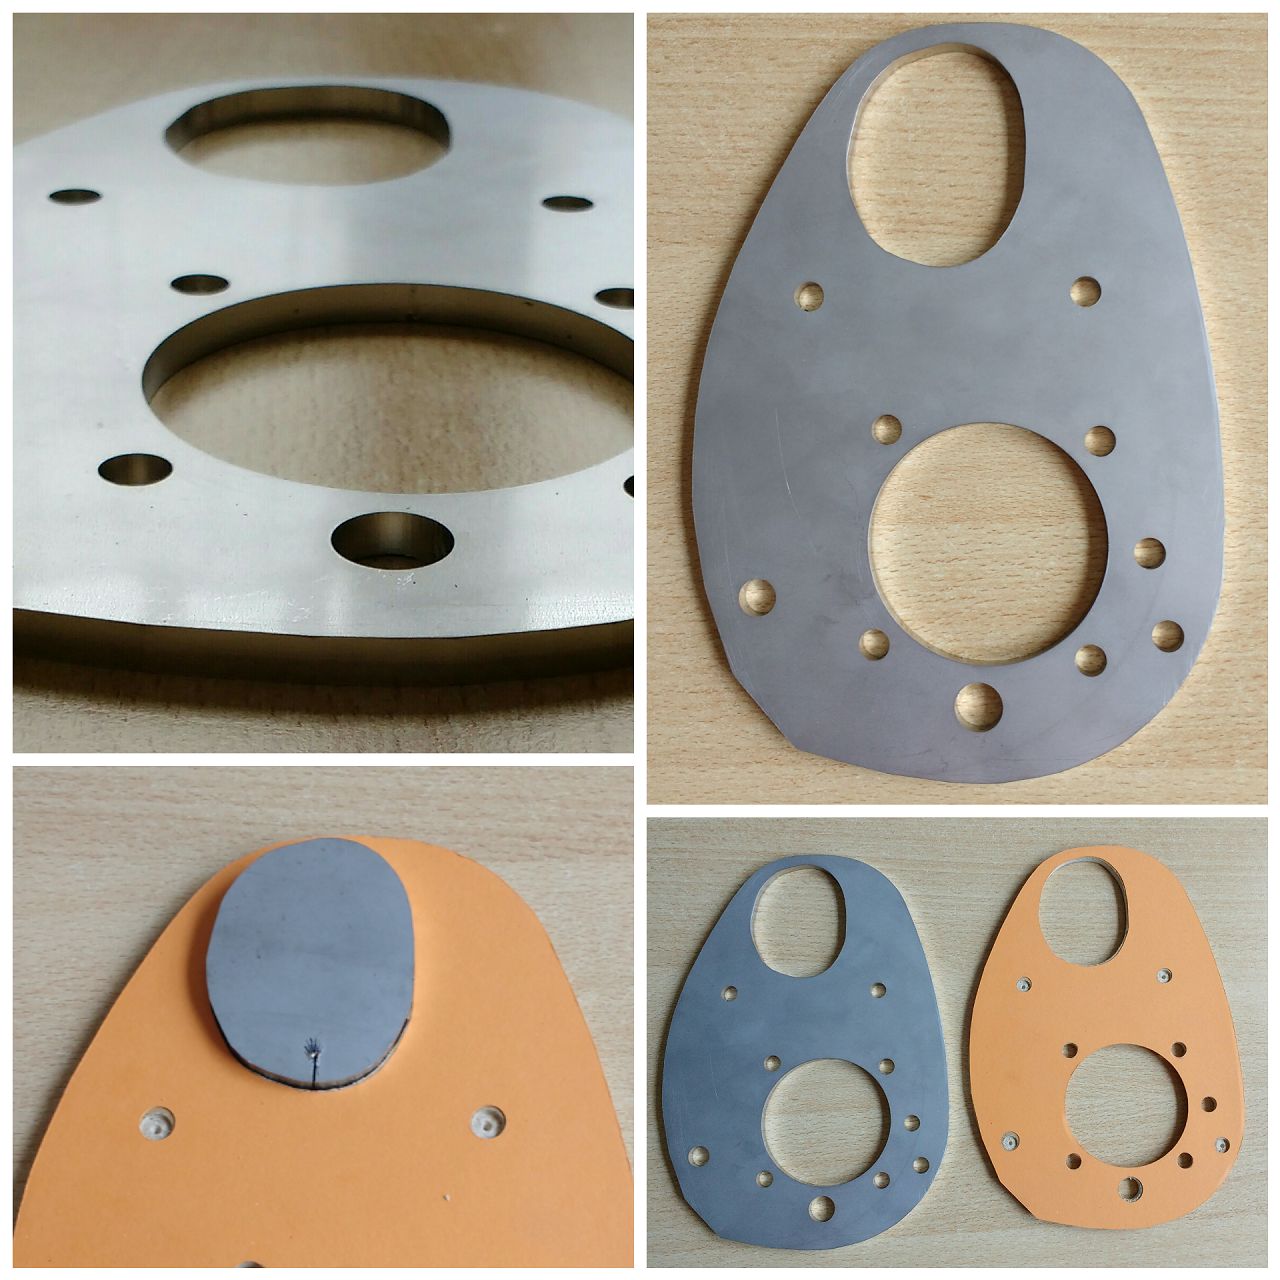
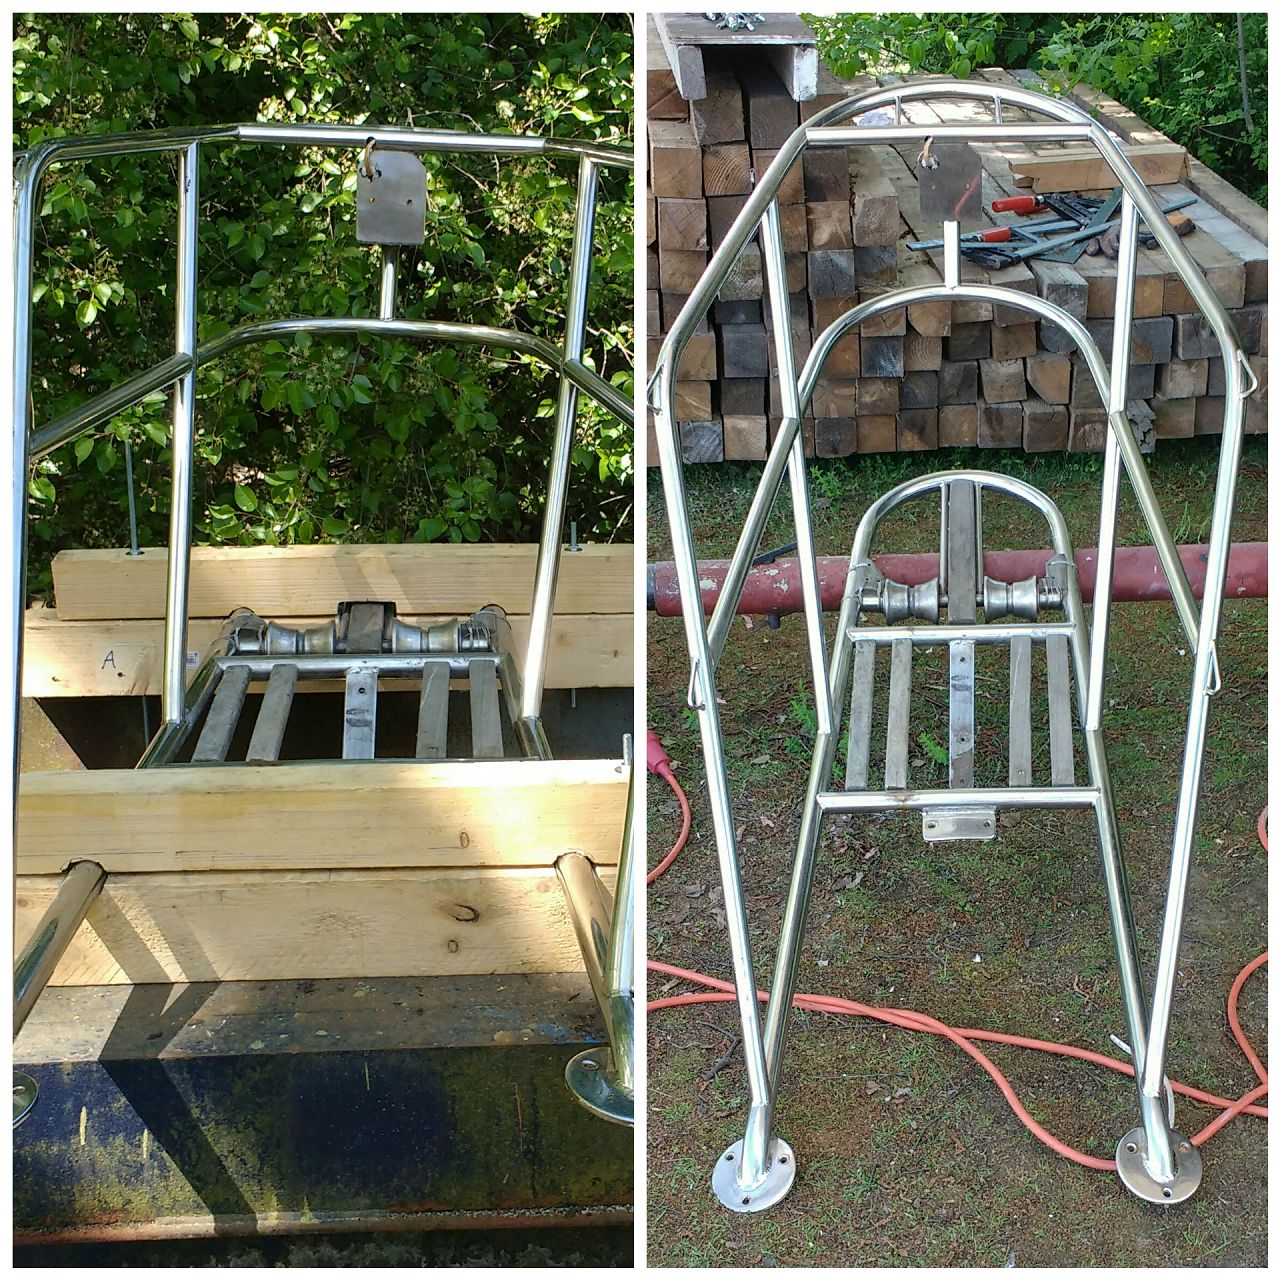
As mentioned above we prepared an adapter plate made of 6 mm 316L (1.4404) for the new windlass to match the existing cutouts in the deck. The old and new contours were scanned, transferred to Solid Edge2D and then a carton model was made by the cutting machine. The laser cutting was done by a local manufacturer.
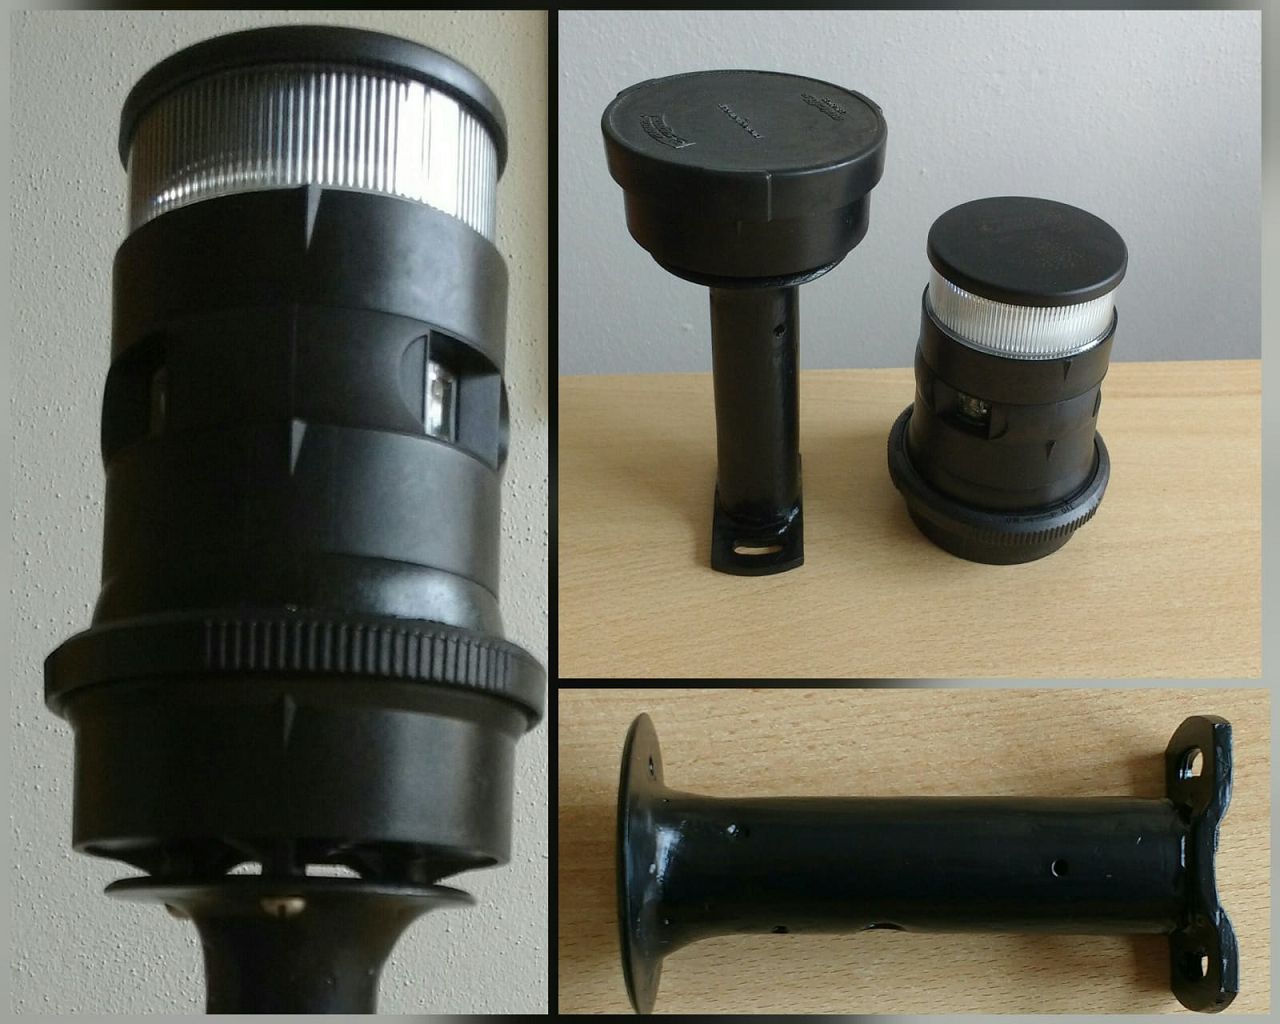
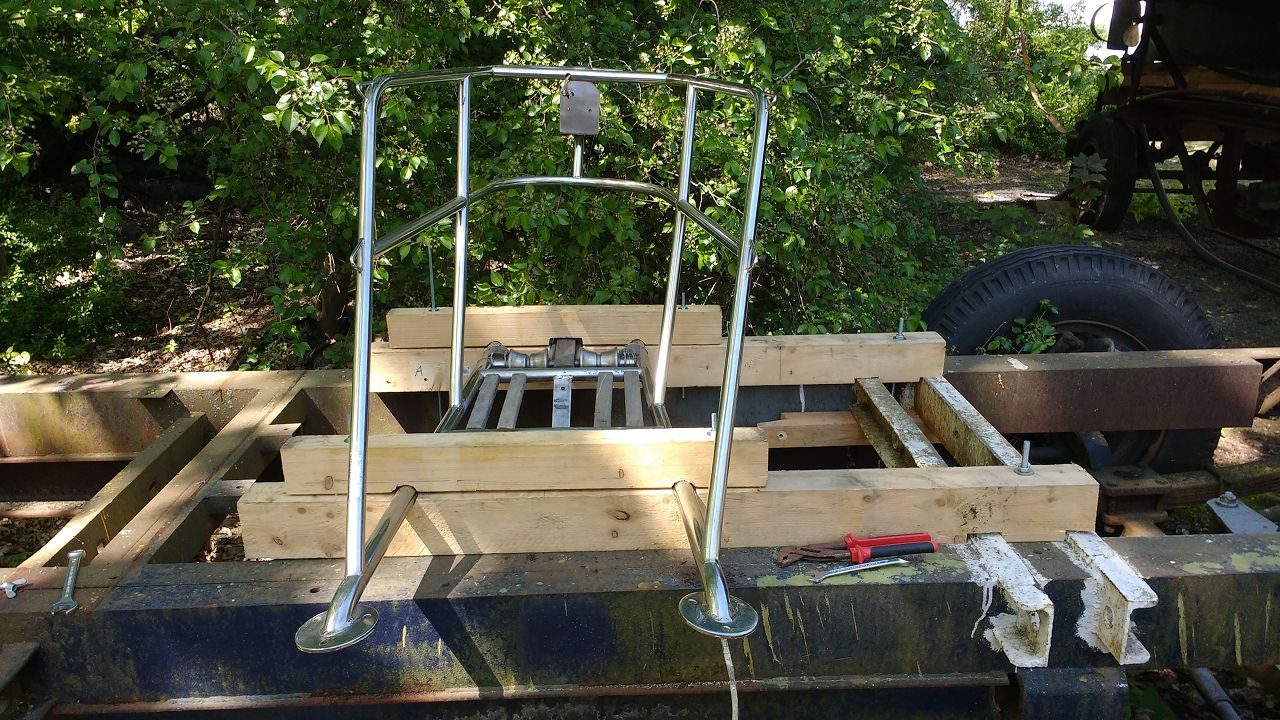
Last but not least we refreshed the old support for our brand-new AQUASIGNAL 34 tricolor masthead light (+ anchor) and mounted the new lamp on it – which surprisingly exactly fitted to the existing bolt pattern.
The most important project was the re-anodizing of the old toe rail. A new, suitable rail which would fit to the present hole spacing could not be found anywhere. Unfortunately the company, which should carry out this job, was completely incompetent and failed. They were even unable to communicate with us. So after we wanted to pick up our “new” toe rail they just told us, that nothing could be done in the past weeks and of course they did nothing. We were really shocked and angry cause that meant that we would definitely not go back into the water this year! Of course we didn’t want to mount the old rail…The toe rail issue is still unresolved, but I personally now tend to “forget” the existing holes, buy a brand new rail and drill new holes.
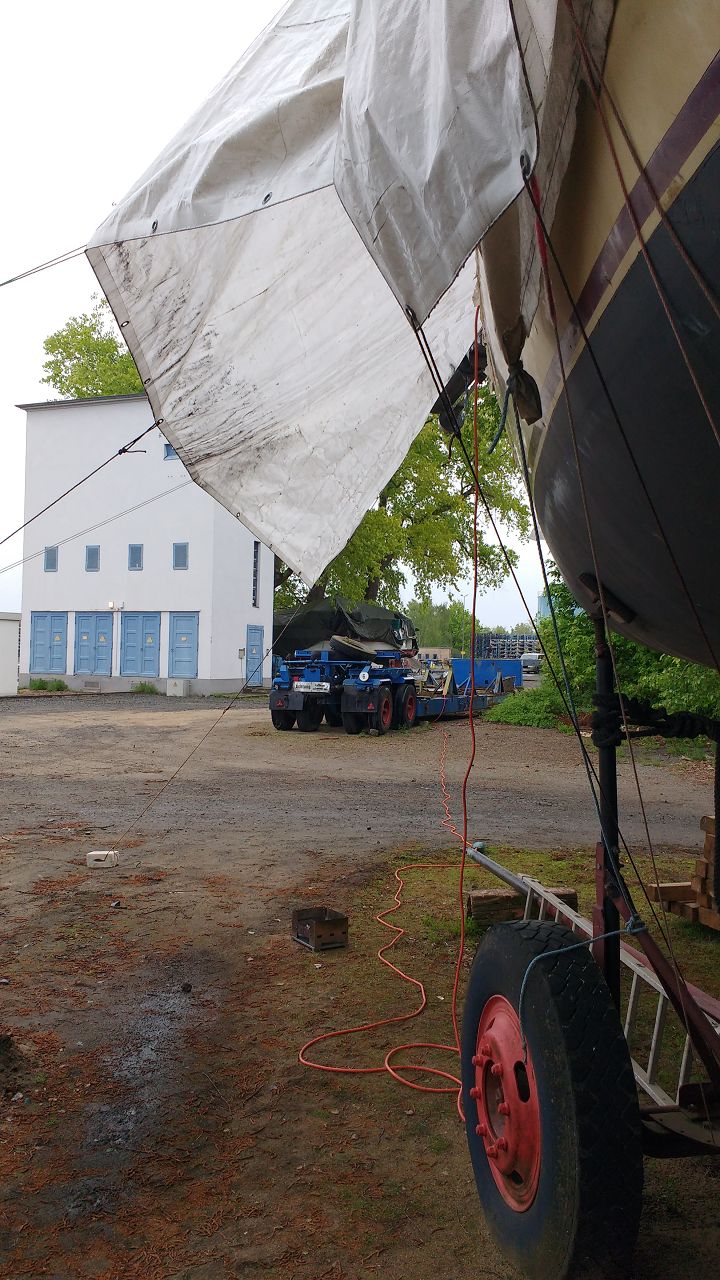
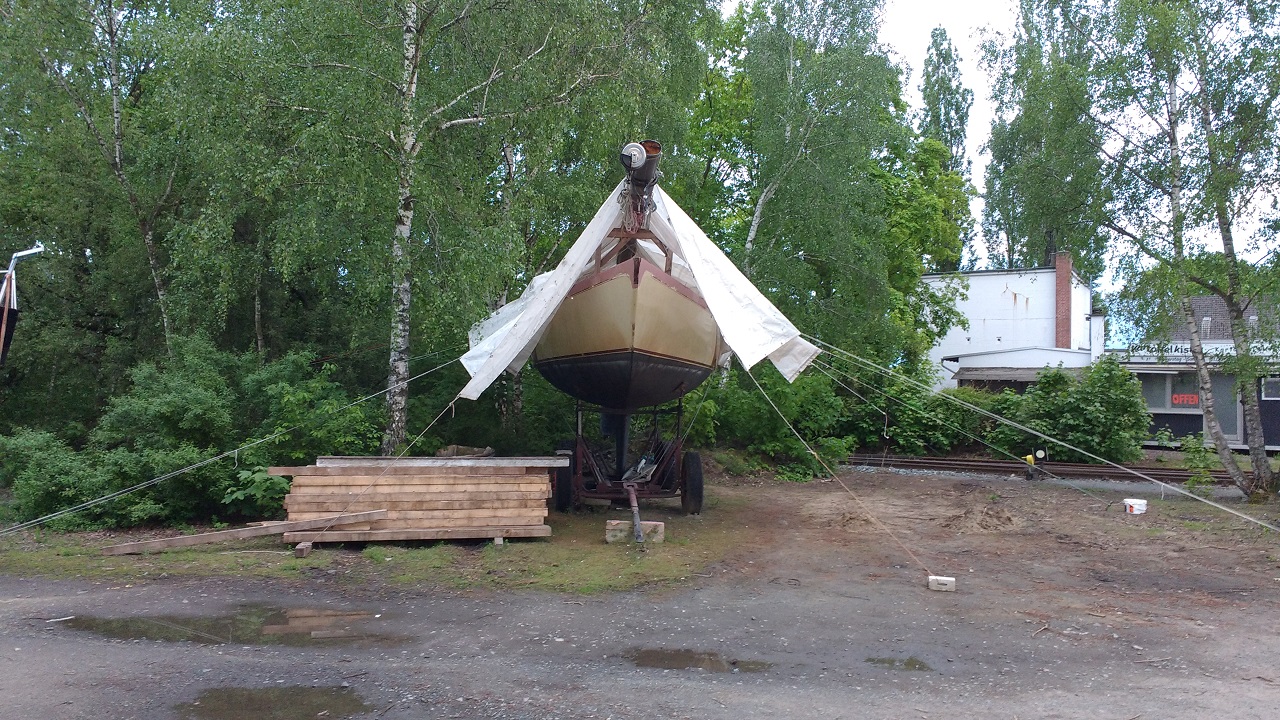
May Session– Cold & Rainy
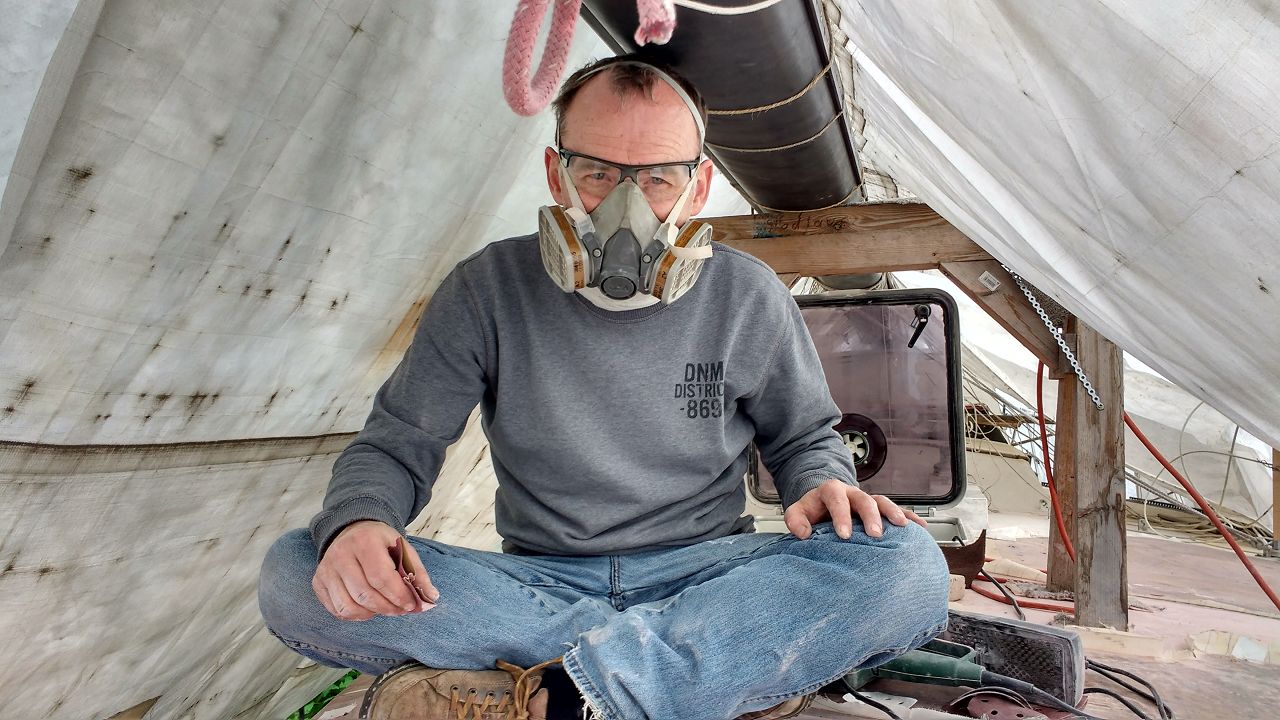
To make it short, the first session at the boat (6.-13. May) was characterized by bad, rainy weather with very low temperatures. It was May, which means late spring or early summer but the max. temperature didn’t manage to climb above 10°C. Unbelievable and not typical at all. At night the temperatures even dropped to 5°C…This would definitely smash our ambitious plans, because for the application of the filler, our major project, we need a minimum temperature of 13°C. Additionally we had troubles with the toe rail (see above). Therefore the whole start-up 2019 was really frustrating. However, the 13°C mark was reached one sunny day at the end of the session so we could at least apply the 2nd coat of filler. Beforehand sanding and smoothing were on the agenda anyway. For this hard work – all done by hand with sanding boards – the low temperatures were not that bad xD. Due to the weather we addressed other issues, which must be done and on the other hand there is always work left to do onboard a ship which is almost 45 years old:
– Wiring of SIGNET Log & Echo Sounder (finally!), OK, the new sensor of the echo sounder is still not installed yet
– Wiring of our new LED AQUASIGNAL 34 masthead light, which now also features an additional 360° anchor light
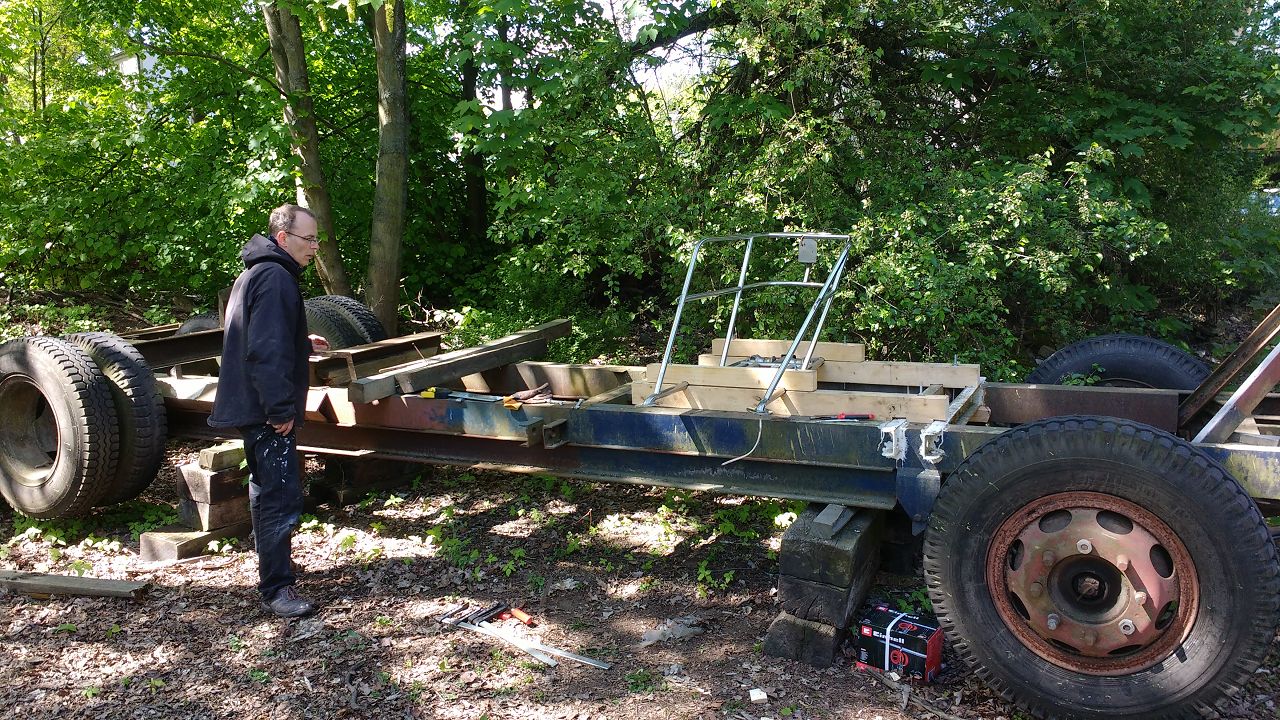
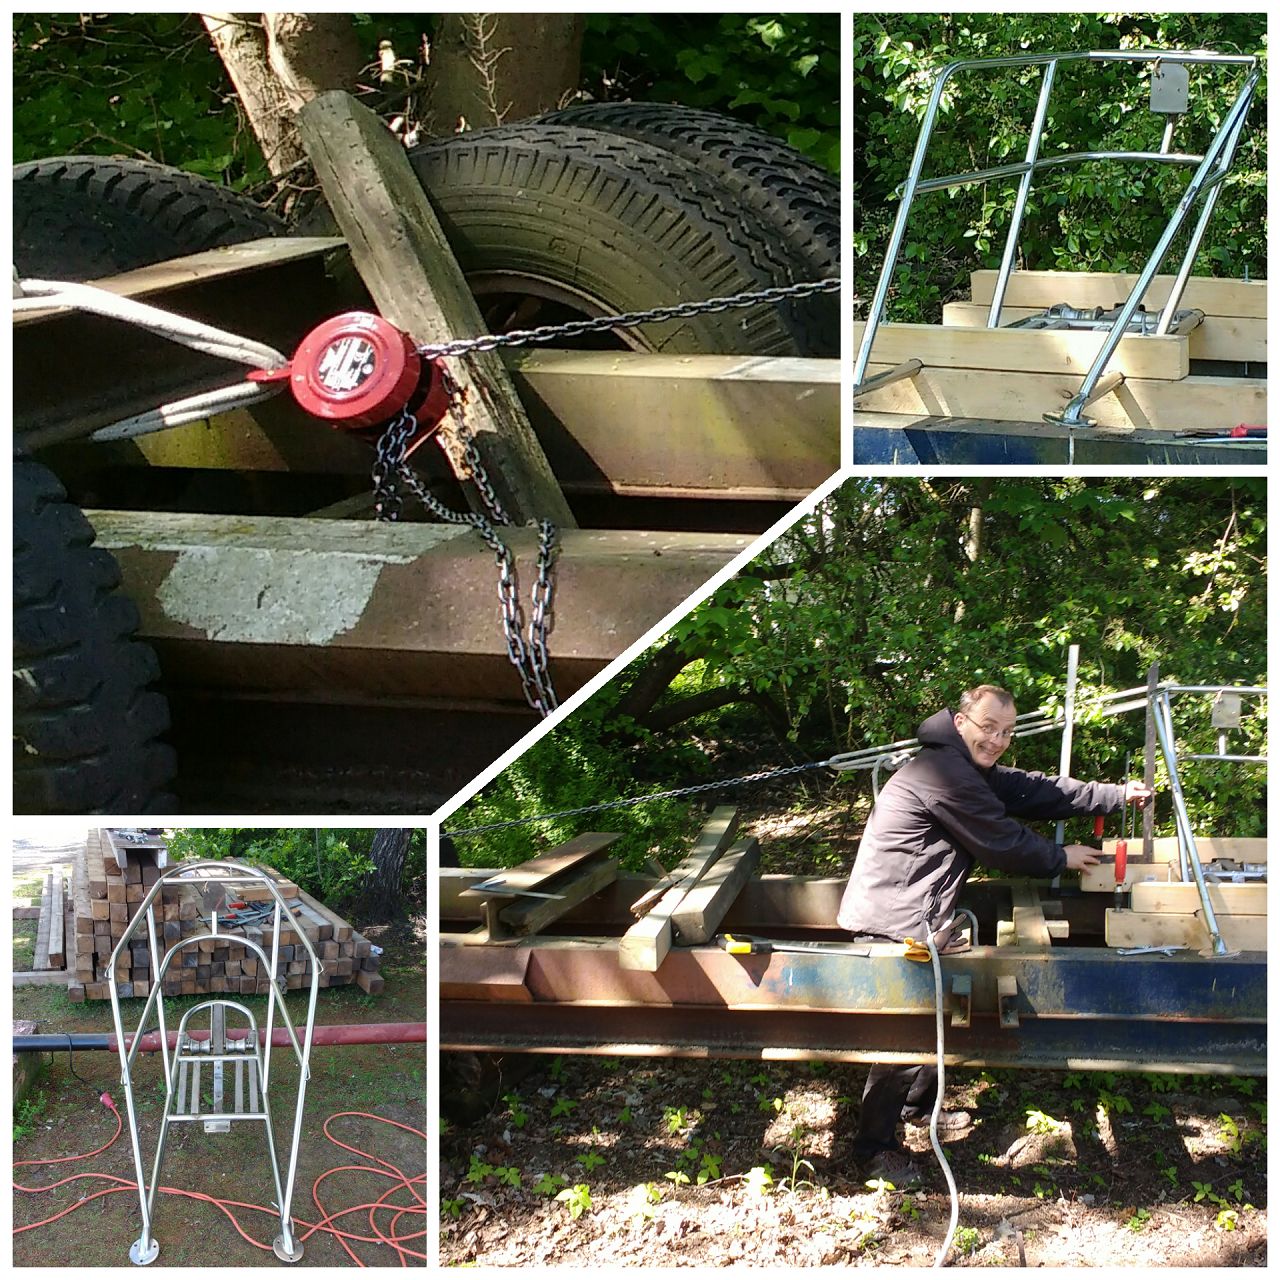
– Straightening of bow rail which was seriously deformed after an excavator rammed RS some years ago
– Replacement of the damaged neon lamp above the stove by LED bar
At the end of the day we were quite satisfied with our progress considering the evil boundary conditions.


June Session – Sanding, Fairing, Filling, Sanding,…
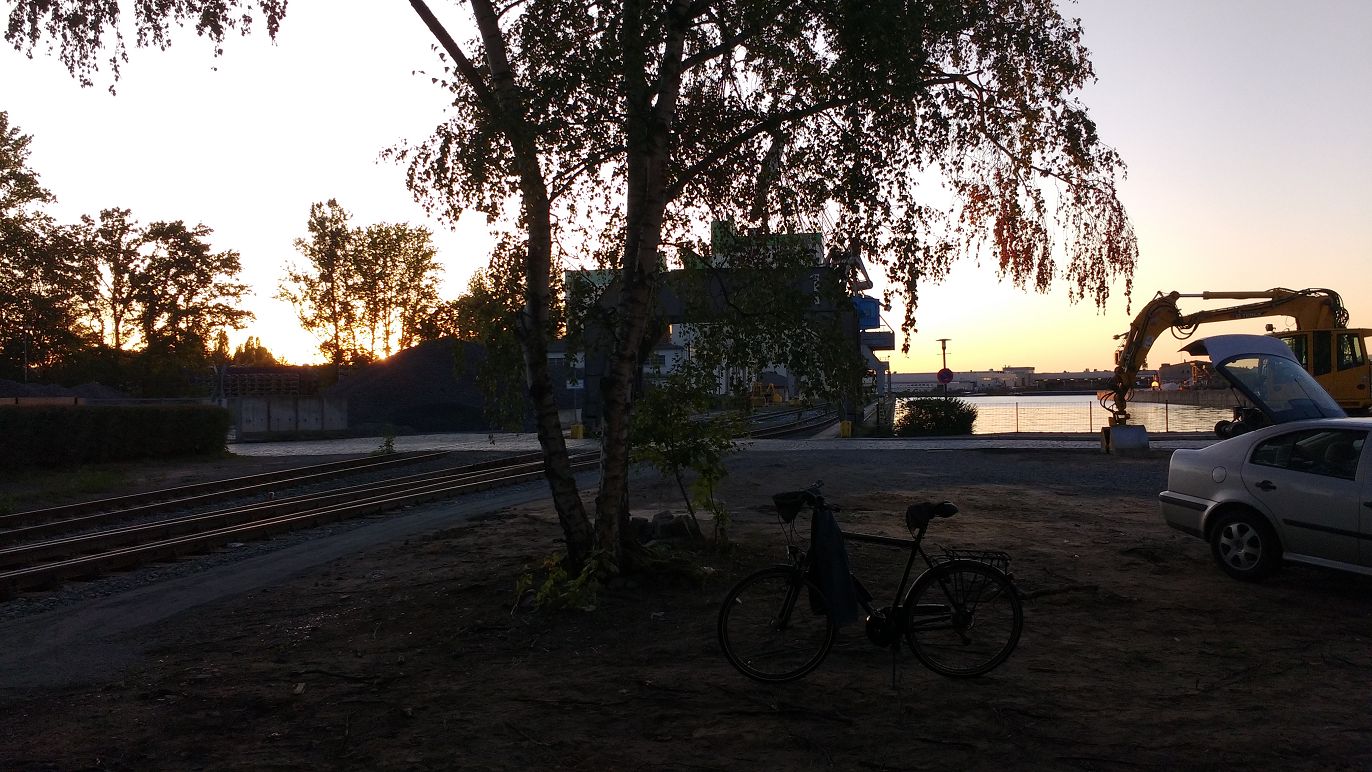
This time we had by far more luck with the weather. Besides some short showers one could say that we had perfect conditions with temperatures averaging between 20-25°C, modest humidity and a warm breeze. Every now and then Frank had to return to his job, so I took my small folding bike to drive the 13 km from his place to the harbor and worked alone. Also for cycling the weather was a dream.
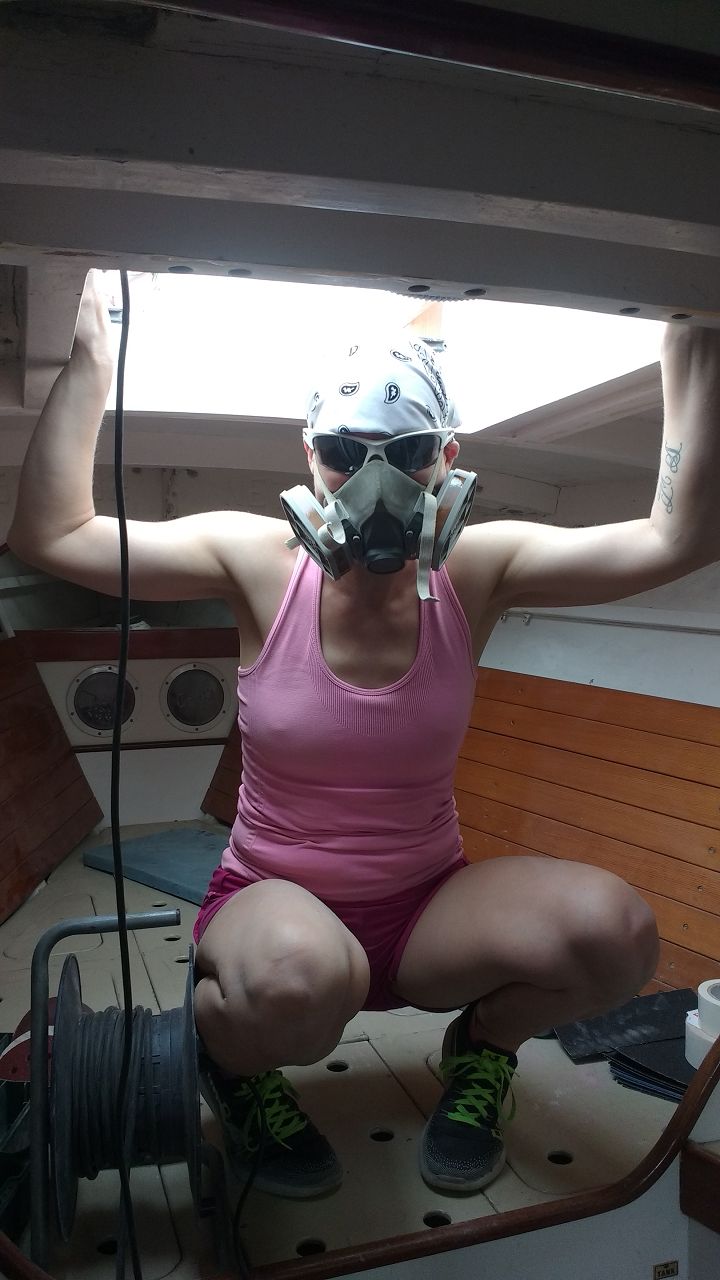
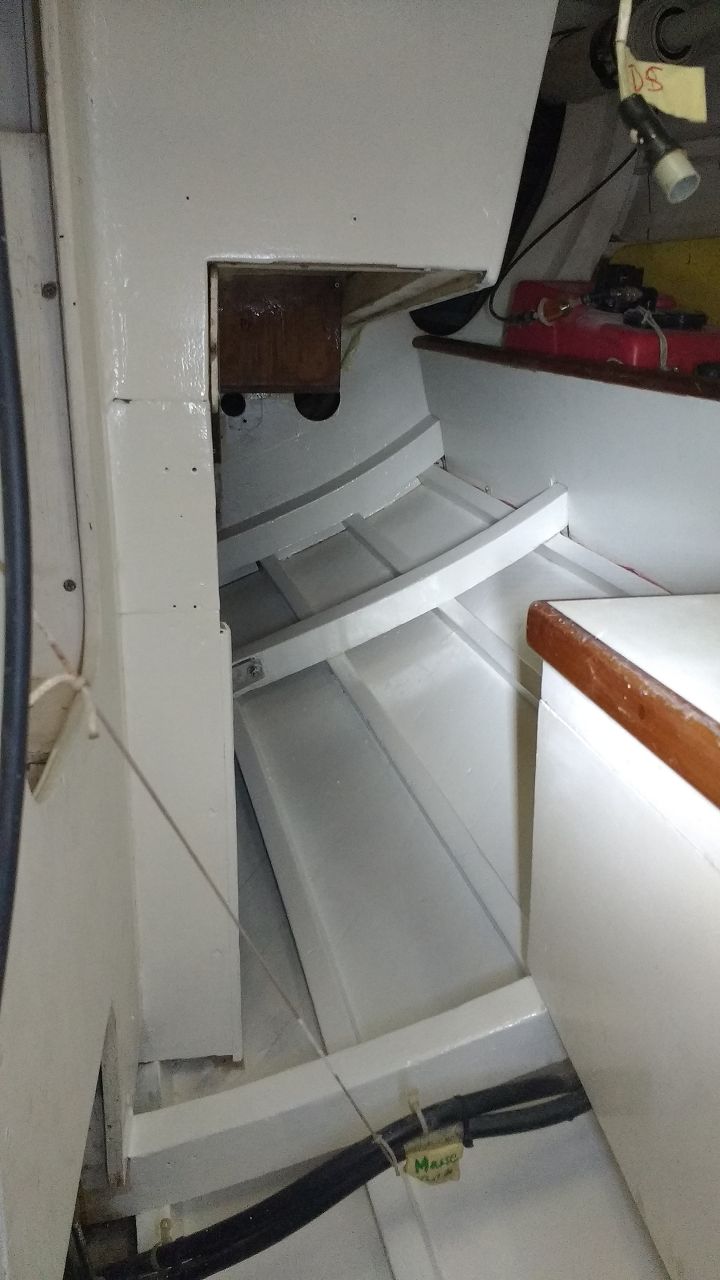
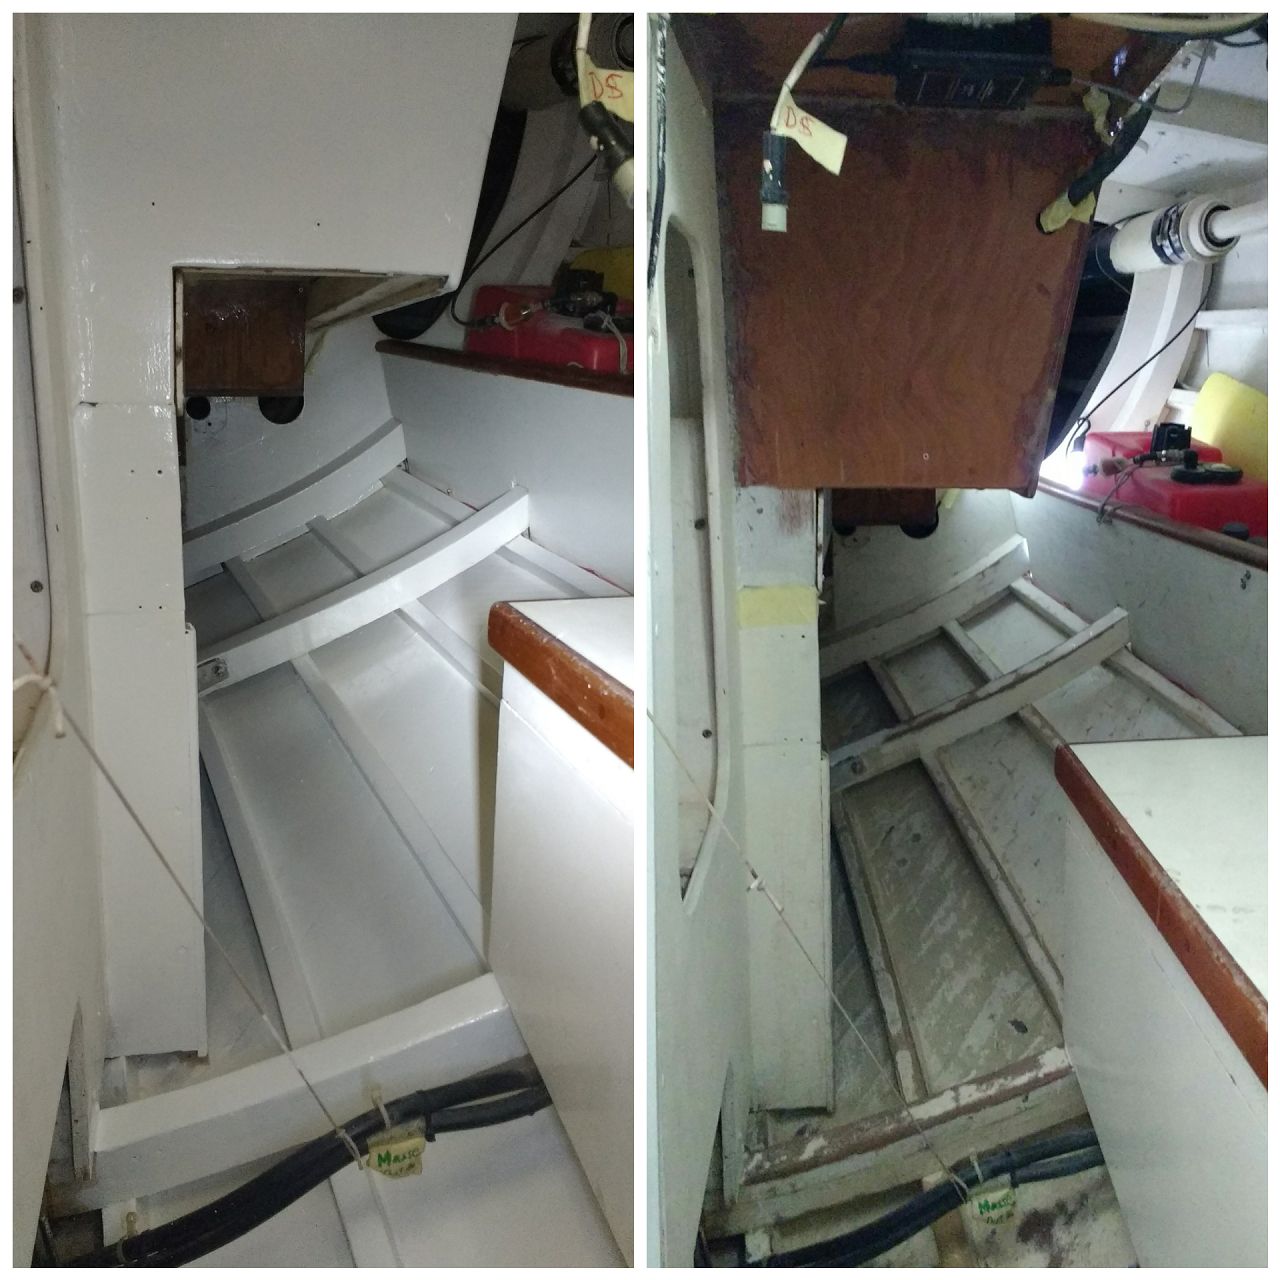
In June we invested a total of 2 weeks to push the project. The first 3 days Diana helped us and bravely she carried out a sanding job at the sail stowage area to port – quite narrow and dark in there but it was really worthwhile as you’ll see on the pictures below.
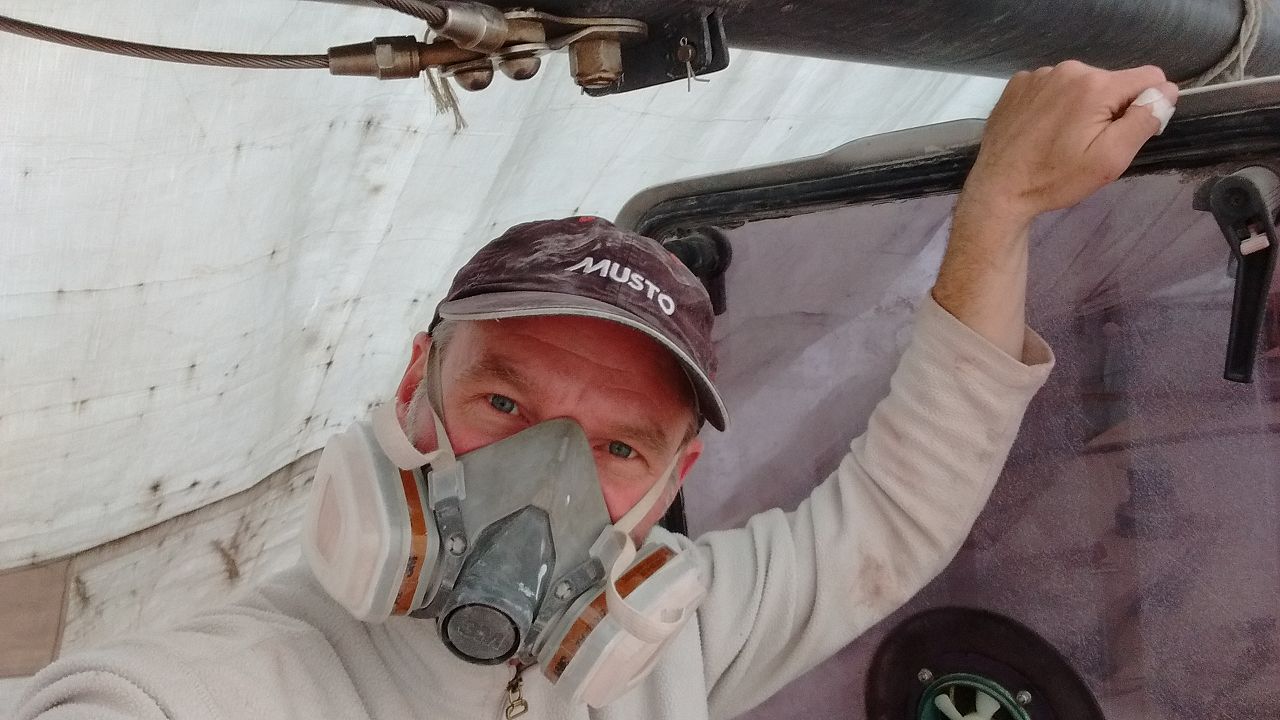
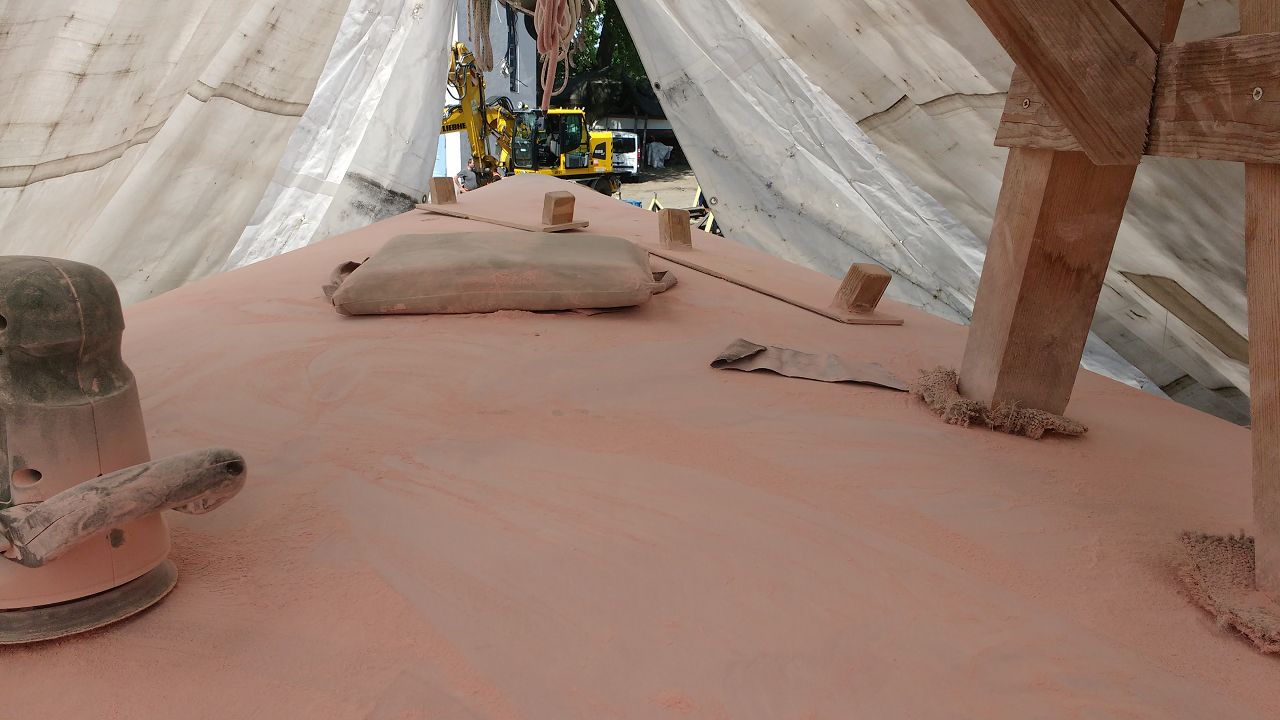
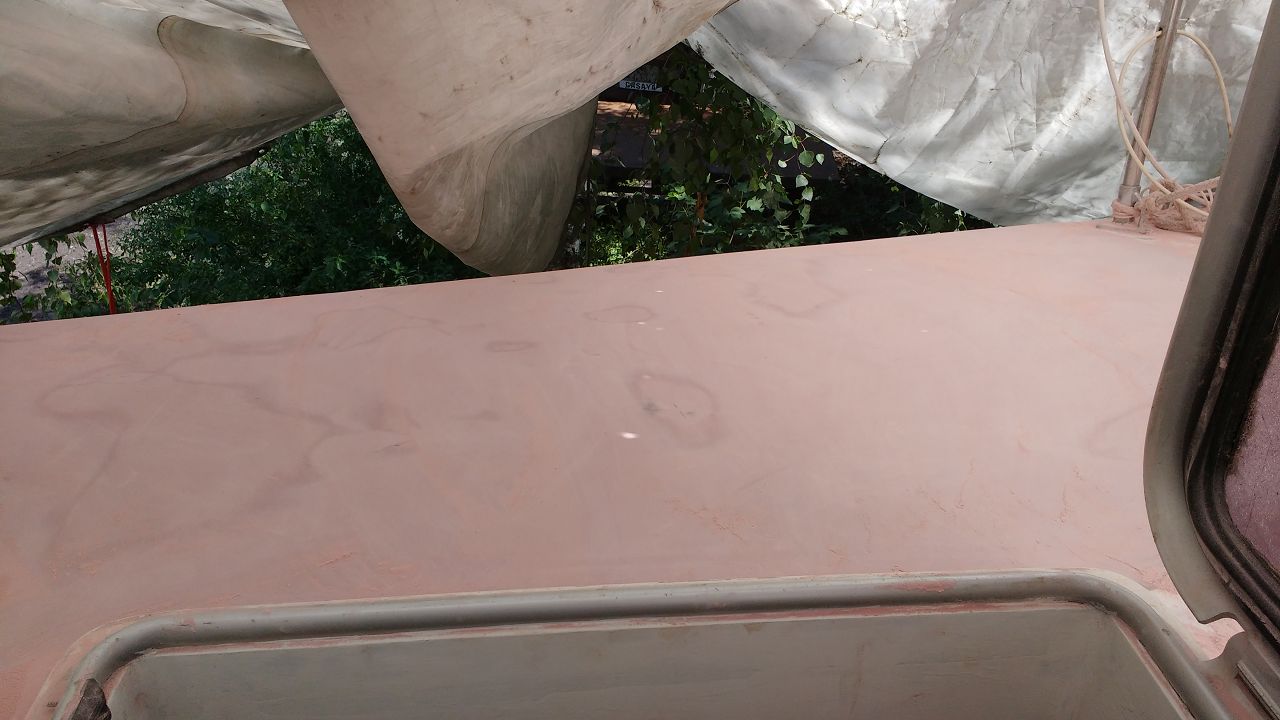
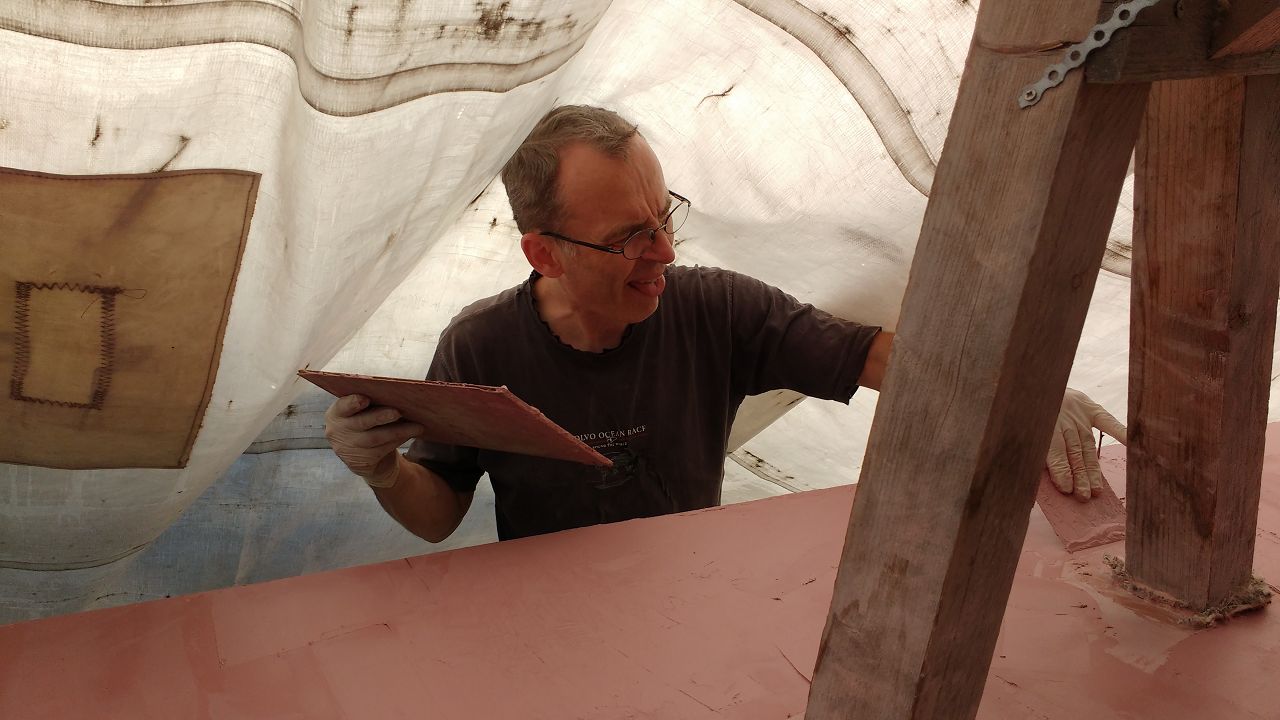
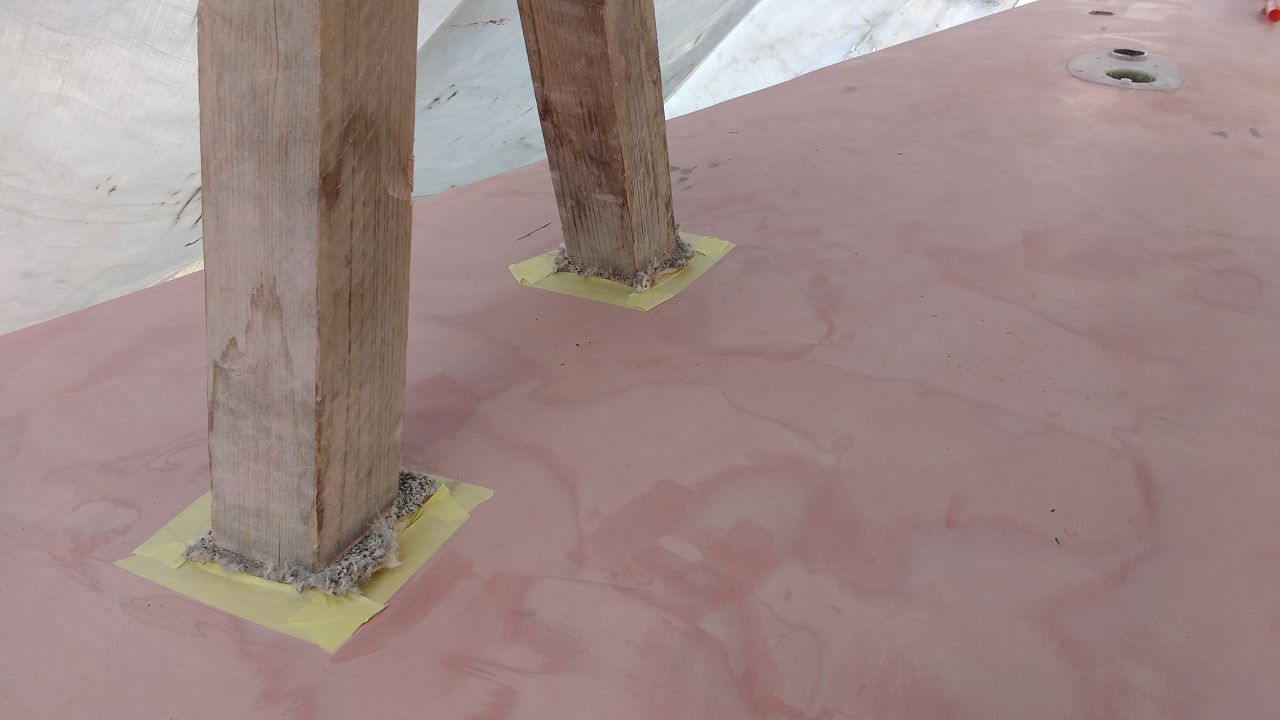
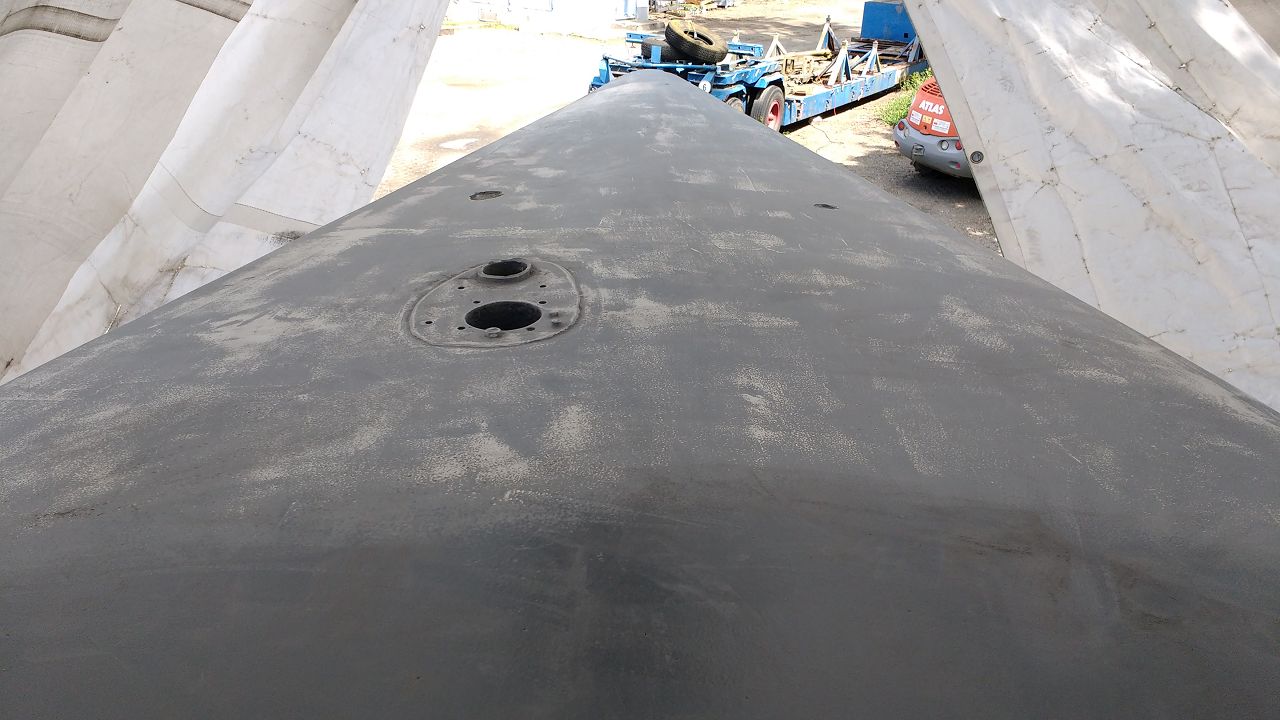
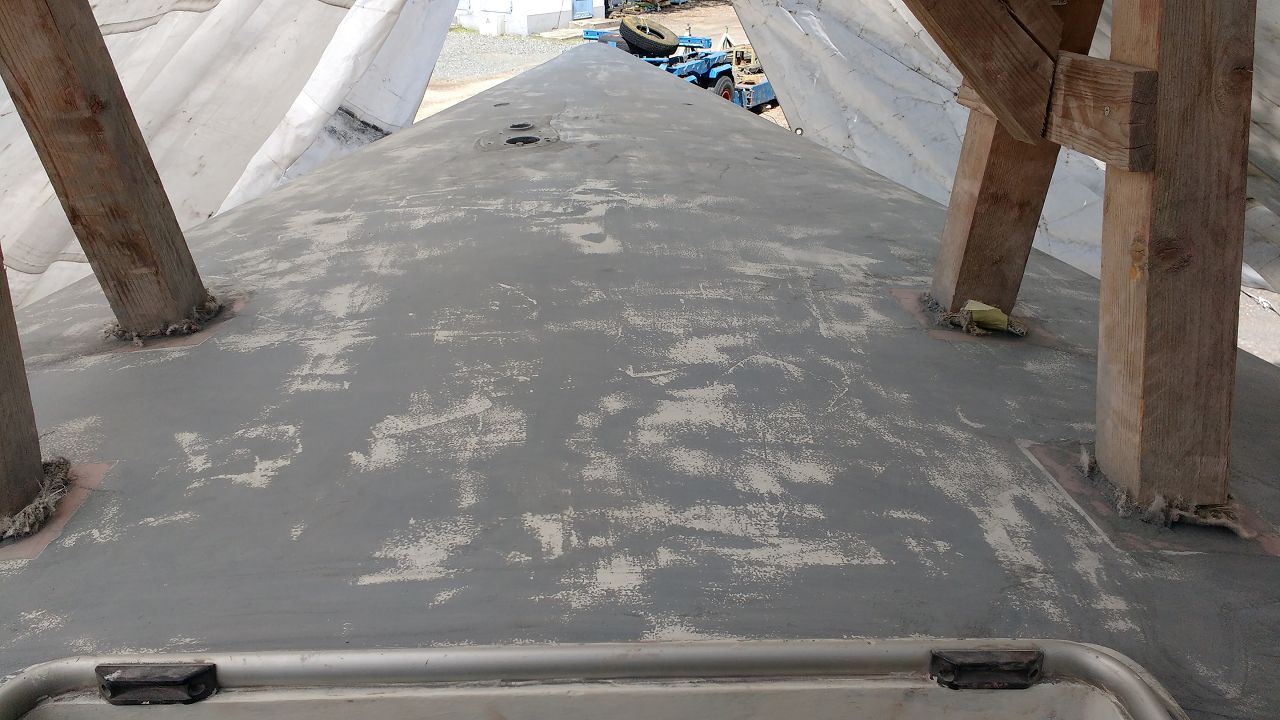
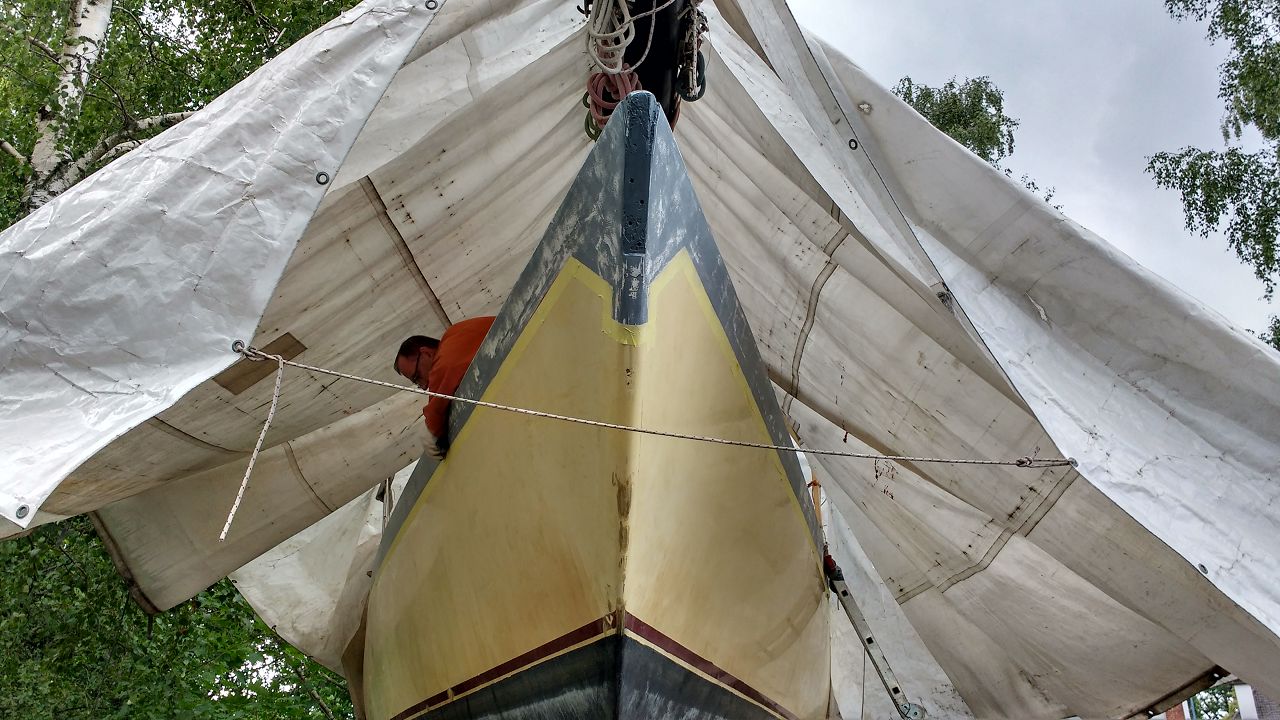
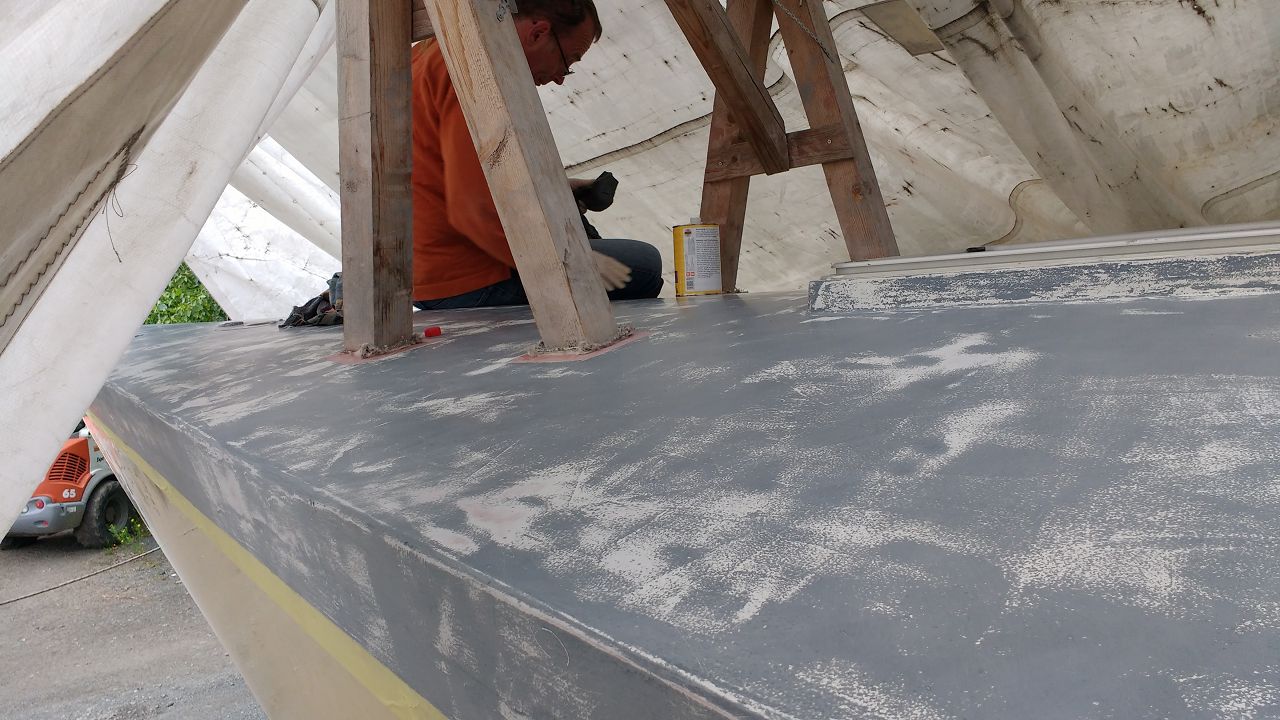
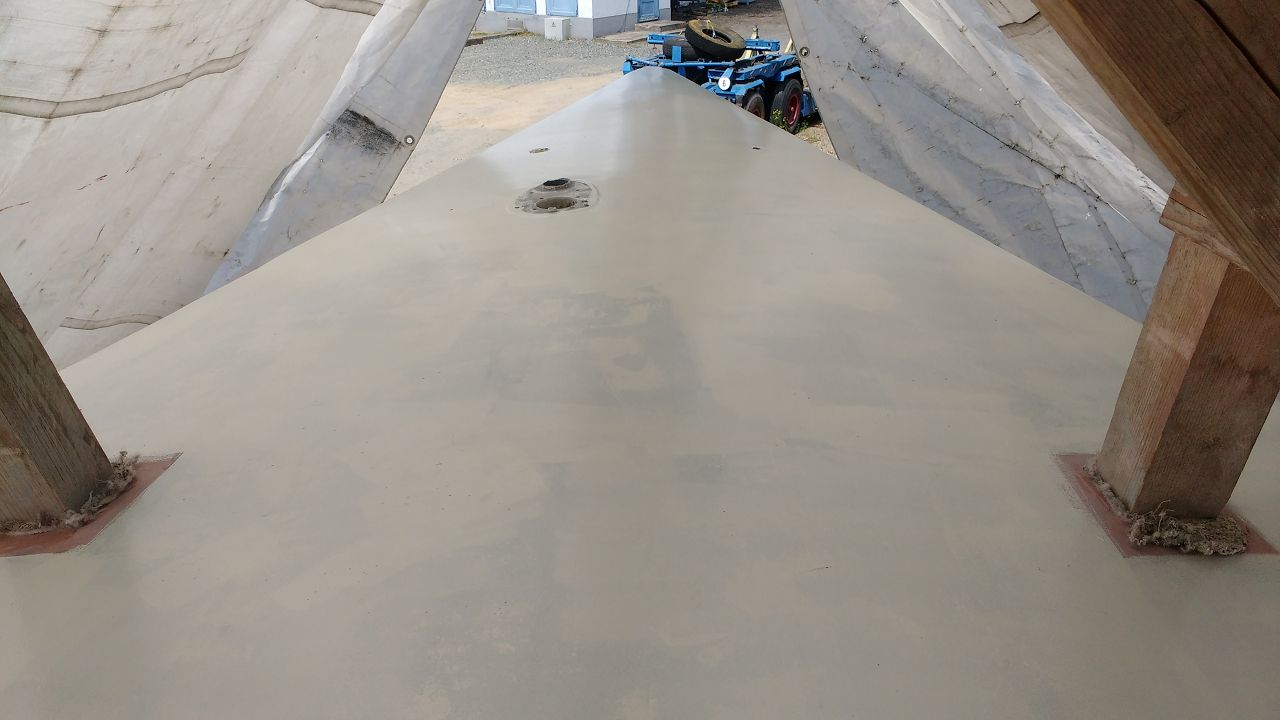
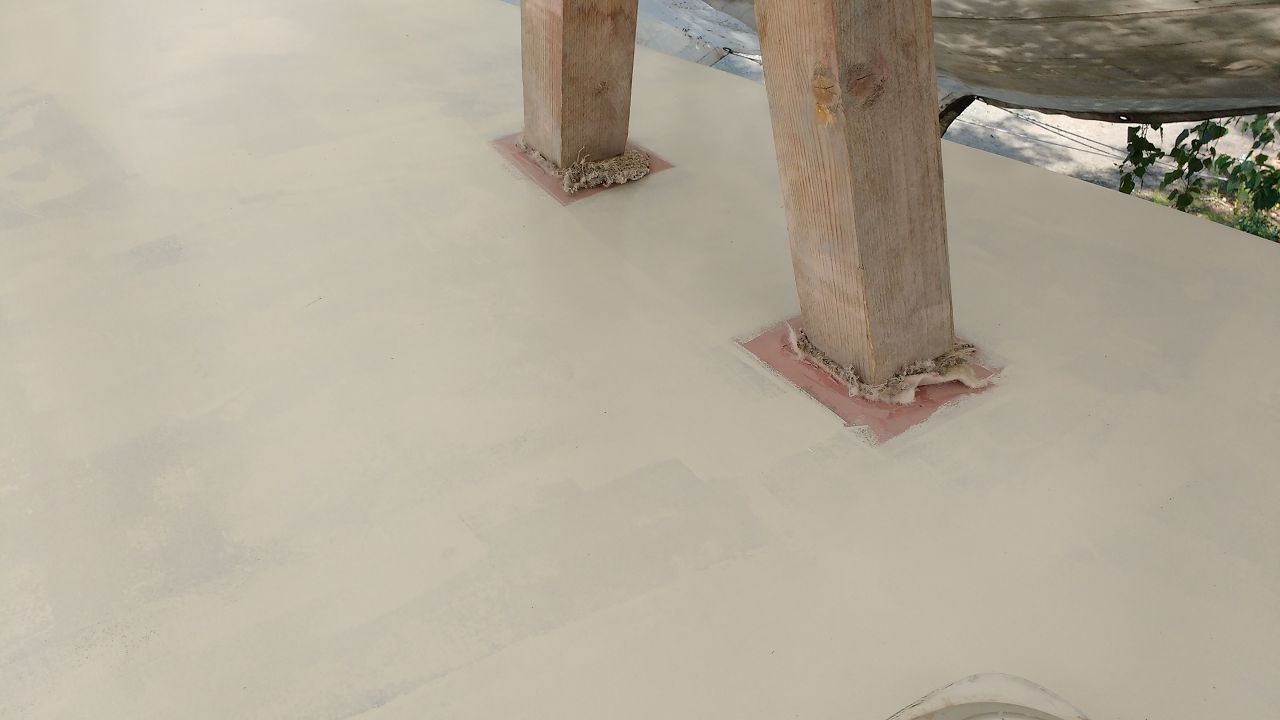
While Diana was squatting and sanding under the cockpit seats, Frank and me did the same on the foredeck with our “beloved” sanding boards. After this sweaty and dusty task the 3rd coat of AWLFAIR was applied – and again sanding…and so on. The surface was getting better and better but the work was time consuming too, cause each coat of filler required 48 h of hardening before sanding, not to mention the huge amount of abrasive dust, which really was everywhere. Finally we were satisfied with the results and decided that enough was enough…theoretically you can do fairing forever.
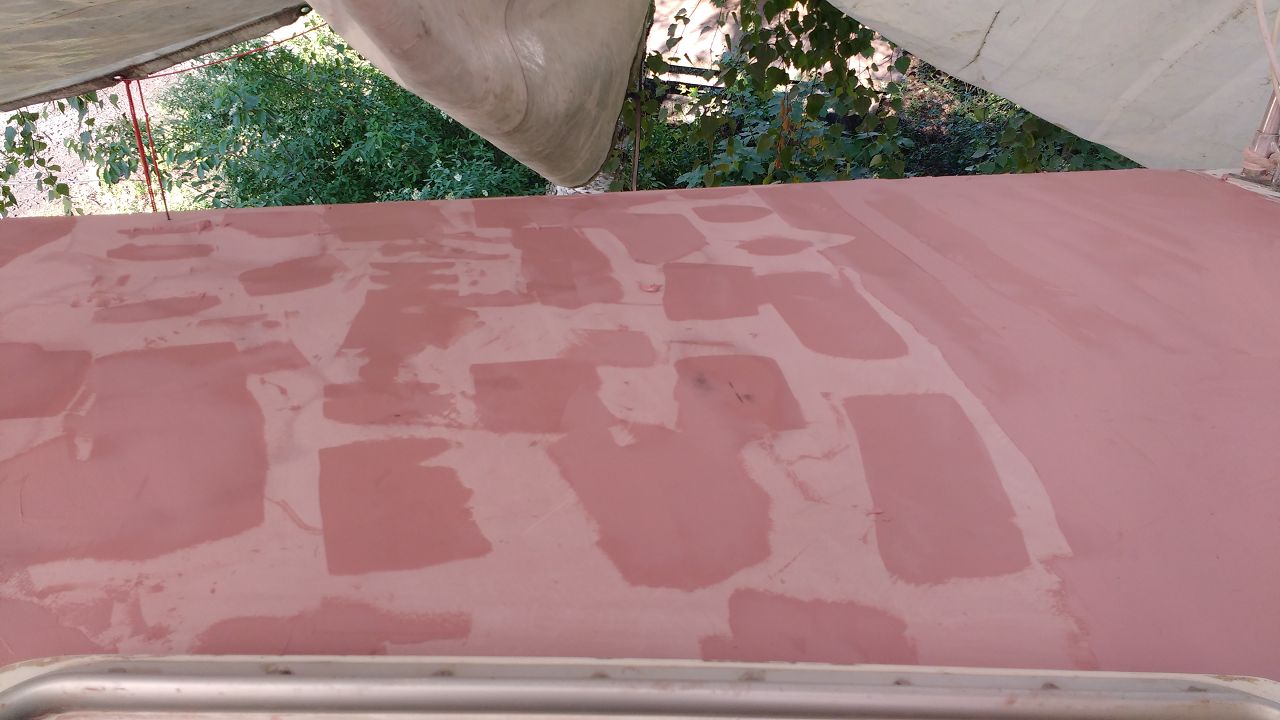
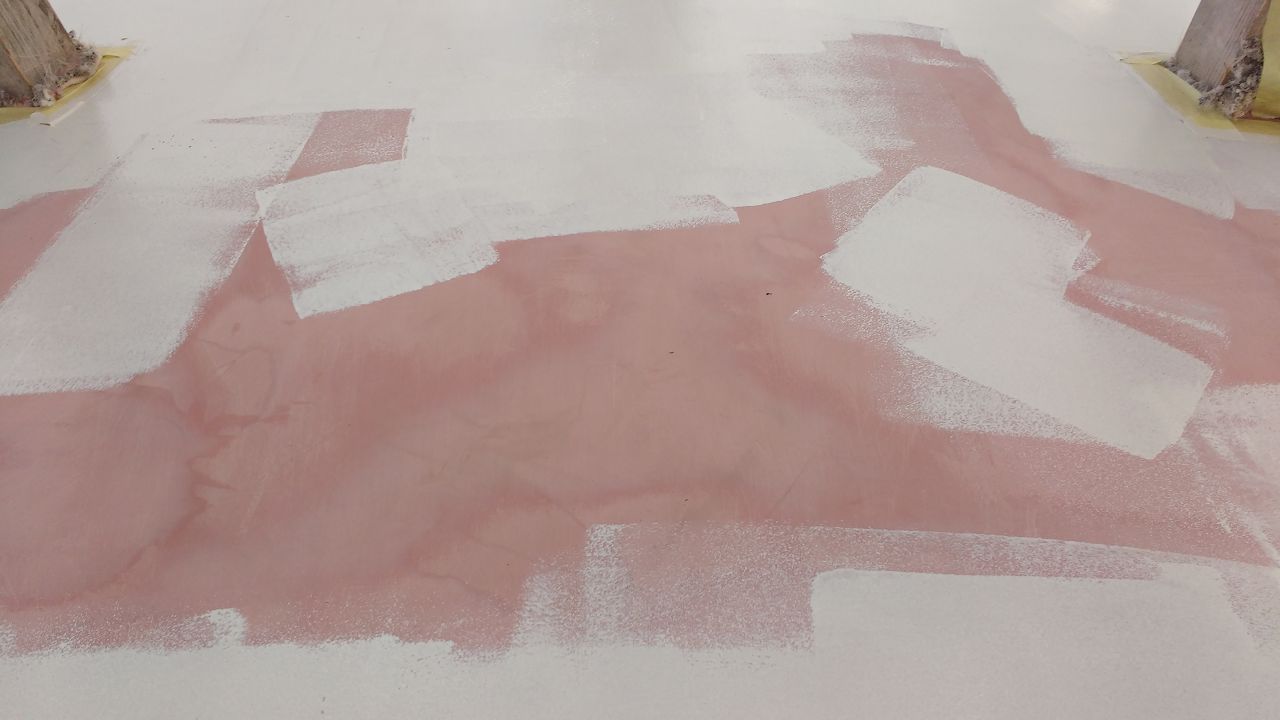
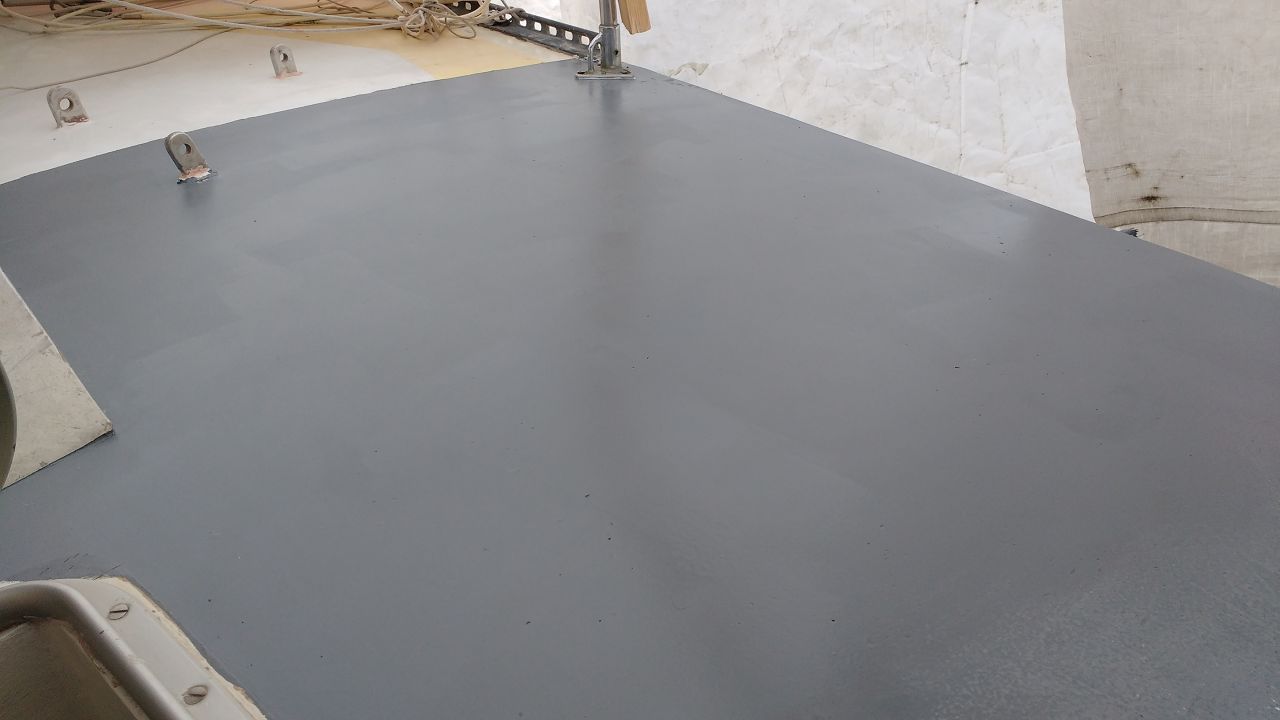
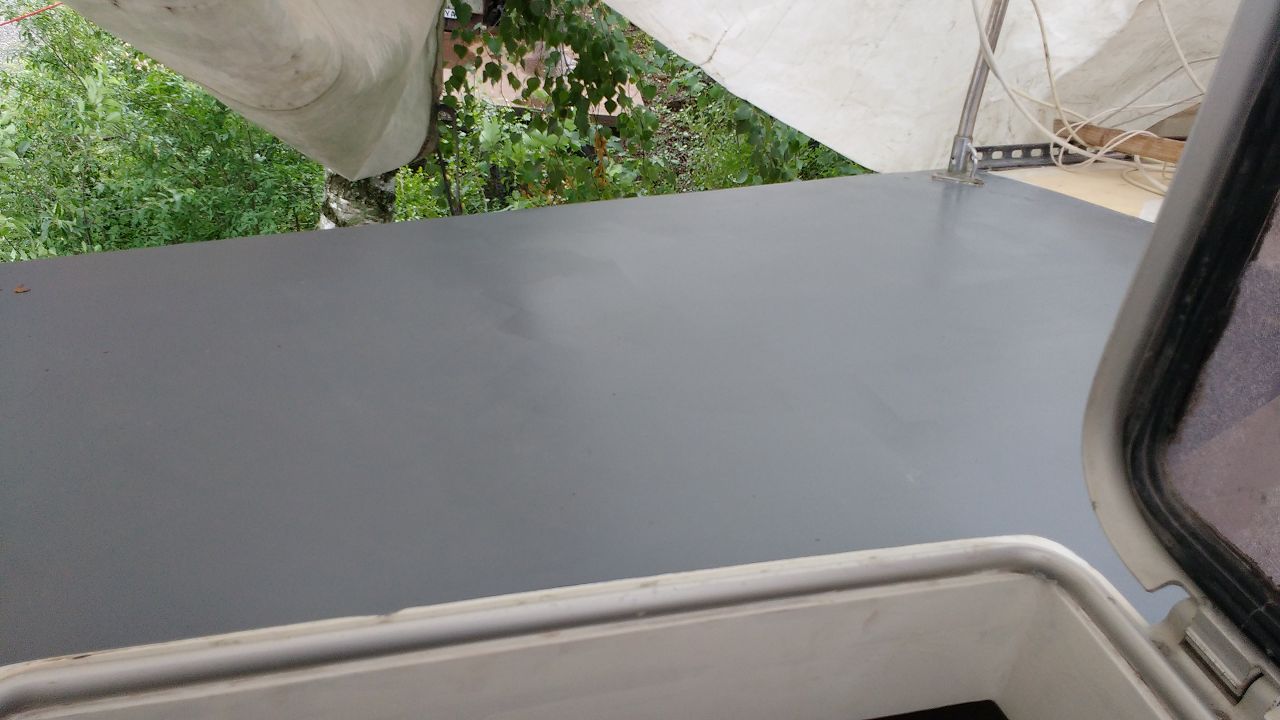
After final cleaning with acetone it was primer time. Yeah! We applied two coats of 2K epoxy finishing primer 545– white first, then grey – and again SANDING 🙂 what else. In the meantime we were sanding experts. The upper grey coat of primer was removed to some extent which is the best indicator that the sanding was carried out in a sufficient manner.
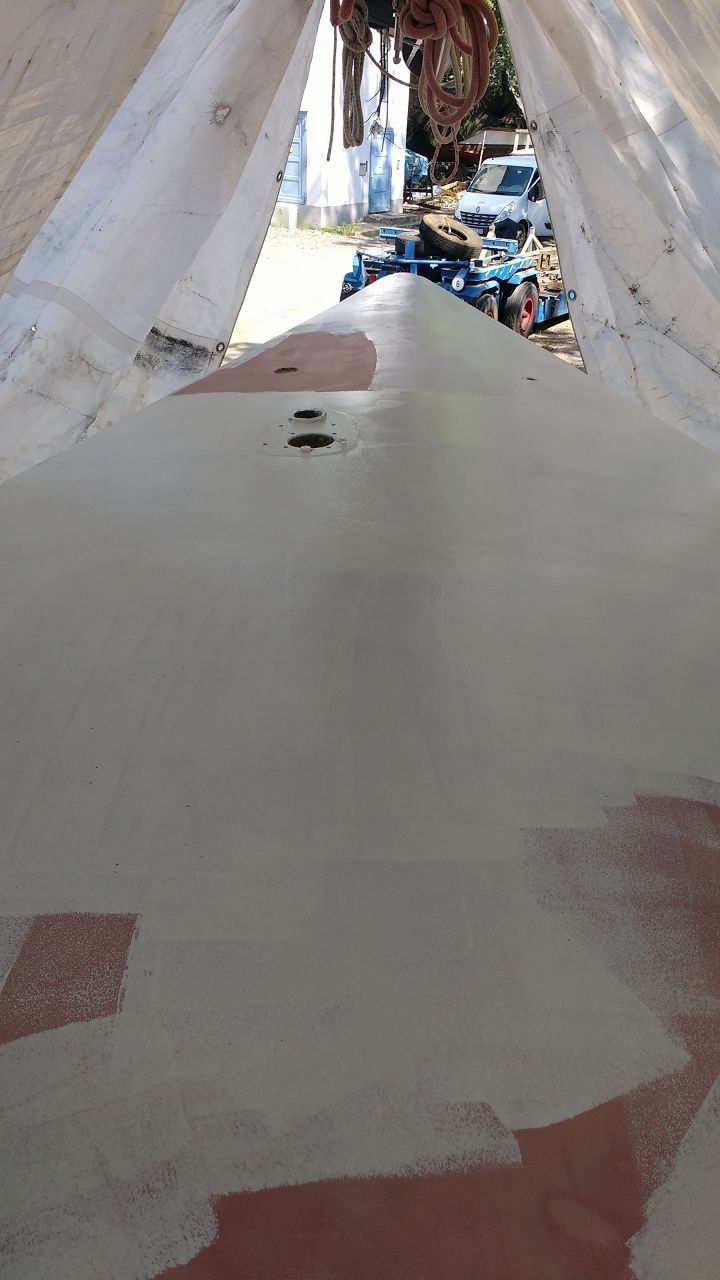
Last but not least we managed to apply the first coat of white semigloss 2K PU paint RAL9010 (by Behnke) as basis for the following coats. This paint was especially developed as top coat for deck structures and it features high UV- and weather resistance together with high hardness and mechanical strength. A strip of 30 mm will remain around the deck fittings for easy cleaning, whereas the tread surfaces will get the same paint but with anti-slip properties in a light grey (RAL7040).

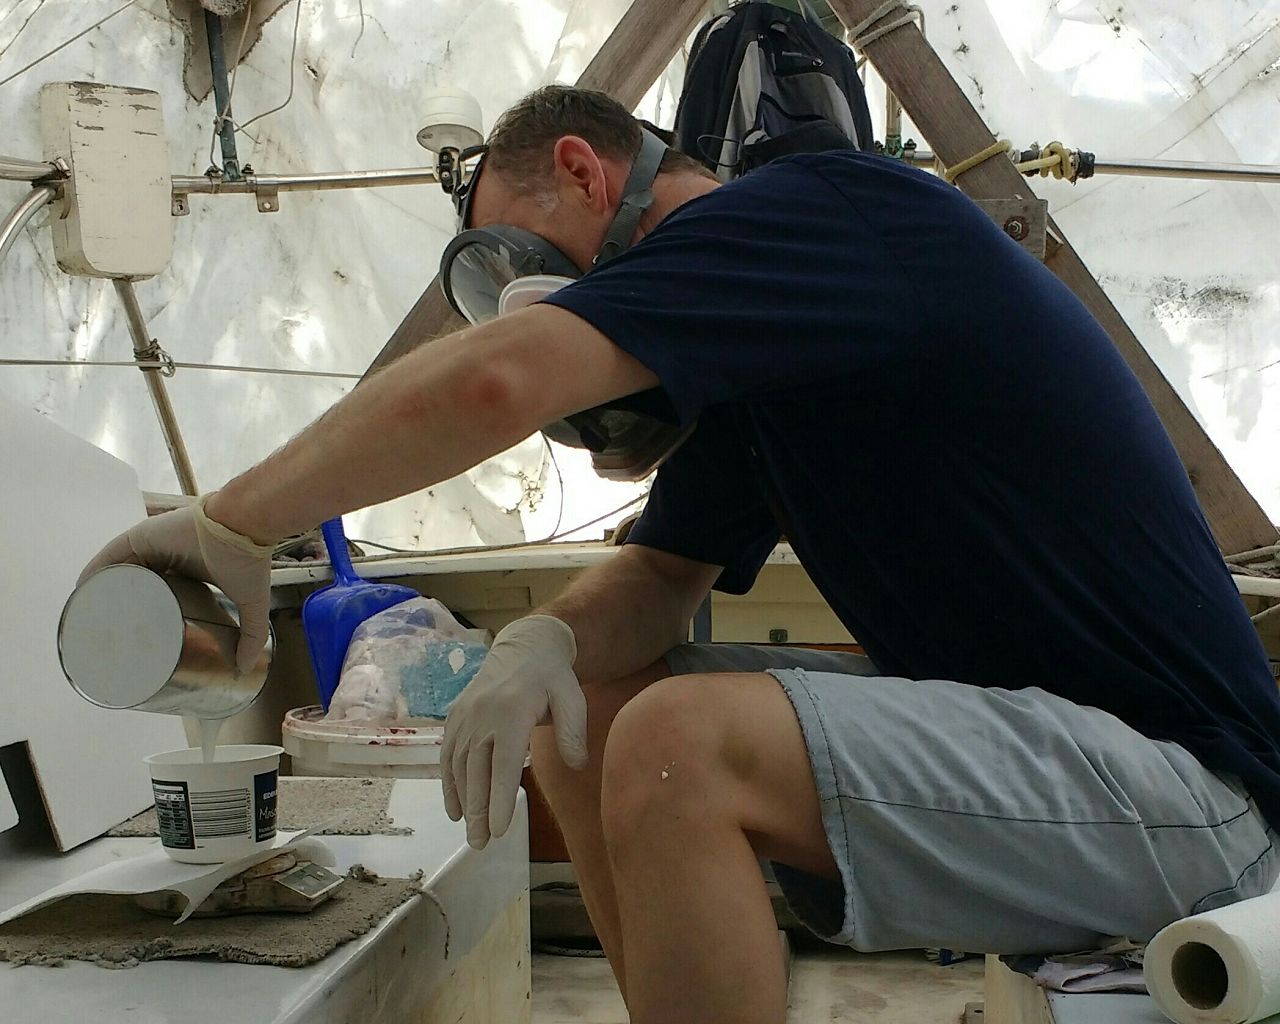


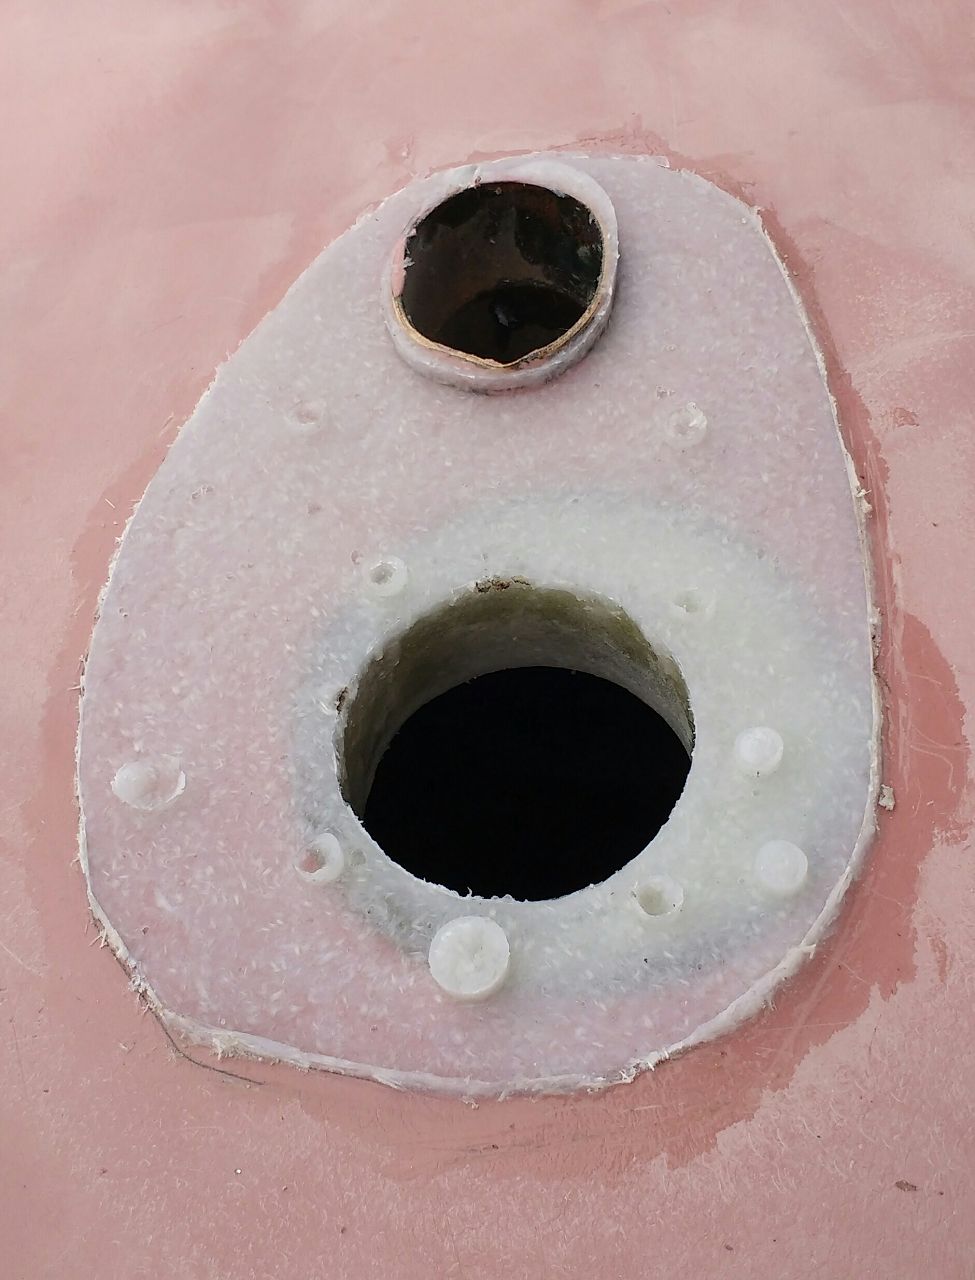
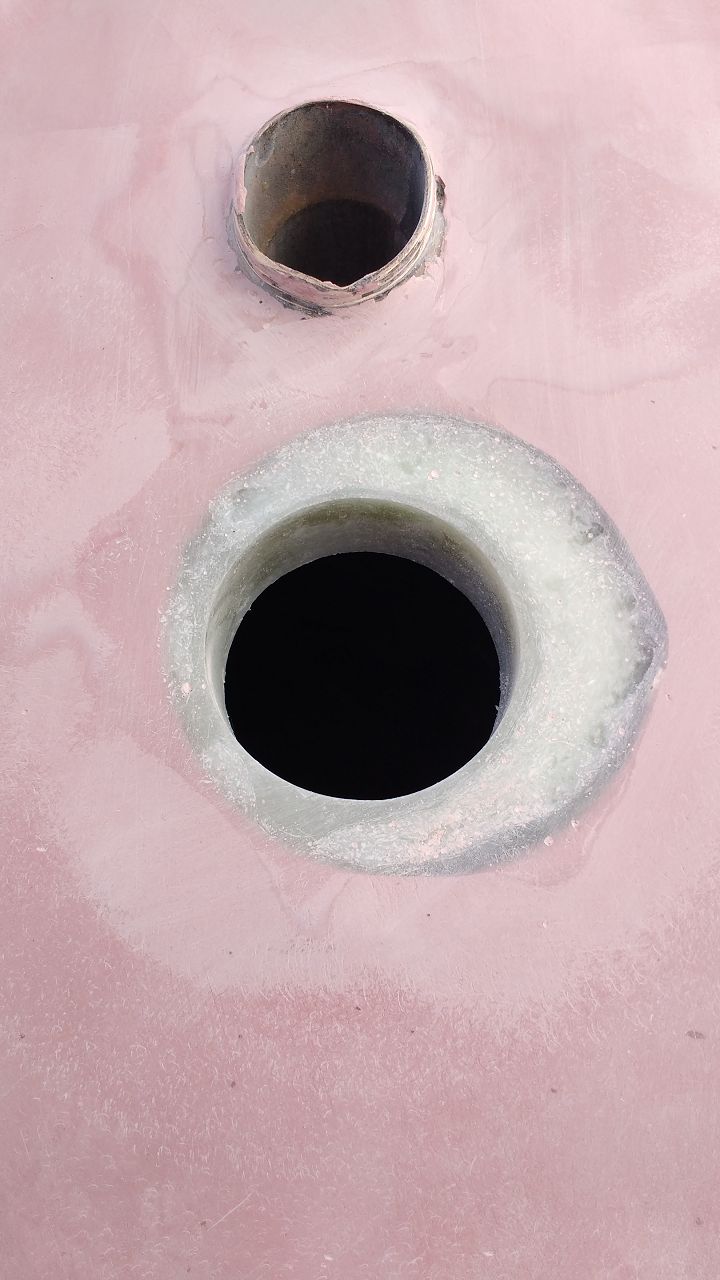
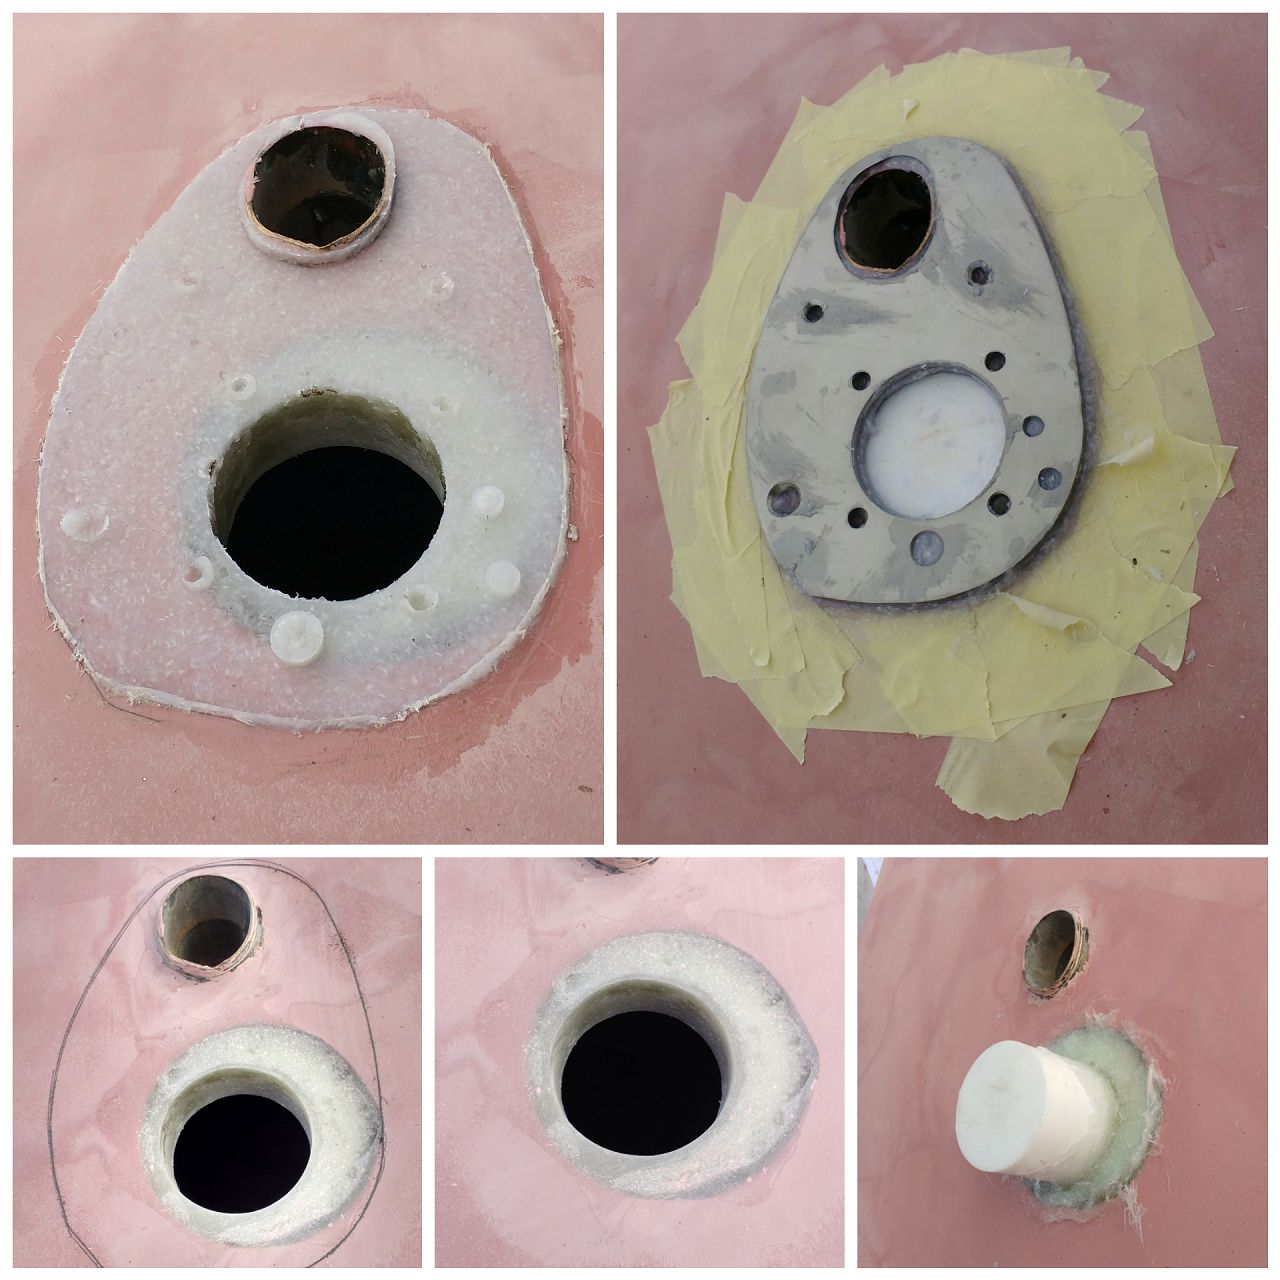
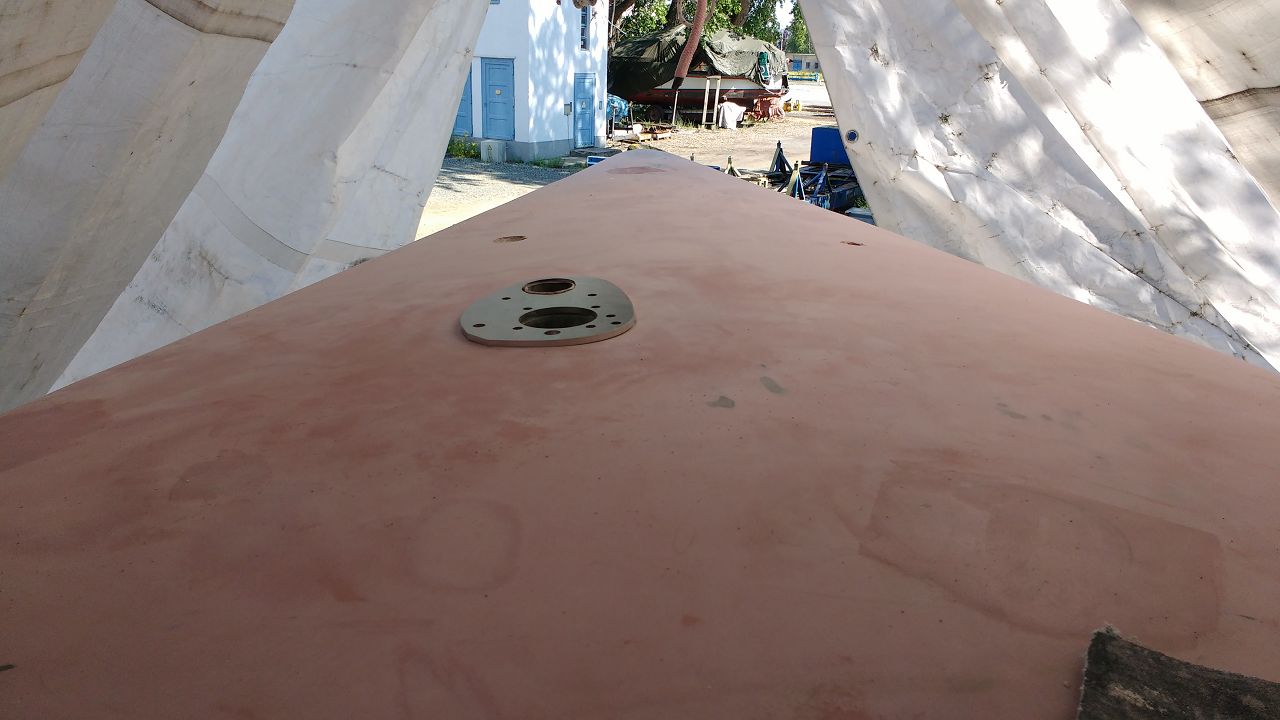


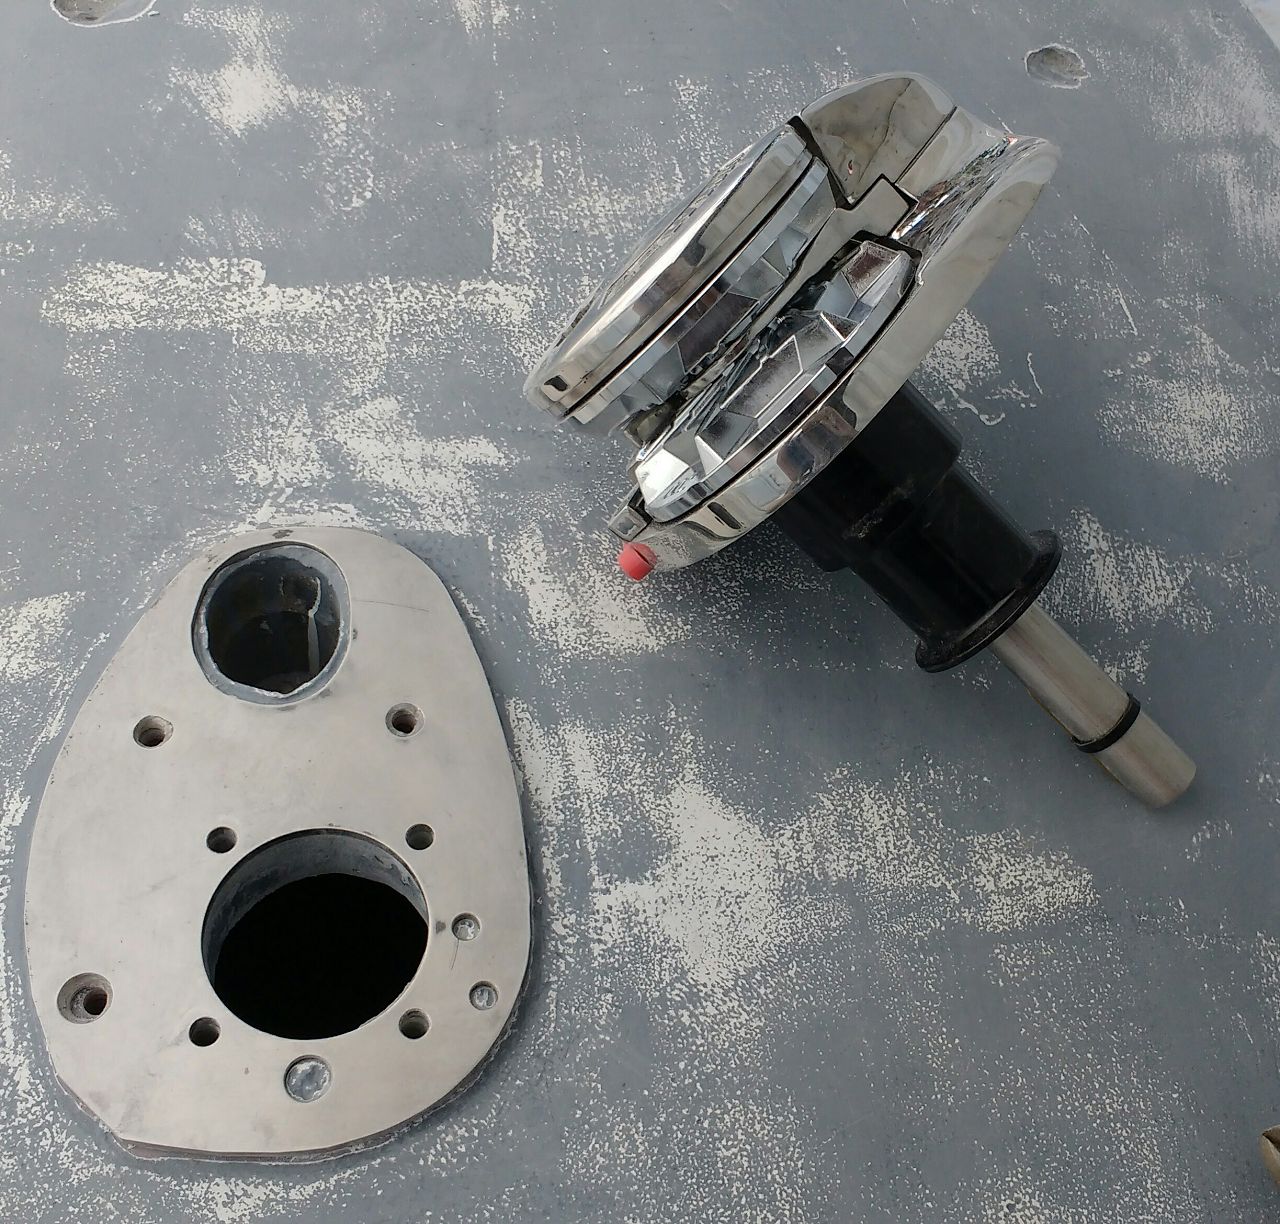

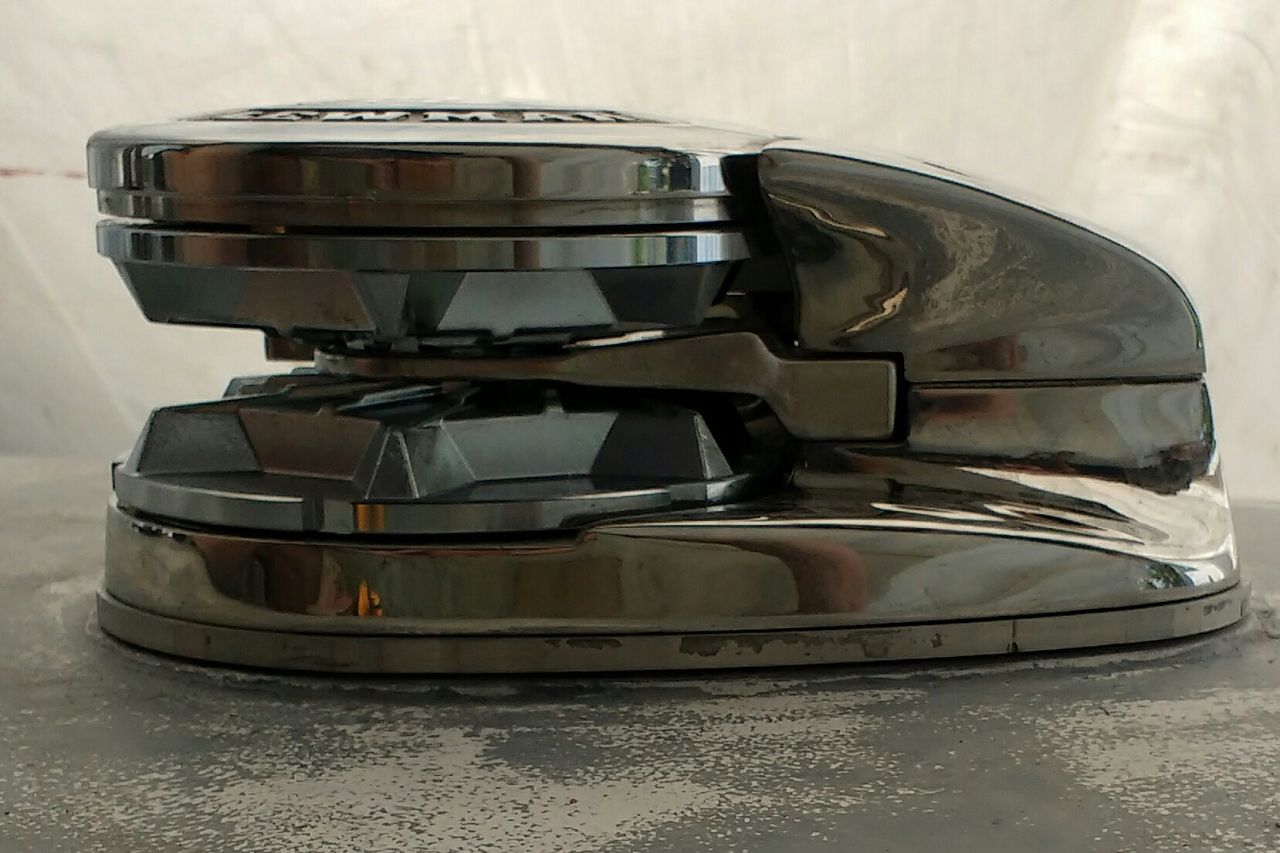
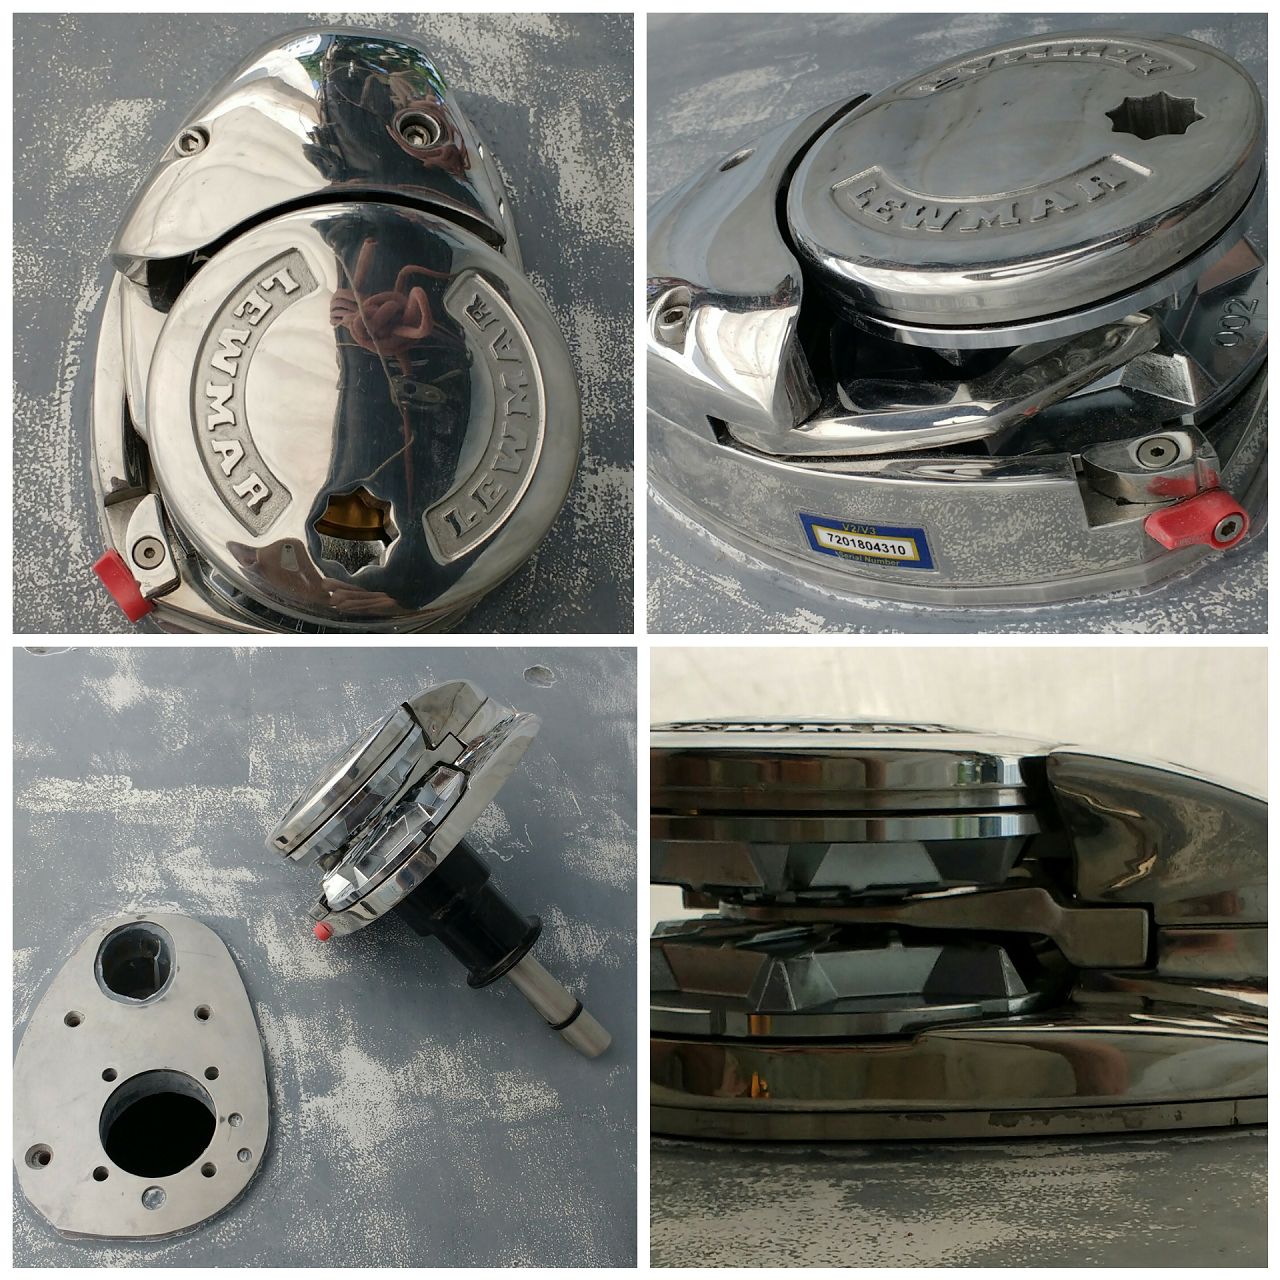


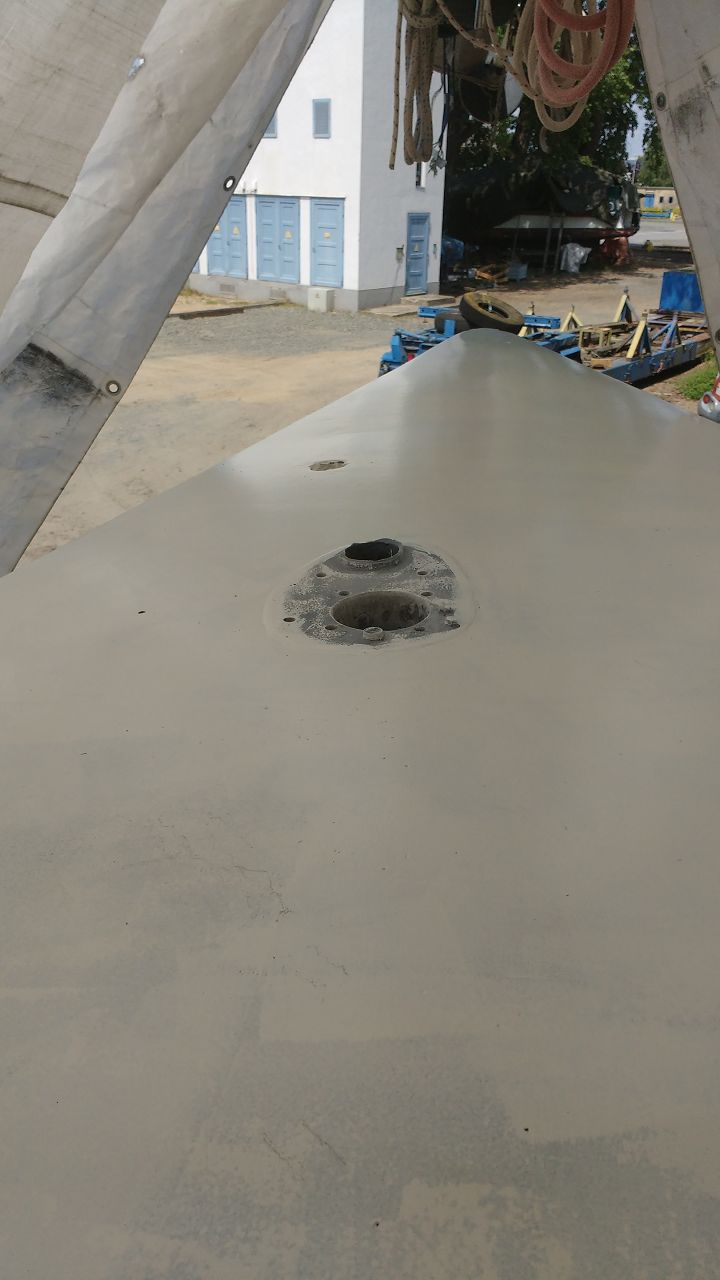
During hardening and curing of the chemicals we focused on other projects. Most important in this regard was the adaption of the new LEWMAR V3 windlass to the two existing big cutouts (one for the shaft and the other for the chain). Of course we only wanted to make minor changes to them. It turned out that we only had to reduce the diameter of the bigger cutout (for the shaft) in an asymmetric way. This was realized by self-made epoxy filler with a considerable amount of glassfibre shreds. Also we built a small epoxy foundation for the windlass, respectively the adapter plate, which now more worked as a support and spacer plate. After some minor corrections a test mounting showed that the V3 sat exactly and firmly at her final destination. Great!
A smaller task was the mounting of the new bicolor LED light to the bow rail. The main “problem” was the installation of the new cable inside the tubes of the rail. Frank used the old cable for that purpose, which he soldered to the new one and simply pulled the new cable through the piping of the rail.
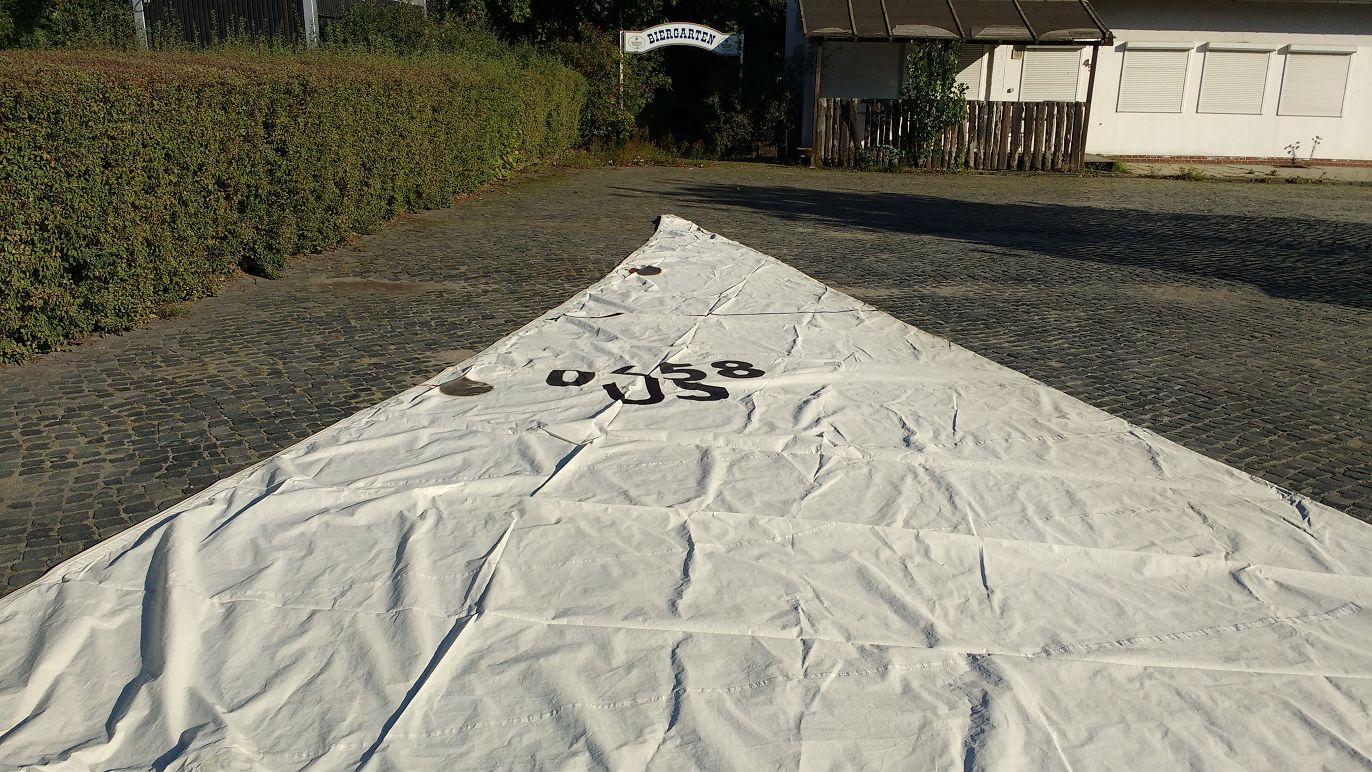
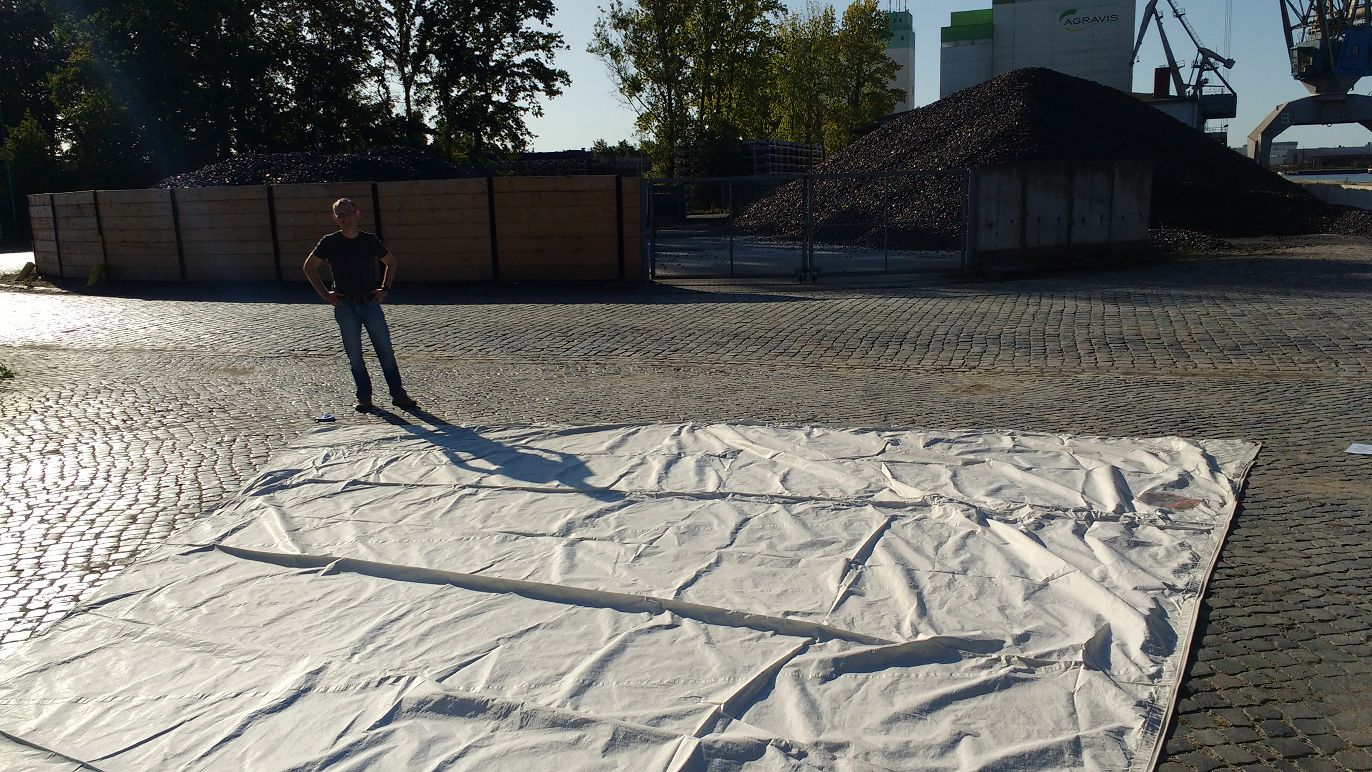
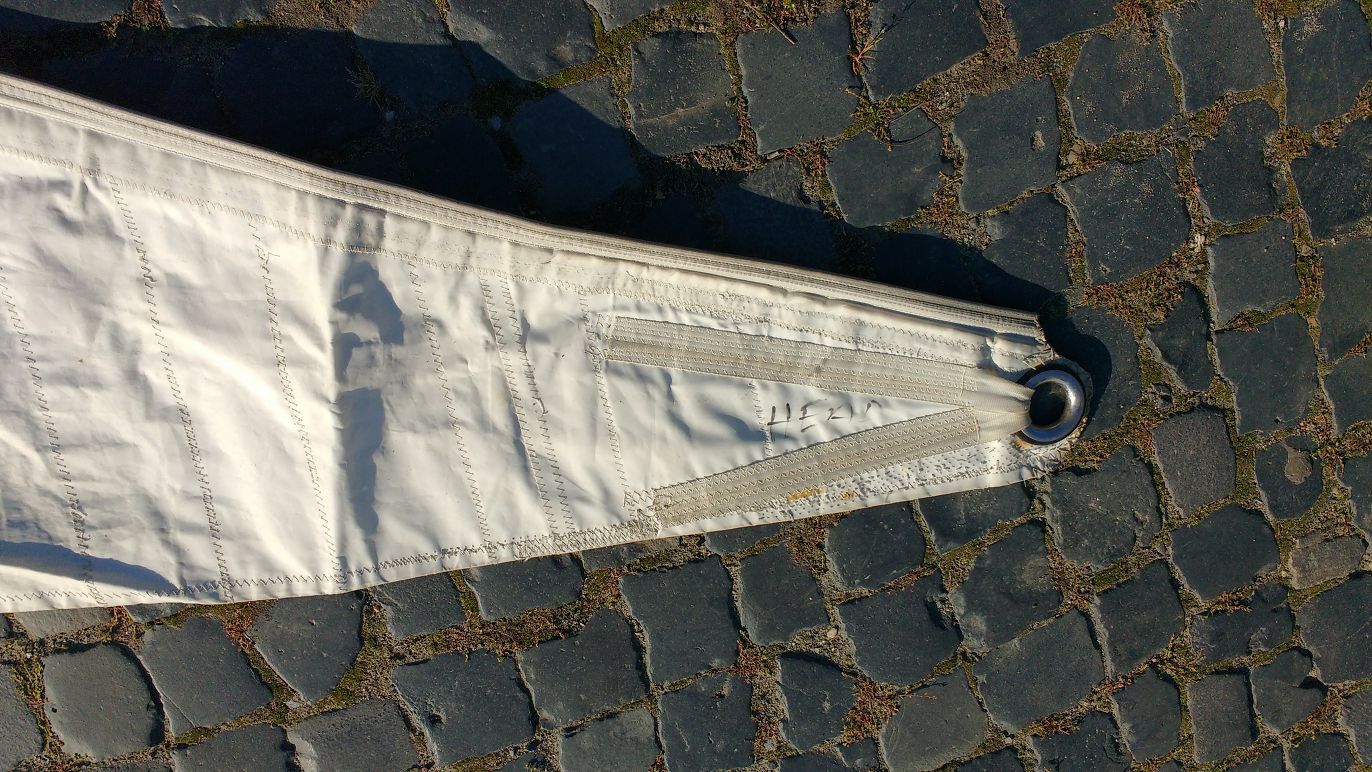
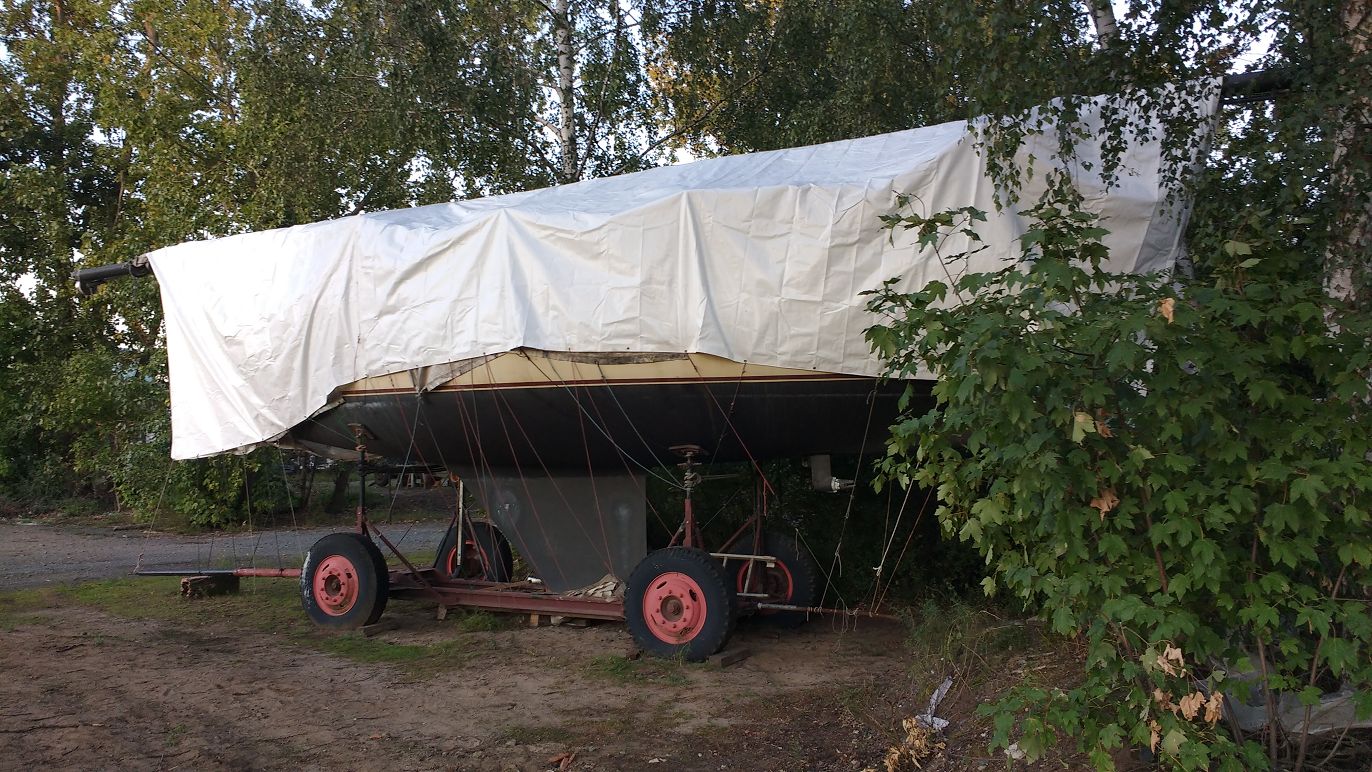
September Session – Winterize & 150% Jib
On a sunny September day Frank and me prepared Rolling Stone for the upcoming winter. We purchased two new covers and also took the opportunity to measure all relevant dimensions of the old DeWitt 150% jib. We found that the sail was still in a fair condition, so the decision was made to exchange the luff tape in near future (to fit to the existing HARKEN furling system) to complete our sail wardrobe. The background is, that we are still missing a big jib for lightwind conditions and the 150% would perfectly bridge the gap.